This post may contain affiliate links. Please see my full disclosure and privacy policy for details.
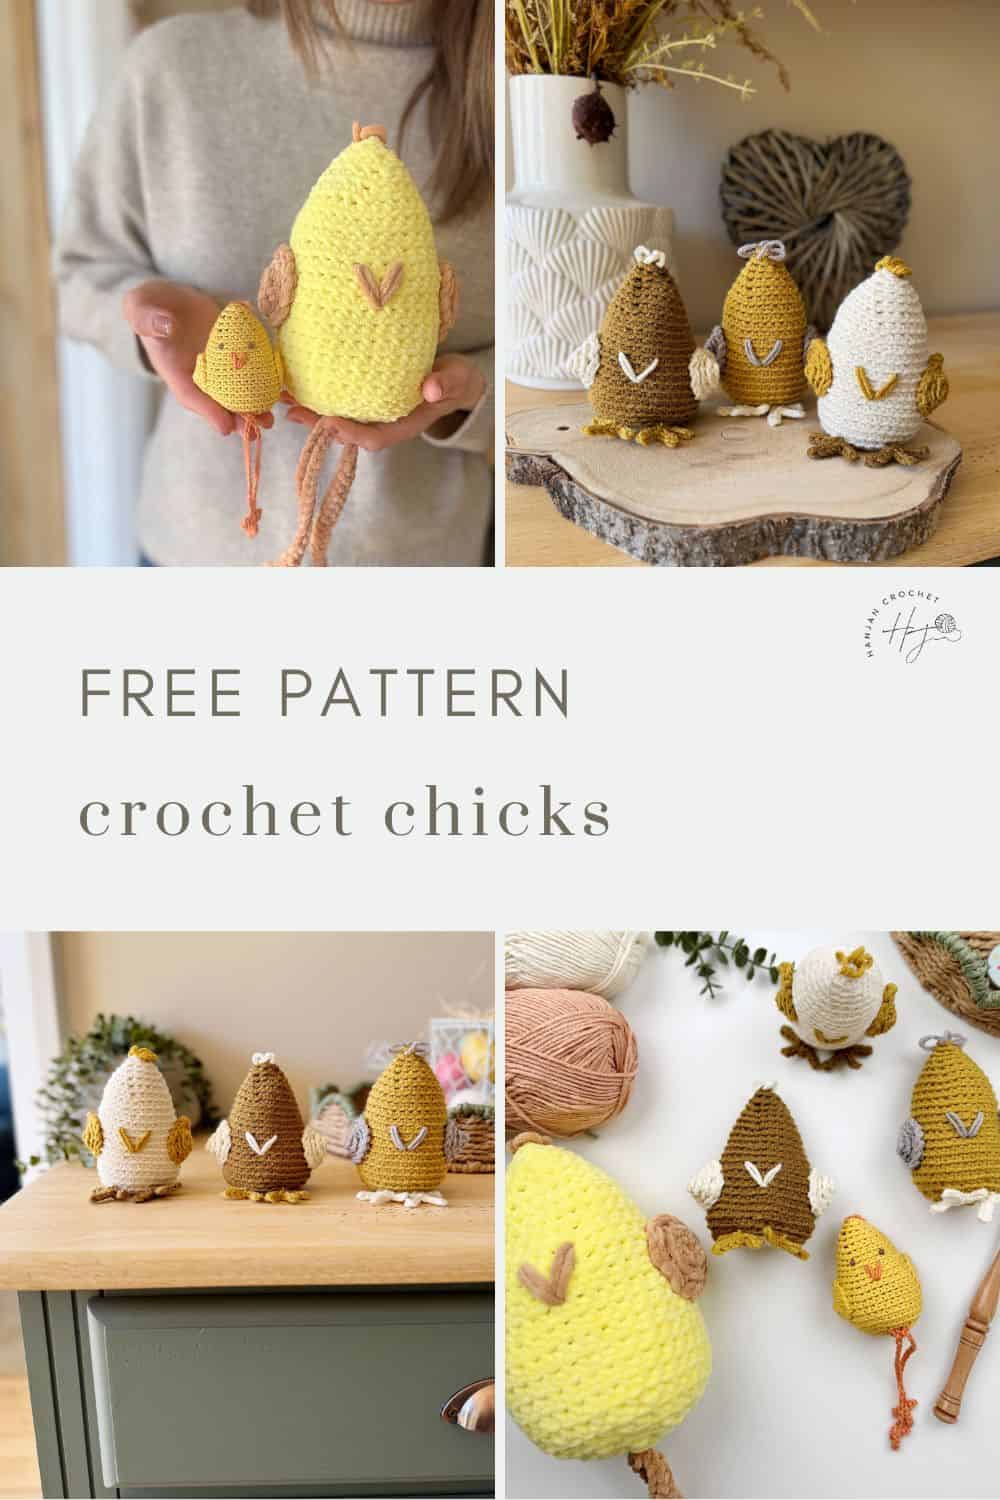
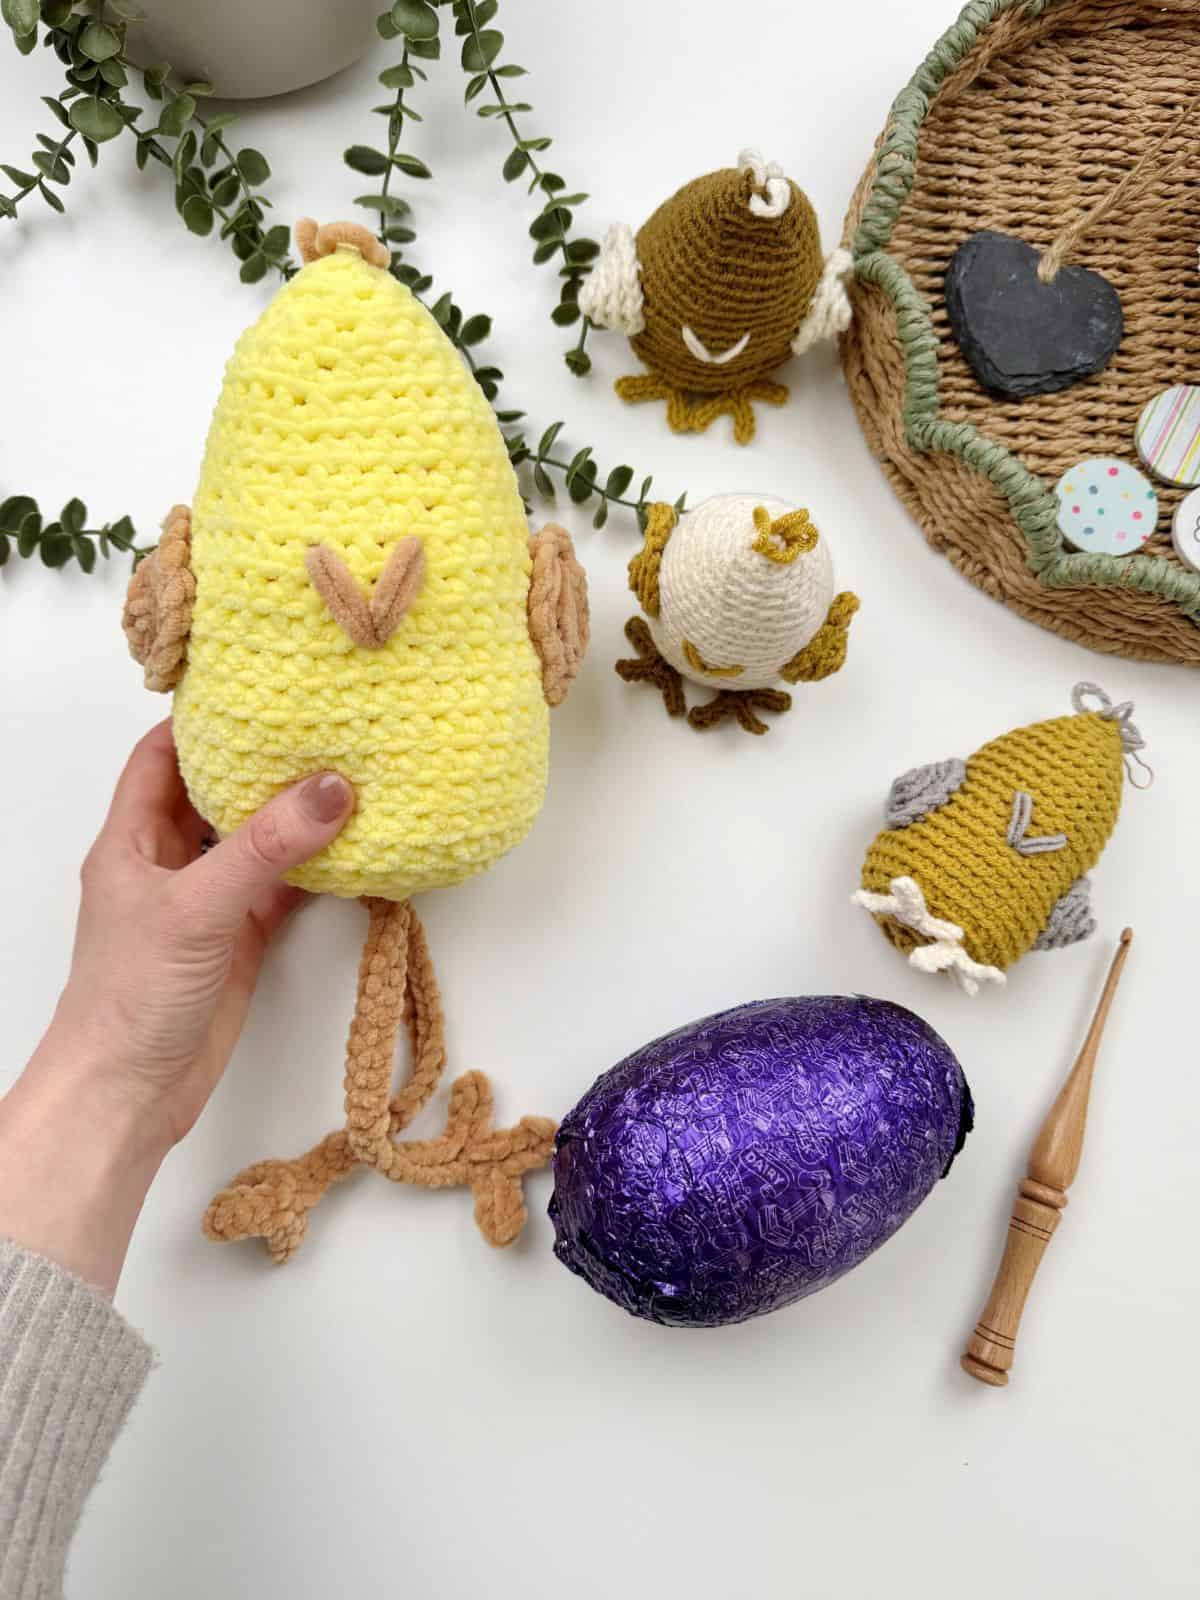
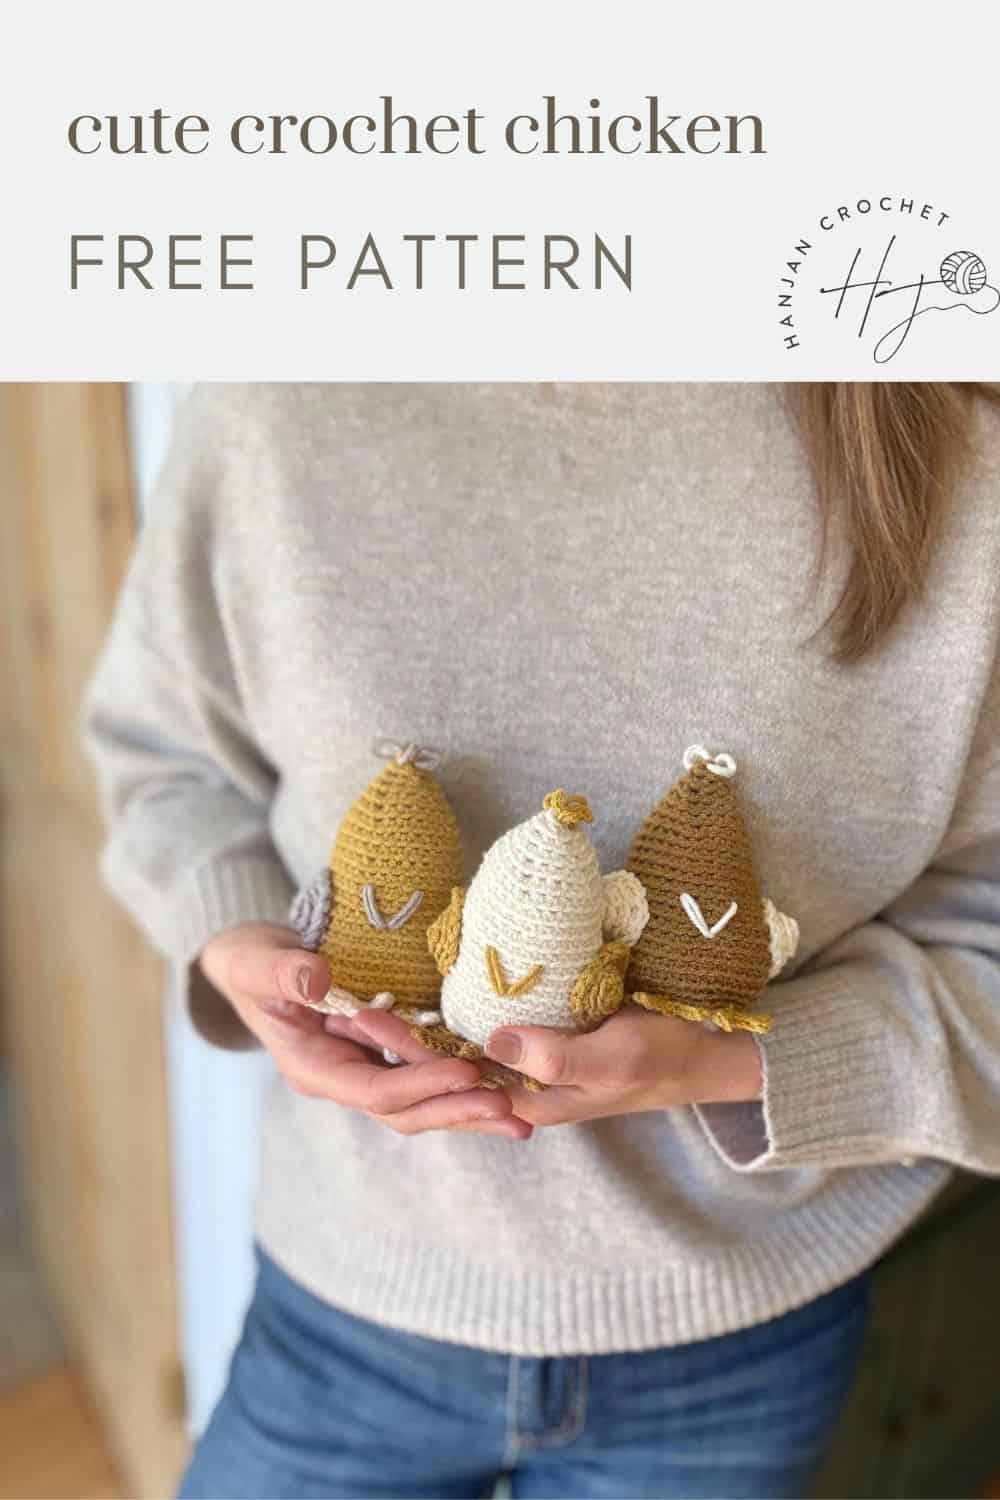
Pattern for: crochet chicken pattern – make an amigurumi toy, a cute home decor item or an egg cozy with this easy pattern!
Yarn used: Can be made with any desired yarn weight – see below for suggestions!
Difficulty level: Easy – quick, fun and great for beginners
Stitches used: Basic stitches including single crochet, half double crochet and double crochet
Hannah’s Notes: Crochet your own adorable little chicken with this easy-to-follow amigurumi pattern! Whether you’re making a cute toy, a fun bit of home decor, or an egg cosy, this crochet chicken pattern is a joy to work up. Grab your hook and get started on your next crafty creation today! Prefer to upgrade to an ad-free print out? Get the crochet chicken pattern PDF
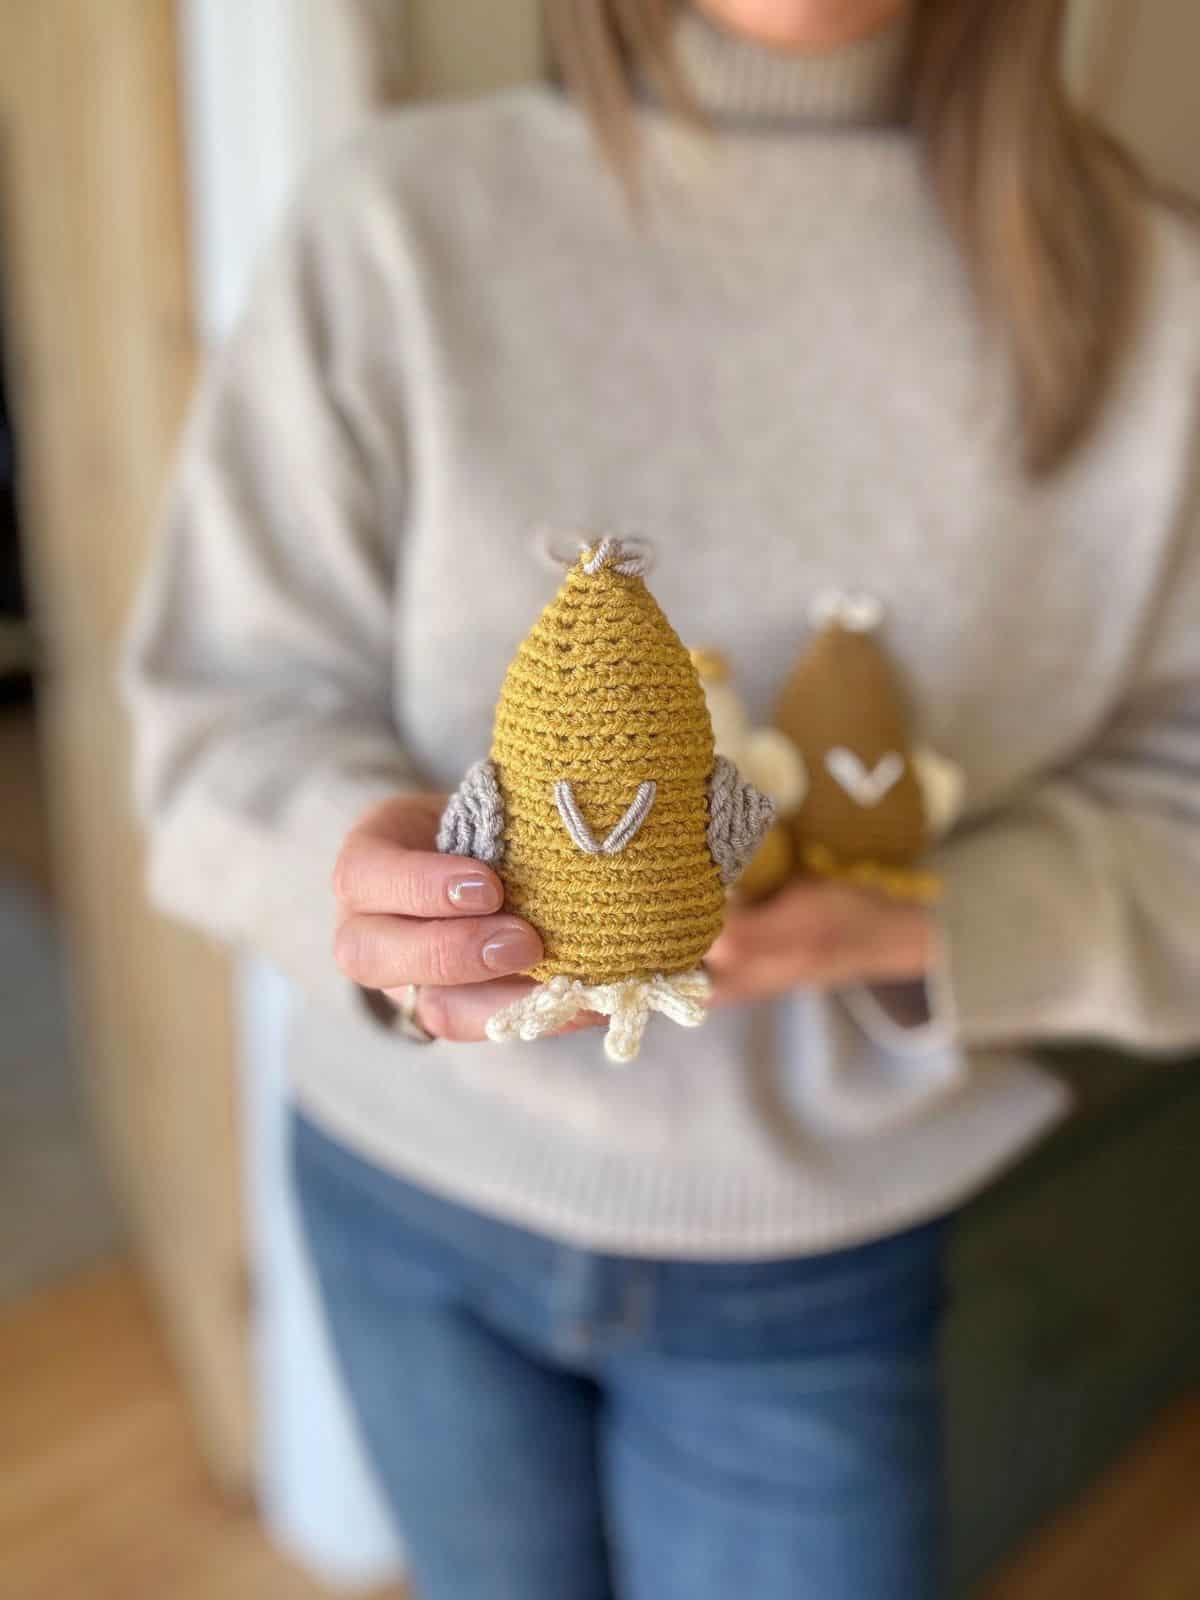
Table of Contents
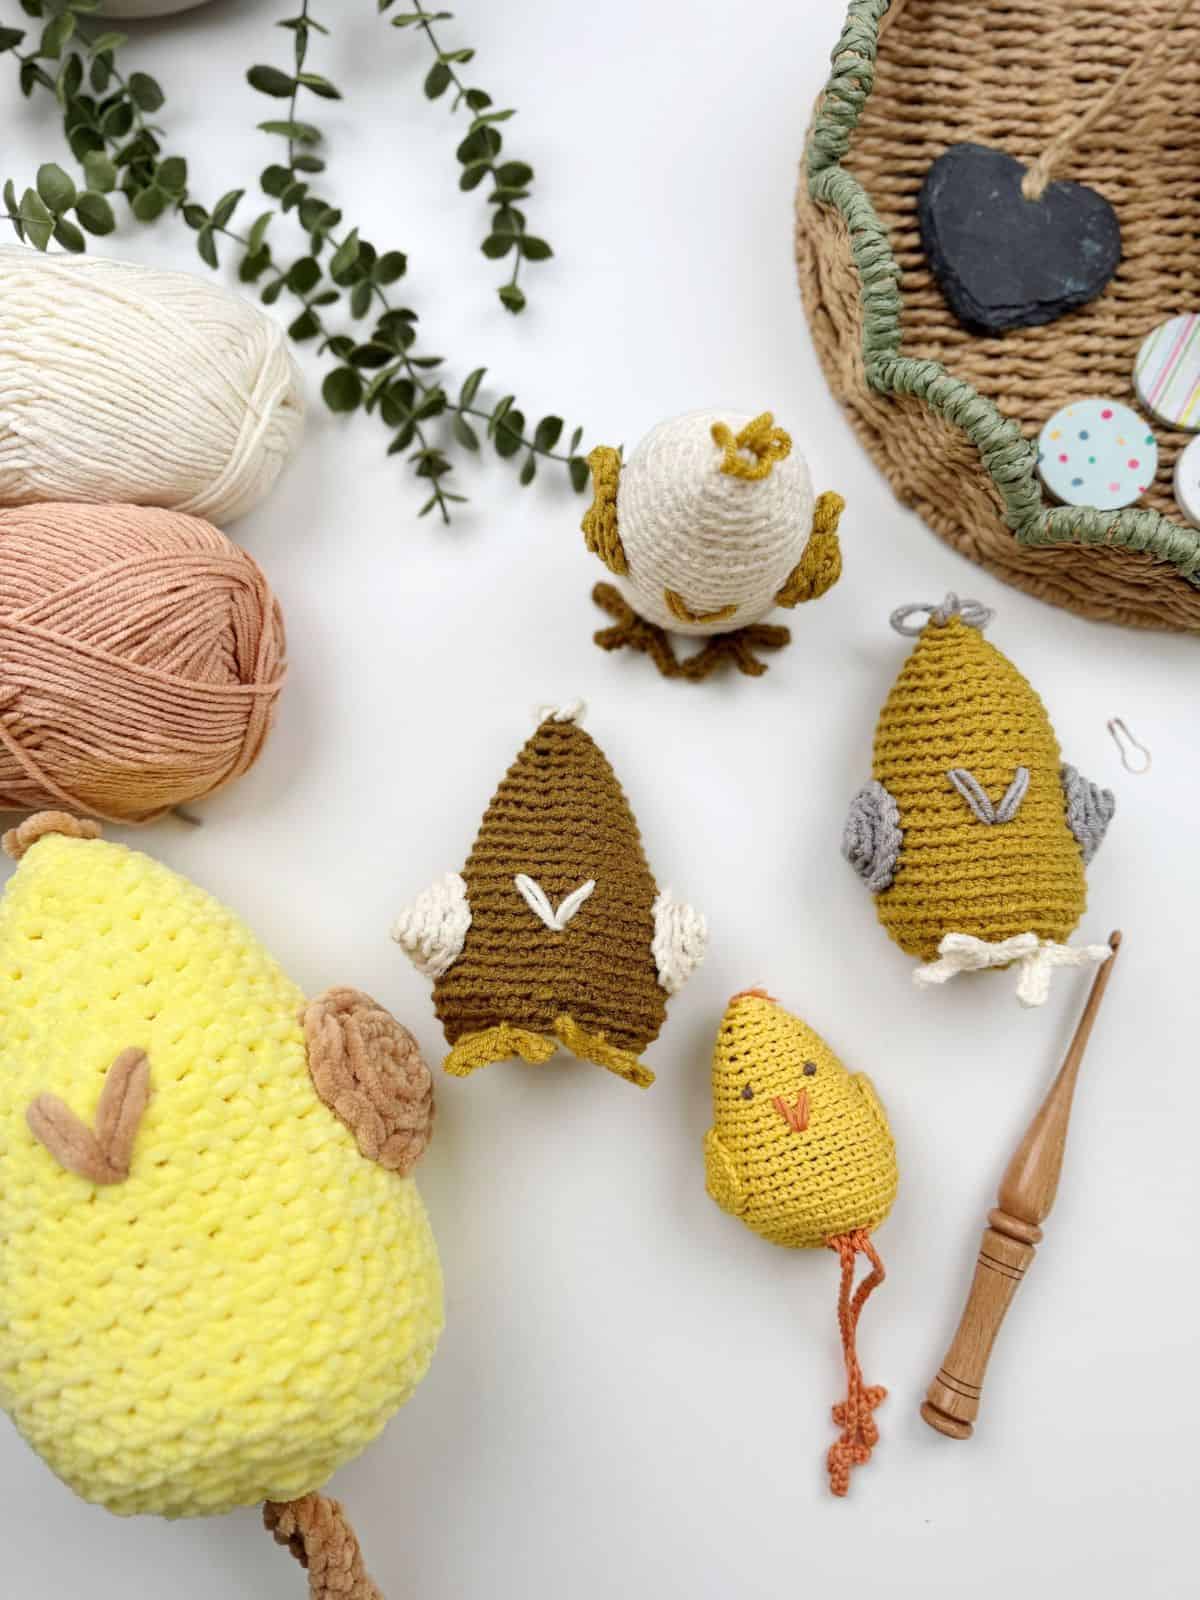
These cute crochet chicks make the perfect quick project! Whether you’re in between larger pieces or just need to switch to something else for a while, your chicken will work up quickly and be a joy to make and to use.
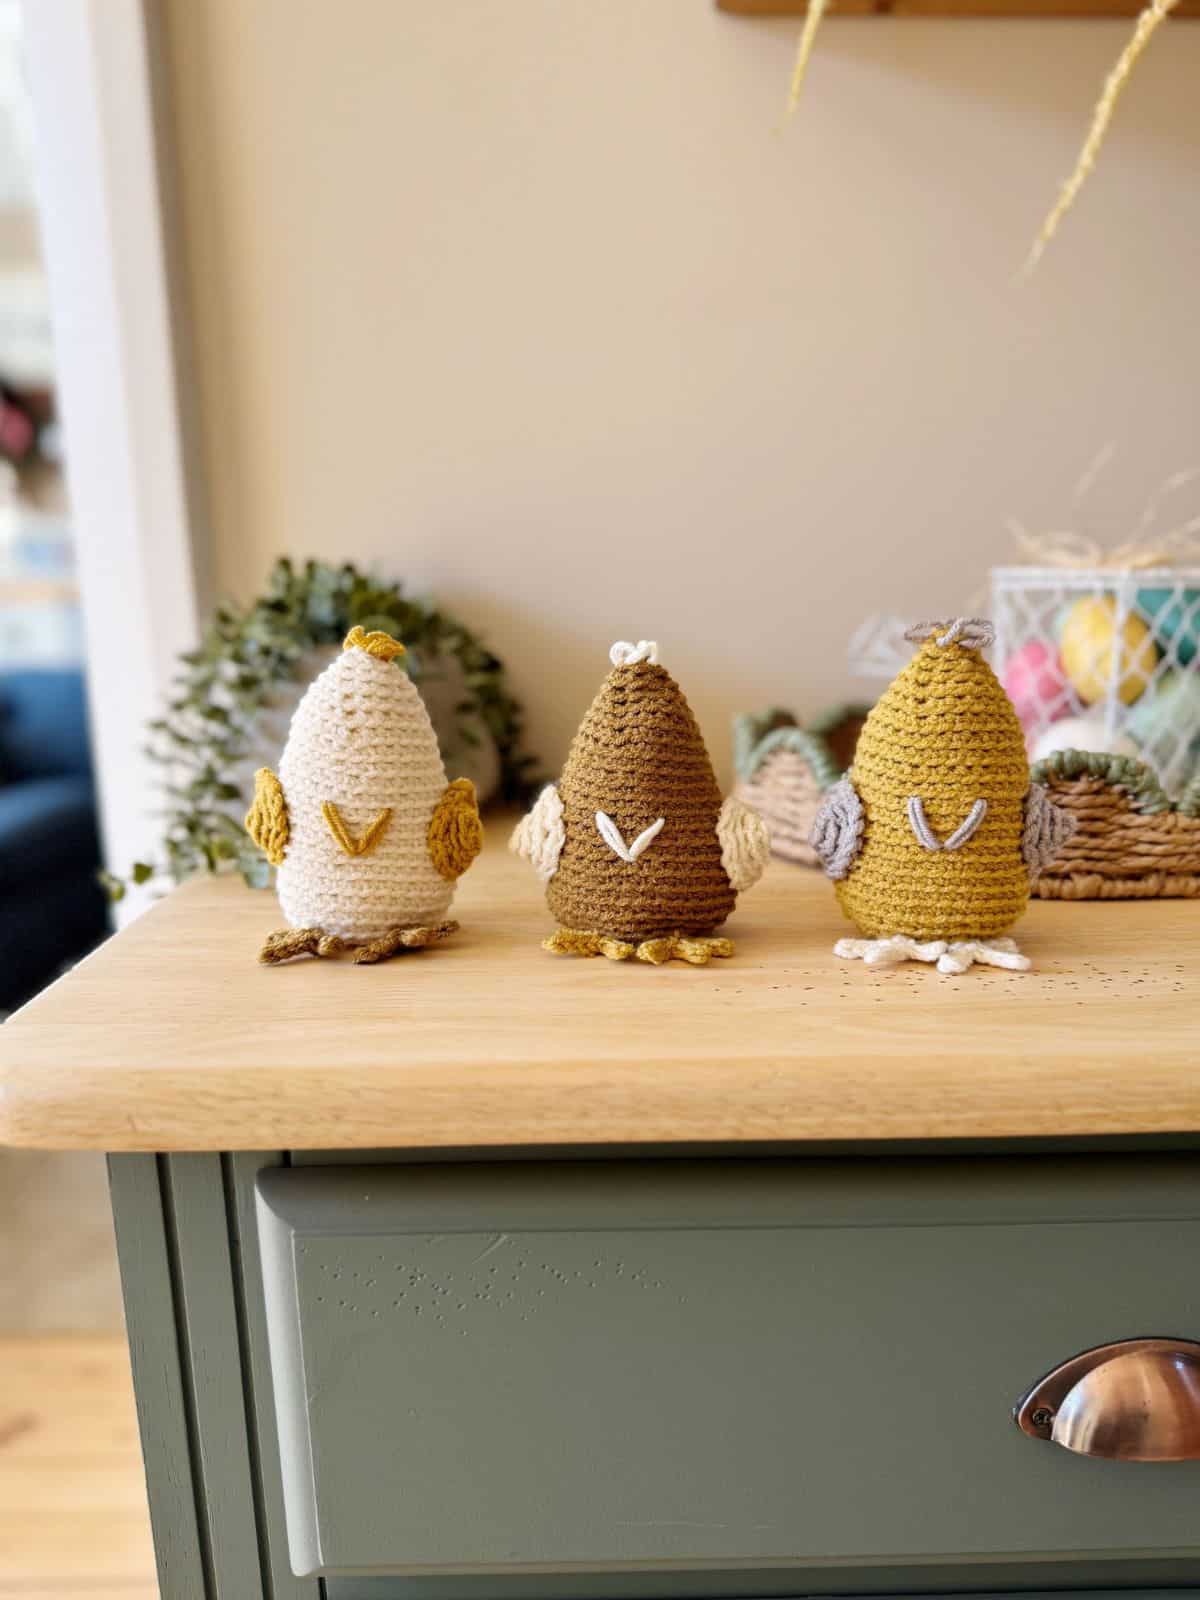
The great thing about this pattern is that you can use any yarn you like for your chicken! I’ve put some options below, but I would recommend having a look what you already have in your stash. This can be a great way to use up leftover skeins, whilst creating a cute piece of home decor.
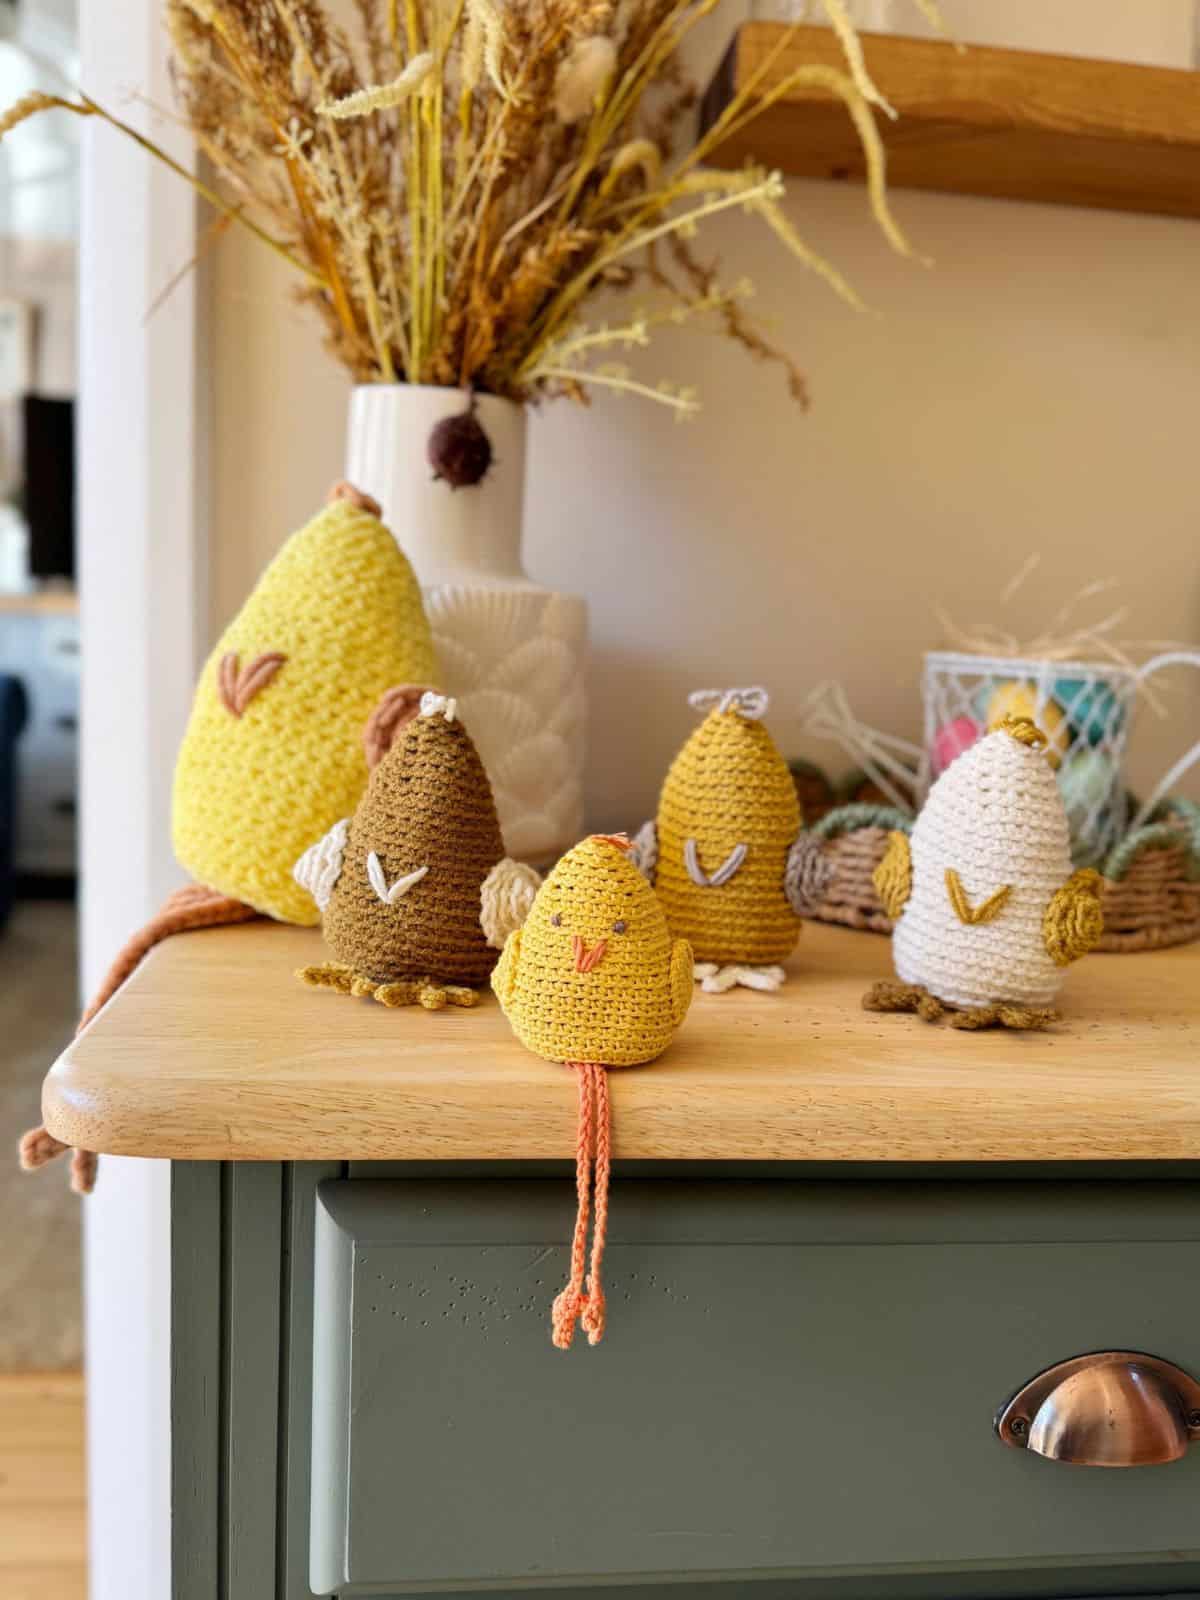
The crochet chicks can be easily adapted to make them into egg cozies too! Pop in a chocolate egg and you’ve got the cutest Easter gift ever!
In this post you’ll find everything you need to know how to make your crochet amigurumi chick, including materials, stitches, a detailed video tutorial and free written pattern for blog subscribers.
My crochet chicken comes with a matching bunny – check out the bunny pattern (coming soon)!
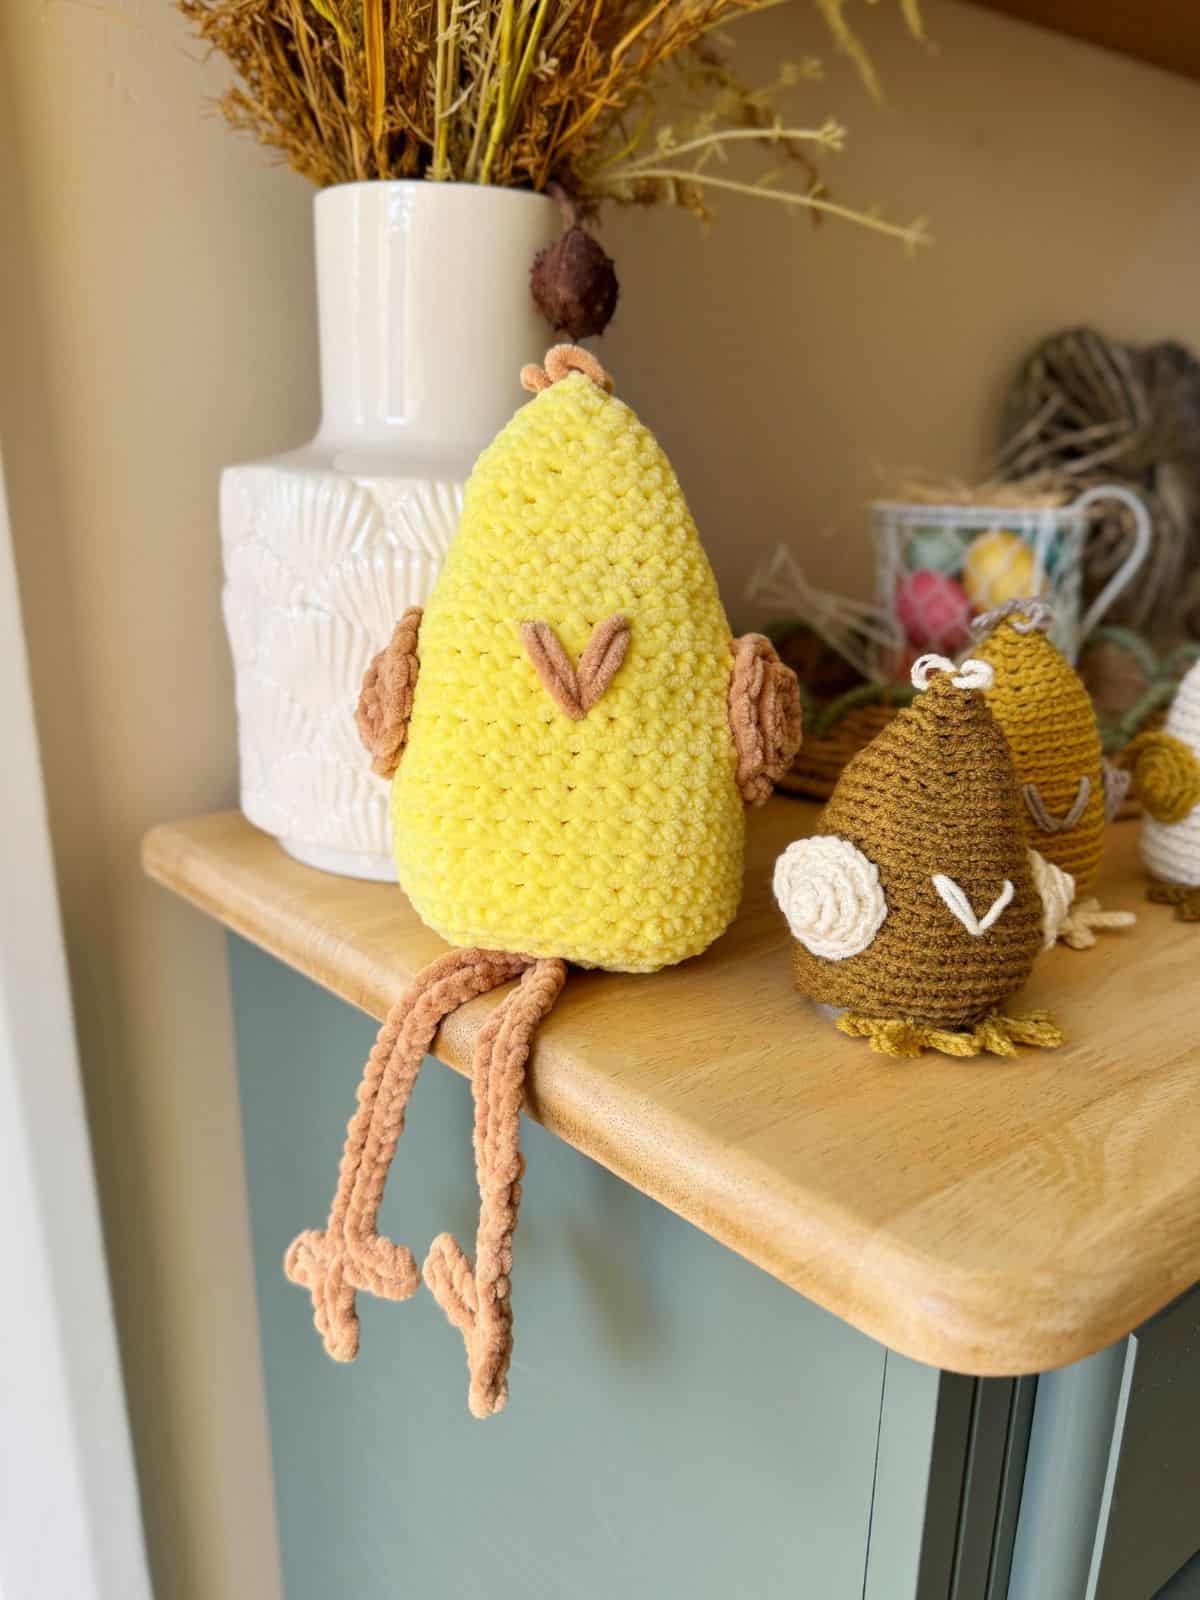
Decorating your home with handmade crochet items is super addictive, and such a rewarding thing to do! Check out my other home decor crochet patterns to find your next project!
Yarn
To make the worsted weight chickens, I used Color Theory by Lion Brand, 100% Acrylic, 246yds/225m/100g
I used Bee Pollen, Dijon, Ivory and Satellite for my worsted weight chickens. I also used a 3.5mm(E) crochet hook with worsted weight yarn.
Fingering weight yarn
DMC Natura Just Cotton, 100% Cotton, 170yds/155m/50g.
I used Safran and Tournesol for my fingering weight chickens and a 2.5mm(B/1) crochet hook.
Bulky weight yarn
Soho Skwishy, 100% Polyester, 131yds/120m/100g.
I used Sunny Side and Honey Bee for my bulky weight chicken and a 6mm(J) crochet hook.
The great thing is that you can use any yarn you have in your stash for this too!
Check our handy yarn weight chart and guide to find out more about yarn weights and categories.
Things you’ll love about this crochet chicken pattern
Getting Started: Materials Needed for Your Crochet Easter Chick
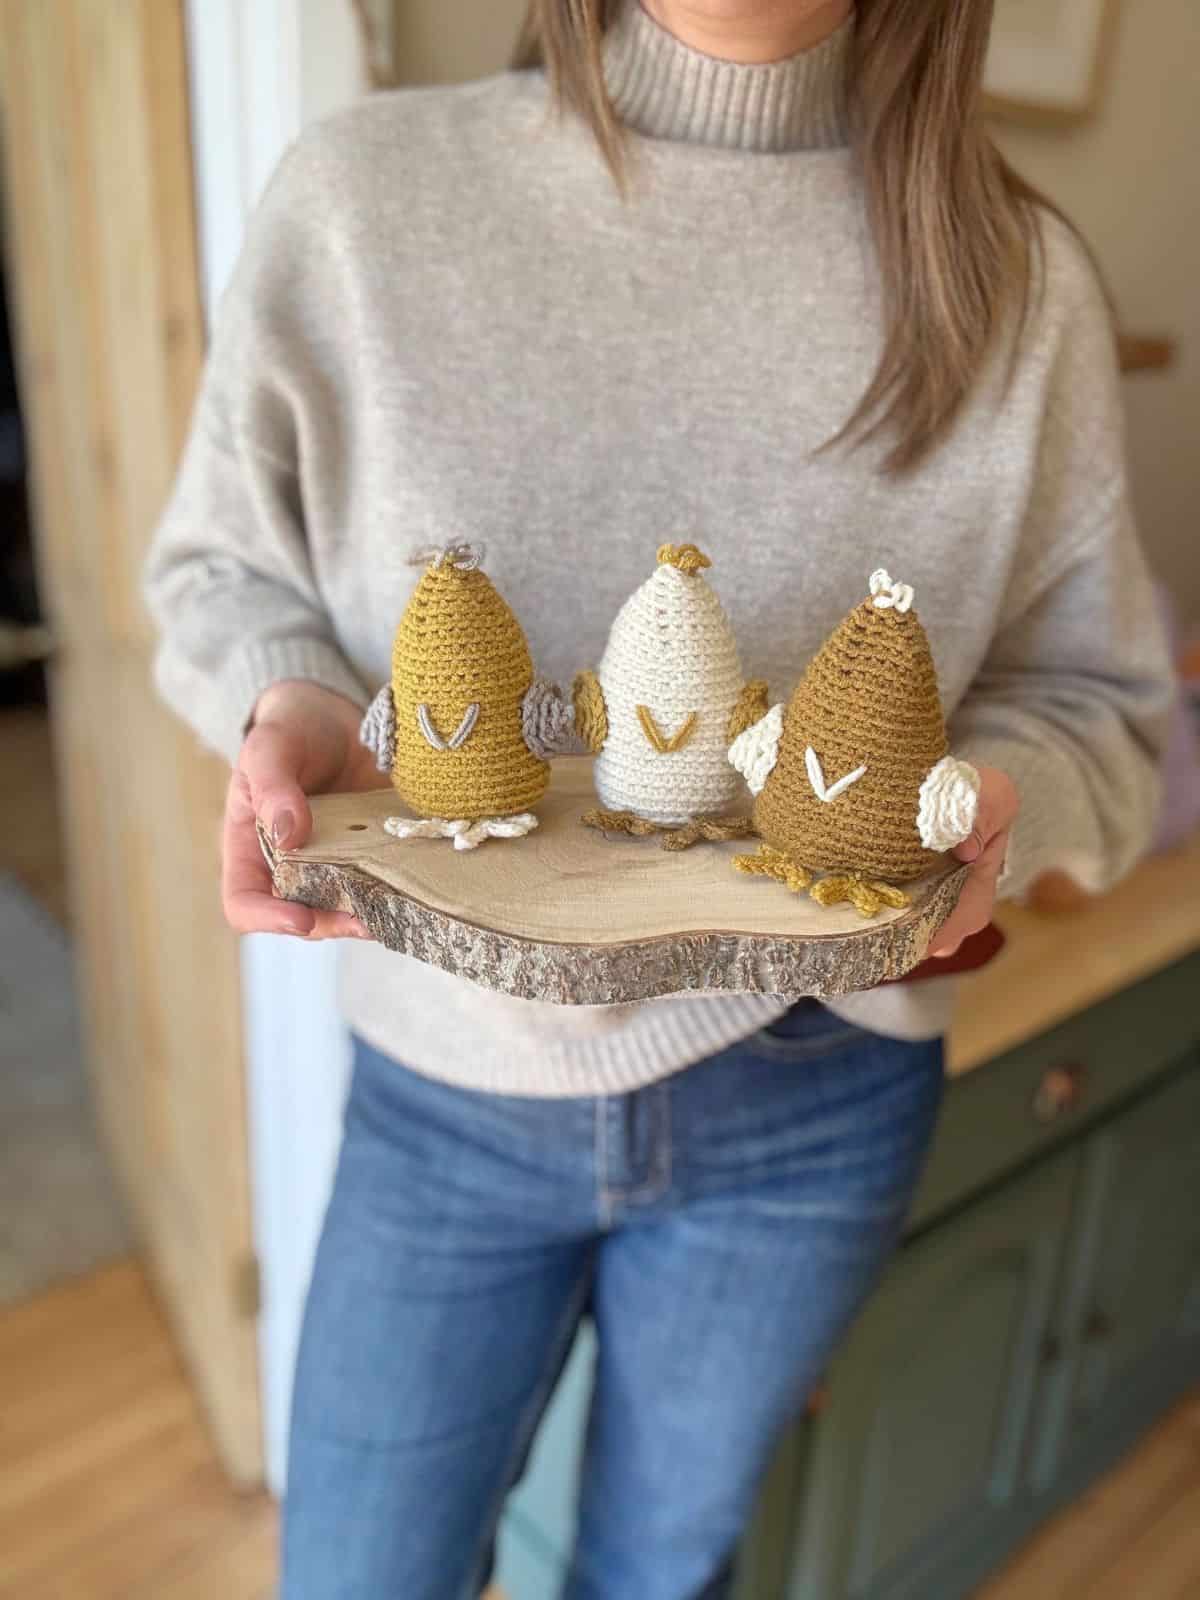
Approximate Sizing
Width:
Fingering Weight: 1.75″/4.5cm
Worsted Weight: 2.5″/6.5cm
Bulky Weight: 4.5″/11.5cm
Total height:
Fingering Weight: 3.25″/8cm
Worsted Weight: 4.5″/11.5cm
Bulky Weight: 8″/20cm
How much yarn do I need to crochet the chicks?
You can make at least 2-3 chickens from each ball of yarn.
You will need approximately 50yds (fingering weight), 65yds (worsted weight), 75yds (bulky weight) for each chicken which includes a contrast yarn colour for the Wings and features.
You can use any weight of yarn that you would like but be sure to adjust your hook size accordingly. You’ll need to use a hook size at least 2 sizes smaller than recommended on the ball band to ensure tight stitches.
Other Materials
Along with your yarn and corresponding hook, you will need the following:
- Scissors
- Tapestry needle
- Stitch Marker
- Toy Stuffing
- Beans (optional)
Don’t forget to join HanJan Crochet to receive regular discount codes (and more free patterns!) and Pin this free crochet chick pattern to your crochet Pinterest board!
Step by Step Video Tutorial
Come along as I crochet the Easter chicks and see just how easy it is in our step-by-step video tutorial.
- The Chicken is made by creating the Body to begin with using single crochet stitches in the back loop only.
- We work from the top down in continuous rounds, increasing to get the desired size.
- The bottom of the Body is then closed by decreasing (unless you would like to leave it open and use as an egg cover).
- The Wings are made and secured to the sides of the Body.
- If desired, you can then make 2 legs and secure them underneath the Body.
- Lastly, you can add any face detail that you like.
Crochet Terms You’ll Need to Know
Glossary and Abbreviations
beg – beginning
blo – back loop only
ch(s) – chain(s)
ch-sp(s) – chain space(s)
flo – front loop only
rep – repeat
RS – right side
sp – space
ss/sl st – slip stitch
st(s) – stitch(es)
WS – wrong side
Yoh – yarn over hook
Stitches
The pattern is written in standard US terms and uses the following crochet stitches:
sc – single crochet (UK dc – double crochet)
hdc – half double crochet (UK htr – half treble crochet)
dc – double crochet (UK tr – treble crochet)
Special Stitches
This pattern really only uses the basic crochet stitches to create your chicken with just a couple that you may not know about.
To work the back loop only, turn your work so that the top is facing you to see the front and back loops. Work into the back loop by inserting the hook into the loop furthest from you.
sc2tog – single crochet 2 together
Insert hook into stitch and pull up a loop. Insert hook into next stitch and pull up a loop. Yarn over, pull through all 3 loops on hook.
Before you jump into crocheting your chicken, take a moment to read through the pattern notes—it’s a game-changer!
These handy insights will not only simplify your pattern-reading journey but also ensure a smoother crochet experience. You’ll find helpful tips on deciphering the sizing, customisation and more.
Trust me, a quick peek at these notes will set you up for crochet success!
- The pattern is worked in continuous rounds for the Body and Wings.
- A ch1 at the beginning of a row does not count as a stitch.
- Read through the entire pattern before beginning.
- Before you start, go through the pattern and highlight/mark the stitch and row counts that you might find helpful.
- Make sure that you are familiar with all of the stitches in the abbreviations list before you begin.
- Stitch counts are given in [ ] at the end of each row. If no stitch count is given, then the count is the same as the previous row.
Free Crochet Amigurumi Chick Pattern
There are a few options for you to access and enjoy this crochet pattern:
- View the free pattern on the blog – all blog subscribers will be able to view the patterns supported by ads by logging into their Grow account.
- Purchase the individual pattern on Etsy or Ravelry as a beautifully formatted PDF with extra stitch charts, schematic and colour information page and more!
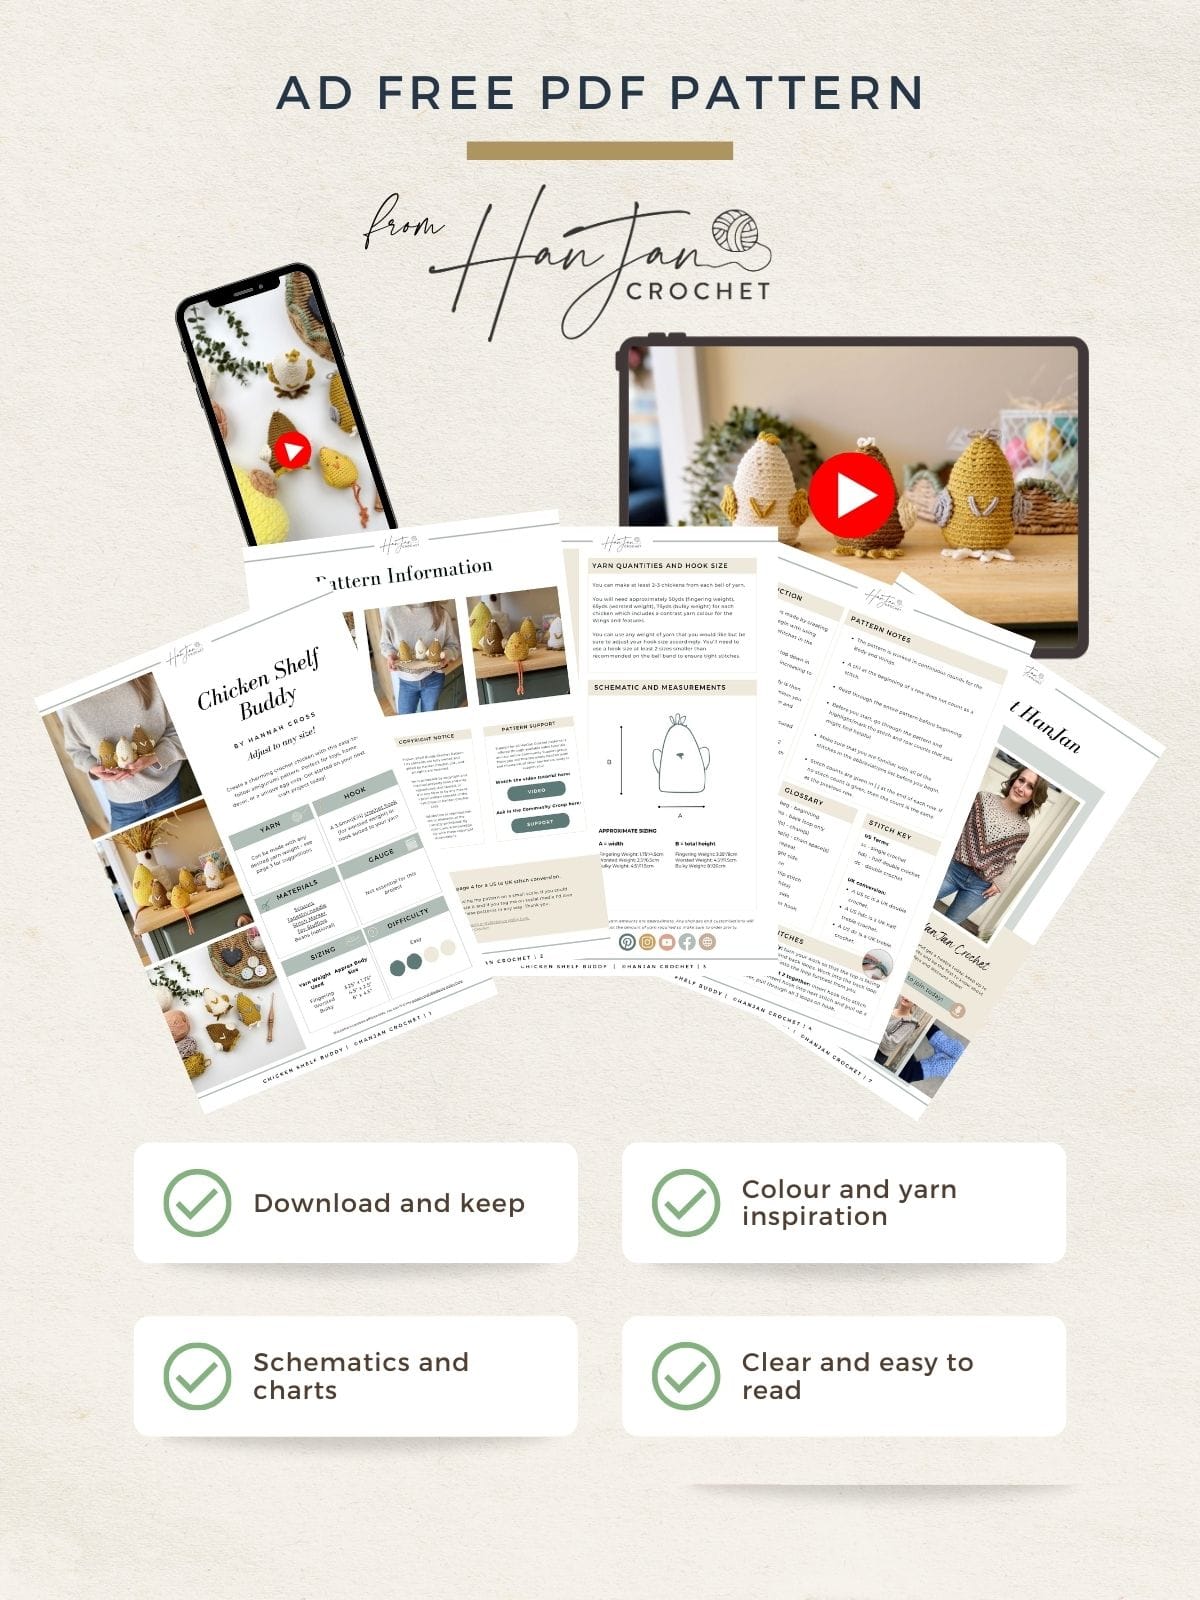
Get this pattern ad free
Get the PDF Pattern!
Perfect to print out or use on any device, with added schematic and charts, colour inspiration and stitch tutorials.
Copyright Notice
The Chicken Shelf Buddy Crochet Pattern and its contents are fully owned and copyrighted by HanJan Crochet Ltd., and all rights are reserved.
This pattern is protected by copyright and other intellectual property laws and may not be reproduced, distributed, or transmitted in any form or by any means without the prior written consent of the author (Hannah Cross of HanJan Crochet Ltd).
Unauthorised distribution or reproduction of this pattern or elements of the instructions is strictly prohibited. The free to view crochet pattern is intended for personal viewing only. By accessing this pattern, you acknowledge and agree to comply with these copyright terms and conditions.
Pattern Support
I am delighted to invite you to join the HanJan Crochet Community Facebook Group where we host all pattern support queries and love to see your progress, yarn choices and finished projects!
Crochet Pattern Free for Blog Subscribers to View
US Terminology
To unlock Exclusive Content on the HanJan Crochet Blog, all you need to do is click the box below and the Grow.me app will pop up, allowing you to enter your email and create a password.
Once you’ve created an account, every time you see Exclusive Content on my blog (or any others that use Grow), simply login to your Grow account. Be sure to switch to the login screen to enter your login credentials.
If you forget your password, click the “forgot password” link and follow the prompts. Please note that I’m unable to assist with resetting Grow passwords or accessing your Grow account, so be sure to save your login information in a safe place.
Thank you for subscribing and for joining me at HanJan Crochet! I hope you enjoy the exclusive content available on the site and I can’t wait to see what you create 🙂
Round 2: 2sc in each st around. [8]
Round 3: (sc in next st, 2sc in next st) 4 times. [12]
Round 4: (sc in each of next 2 sts, 2sc in next st) 3 times, hdc in next st, dc in next st, (dc, hdc) in next st, ss to first sc. [12 sc, 2 dc, 2 hdc]
Break yarn.
Sew in place on Body.
TUFT
All Sizes
Using your contrast colour, sew a small tuft to the top of the chick by sewing 3 – 5 loops of the same thread through Round 1 of the Body.
Be careful not to pull too tight and close the loops. The video tutorial shows this step in detail.
OPTIONAL LEGS
If you’d like to create a little shelf buddy like my fingering weight version then you can make some little legs as follows:
Make 2
Foundation chain: ch26.
Row 1: ss in second ch from hook and in each of the next 2ch, *ch4, ss in second ch from hook and in each of the next 2ch, ss back into foundation ch; rep from * once more. Break yarn.
Tie the 2 legs together at the top and sew to the centre front of the Body on the underside.
If you’d like to add legs like on my bulky weight version then work Row 1 as above but then continue to work a ss in the remaining chs of the Foundation chain to complete each Leg.
OPTIONAL FEET
If you’d like to just add feet like in my worsted weight version then do as follows:
Make 2
Row 1: using chosen colour, *ch5, ss in 2nd ch from hook and next 3chs; rep from *2 more times, ss in 1st ch to finish. Break yarn and sew to desired place on chicken.
OPTIONAL FACE FEATURES
You can add as may or as few facial features to your Chicken as you like!
Embroider 2 eyes and a beak as you would like them.
For my worsted weight version I decided to just add a beak but it’s completely up to you – get creative and do what feels right for you!
Weave in ends to finish.
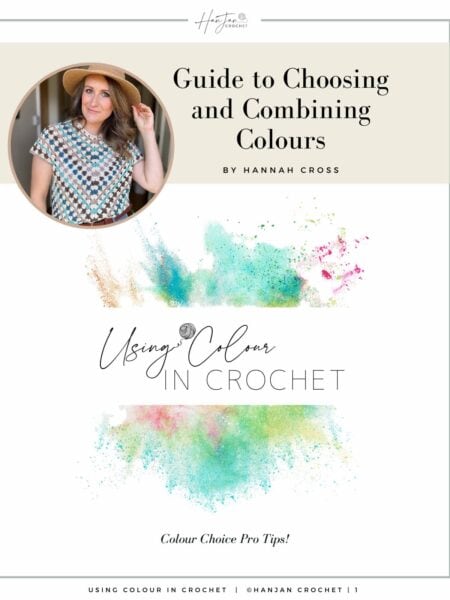
Get your free guide!
Subscribe to get your free guide to choosing and combining colours!
Join HanJan and Share Your Crochet!
It’s an honour to be able to create and share my free crochet patterns with you. I’d love to stay connected and send you regular discount codes and free patterns! Please sign up for my subscriber list to get a free gift right now!
I look forward to seeing your finished crochet projects, especially this easy crochet pattern, so please share them with me in the HanJan Crochet Facebook group or on Instagram and tag #hanjancrochet.
Purchase and Print
Get the ad-free, printable PDF with added stitch chart and schematic in my pattern stores:
Join our community group!
We’ve built an amazing community always ready to help each other. Join today!
More Home Decor Crochet Patterns You Might Enjoy
If you’ve enjoyed making this amigurumi chicken pattern, then why not try a few more? Here’s a few other of my designs you might like:
- Crochet napkin ring pattern – elegant and stylish with a pop of texture
- Free crochet coaster pattern – delicate and lacy in 3 designs
- Cable crochet pillow pattern – boho yet modern and easily customisable
Congratulations on crocheting your very own amigurumi chick! 🌟 Now that you’ve crafted this fun project, why stop here? Dive into my other home decor crochet patterns, each waiting to be transformed into your next crochet masterpiece.
Don’t forget to share your creations with me on social media—I love seeing your unique twists and colourful creations! Join our community of crochet enthusiasts, where we share tips, tricks, and plenty of crafting inspiration. So, grab your hooks, explore more patterns, and let’s continue this crochet adventure together! Happy stitching! 🧶✨