This post may contain affiliate links. Please see my full disclosure and privacy policy for details.
Following on from sharing with you my 7 top wedding crochet ideas I’m so pleased to be able to share with you a free pattern for some crochet wedding favour bags!
I crochet just about everything I could manage for our wedding but ran out of time to crochet nay favour bags. They were next on the list and so sorry to anyone who came to our wedding (they just didn’t get anything as a favour I’m afraid!).
If you’re more organised than me and have plenty of time to plan and make then a set of these really simple but sophisticated crochet wedding favour bags would be perfect for your (or someone else’s) big day!
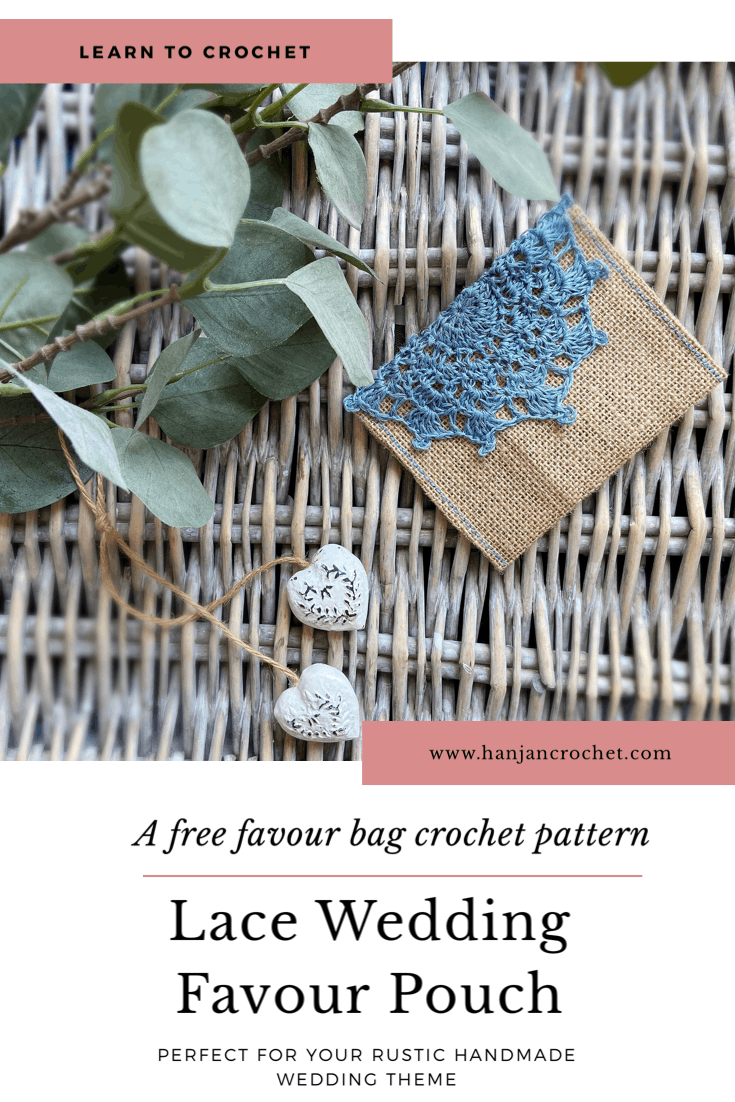
Table of Contents
Click here to Pin this pattern for later.
About the Crochet Wedding Favour Bags
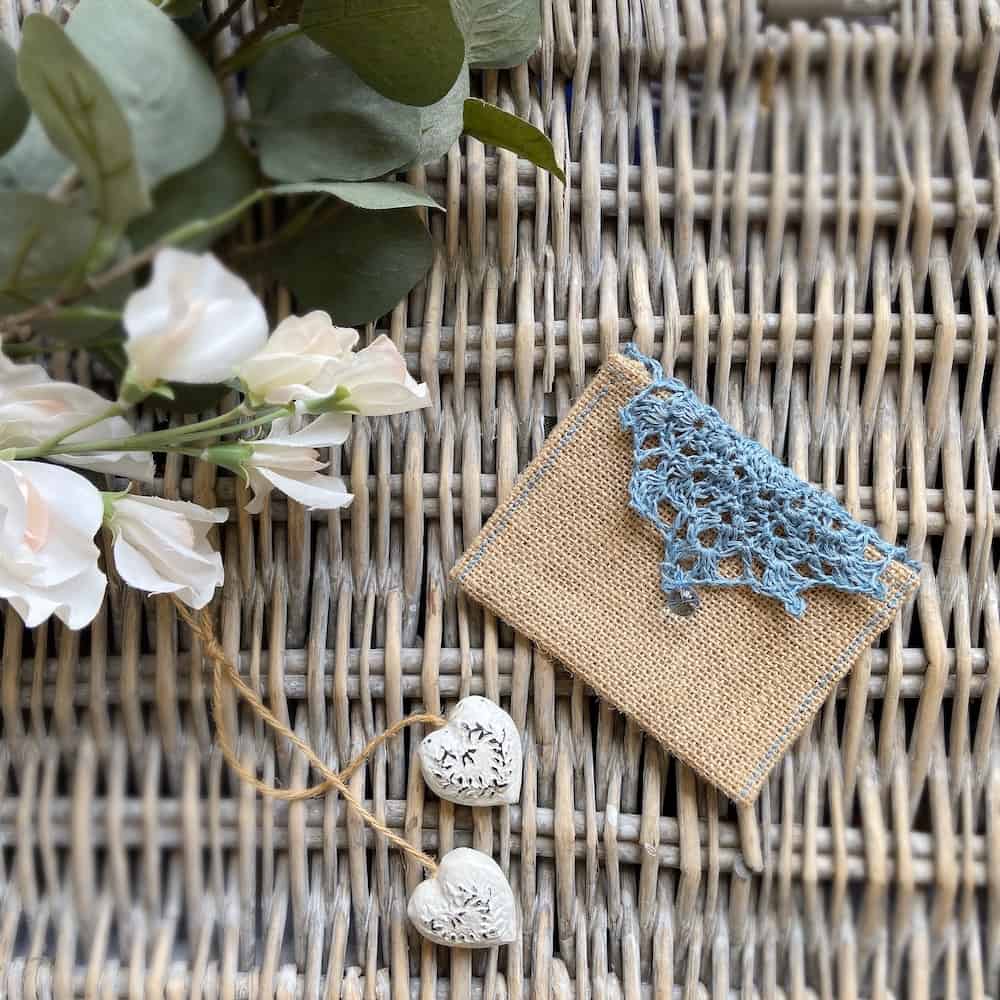
The delicate little bags are simply constructed by first crocheting a mandala in thread. You then need to make a small hessian pouch to sew half of the mandala onto. Fold the mandala over the top of the pouch, add a button and secure. It’s a really easy process that gives a stunning result.
The pattern is shared here for free in both UK and US terms for everyone to enjoy. If you’d like to, I’d love for you to sign up to my subscriber list so that I can share more crochet and free patterns with you.
Yarn
I used some beautiful thread from Namolio Yarns – Linen Yarn (100% linen, 25g/130m) in the colour Glacier.
Tension and Sizing
The finished motif measures 12cm in diameter (tension isn’t essential).
The finished crochet wedding favour bags measure 12cm x 9cm.
Materials
Along with the yarn you will need the following:
| 3mm (US 7 G+) crochet hook – my favourites are Furls Streamline Swirl crochet hooks or Clover Amour crochet hooks. |
| Tapestry needle |
| Scissors |
| Stitch markers if desired |
You’ll also need:
Hessian cloth 14cmx20cm
1cm glass button
Special Stitch – How to crochet the Picot Stitch
ch-4 picot: ch4, slip stitch in 4th chain from the hook.
Glossary/Abbreviations
ch(s) – chain(s)
ss – slip stitch
sk – skip
st(s) – stitch (es)
RS – right side
WS – wrong side
rep – repeat
sp – space
beg – beginning
Stitches –
| UK Terms | US Terms |
| dc – double crochet | sc – single crochet |
| htr – half treble | hdc – half double crochet |
| tr – treble crochet | dc – double crochet |
The Pattern
(In standard UK terms – please scroll down for pattern in US terms)
Make a magic ring.
Round 1: 12tr in magic ring, ss to 1st tr to join [12tr]
Round 2: ss into space between 1st and 2nd sts, ch3 (counts as tr), tr in same sp, work 2tr in each sp between stitches around, ss into 1st tr to join [24tr]
Round 3: *ch5, ss in same st, ss in next 2 sts; rep from * around, ss in 1st ch5-sp [12 ch-5 sps]
Round 4: ch1 (does not count as st), (dc, htr, tr, htr, dc) in each ch5-sp around, ss in 1st dc to join [60sts]
Round 5: ss across to first tr, *ch3, ss in same tr, ss in next 2sts, ch3, ss in next 3sts; rep from * around [24 ch-3 sps]
Round 6: ss in 1st ch-3 sp, *ch3, ss in next ch-3 sp; rep from * around.
Round 7: ss to first ch-3 sp, (ch3, tr, ch1, 2tr) in same sp, ss in next ch-3 sp, *(2tr, ch1, 2tr) in next ch-3 sp, ss in next ch-3 sp; rep from * around, ss in top of beginning ch3 to join.
Round 8: ss across to first ch-1 sp, (ch3, 2tr, ch-4 picot, 2tr) in ch-1 sp, ch1, tr in next ss, ch1, *(3tr, ch-4 picot, 2tr) in next ch-1 sp, ch1, tr in next ss, ch1, rep from * around, ss in top of beginning ch-3 to join.
The Pattern
(In standard US terms)
Make a magic ring.
Round 1: 12dc in magic ring, ss to 1st dc to join [12dc]
Round 2: ss into space between 1st and 2nd sts, ch3 (counts as dc), dc in same sp, work 2dc in each sp between stitches around, ss into 1st dc to join [24dc]
Round 3: *ch5, ss in same st, ss in next 2 sts; rep from * around, ss in 1st ch5-sp [12 ch-5 sps]
Round 4: ch1 (does not count as st), (sc, hdc, dc, hdc, sc) in each ch5-sp around, ss in 1st sc to join [60sts]
Round 5: ss across to first dc, *ch3, ss in same dc, ss in next 2sts, ch3, ss in next 3sts; rep from * around [24 ch-3 sps]
Round 6: ss in 1st ch-3 sp, *ch3, ss in next ch-3 sp; rep from * around.
Round 7: ss to first ch-3 sp, (ch3, dc, ch1, 2dc) in same sp, ss in next ch-3 sp, *(2dc, ch1, 2dc) in next ch-3 sp, ss in next ch-3 sp; rep from * around, ss in top of beginning ch3 to join.
Round 8: ss across to first ch-1 sp, (ch3, 2dc, ch-4 picot, 2dc) in ch-1 sp, ch1, dc in next ss, ch1, *(3dc, ch-4 picot, 2dc) in next ch-1 sp, ch1, dc in next ss, ch1, rep from * around, ss in top of beginning ch-3 to join.
Creating the crochet wedding favour bags
Fold in a 1cm seam along the short edges of the hessian, and sew with yarn. Press in a 1cm seam along the long edges, fold in half and sew the side seams.
Sew half of the motif into place on the bag to create an opening flap. Sew button in place to secure using a ch1-sp of Round 7.
Other ideas crochet ideas for your wedding

For our wedding (almost 7 years ago now!) I crocheted and made so many things that I thought it was about time I shared with you my best ideas for adding crochet to your wedding. If you’d like to know more about what I made and how then you can read about it here:
My top 7 Crochet Wedding Ideas and Inspiration
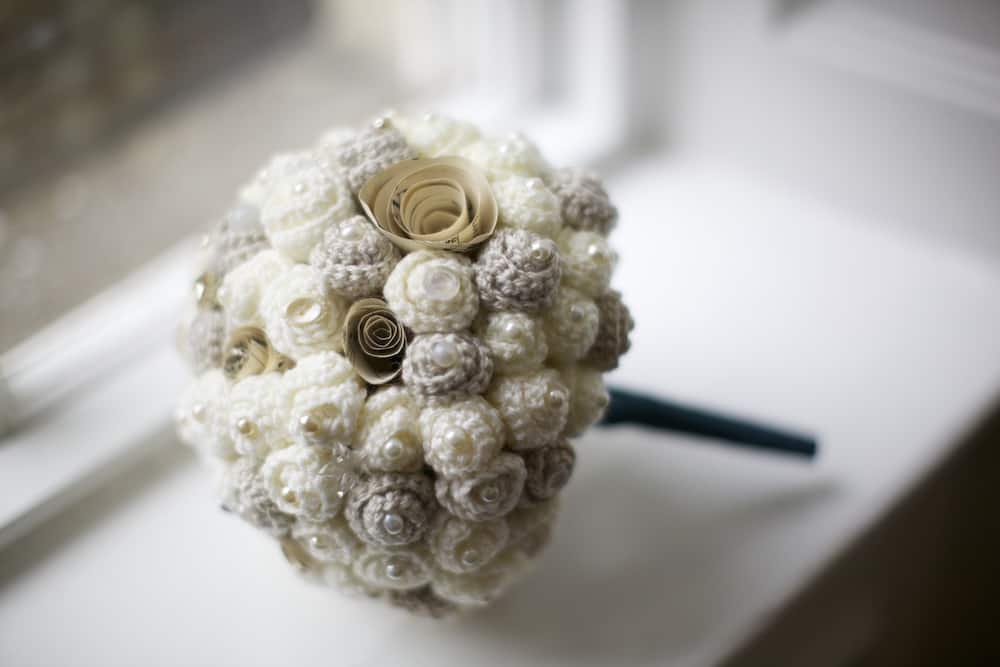
I’m planning on sharing lots more of the patterns that I designed for our wedding, especially my bouquet and the cake topper but first I need to find them……!
I’d love to stay connected with you so please do sign up for my subscriber list if you’d like to. Looking forward to hearing from you and sending you your free gift!
