This post may contain affiliate links. Please see my full disclosure and privacy policy for details.
Everyone that knows me well knows that I love nothing more than a beautiful crochet border stitch for all the blankets I design. I’ve used all sorts of border stitches over the years and have recently come to realise that often I decide on the border before anything else!
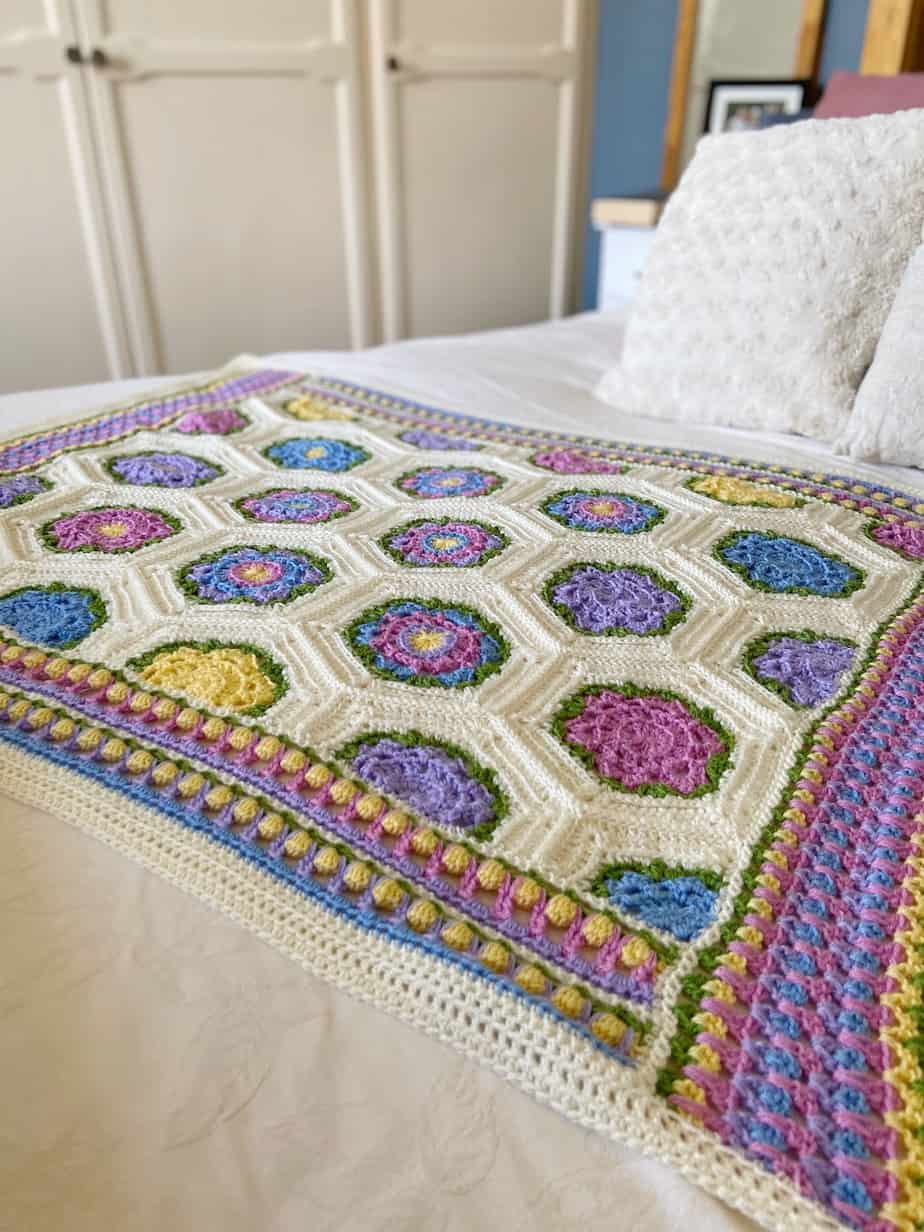
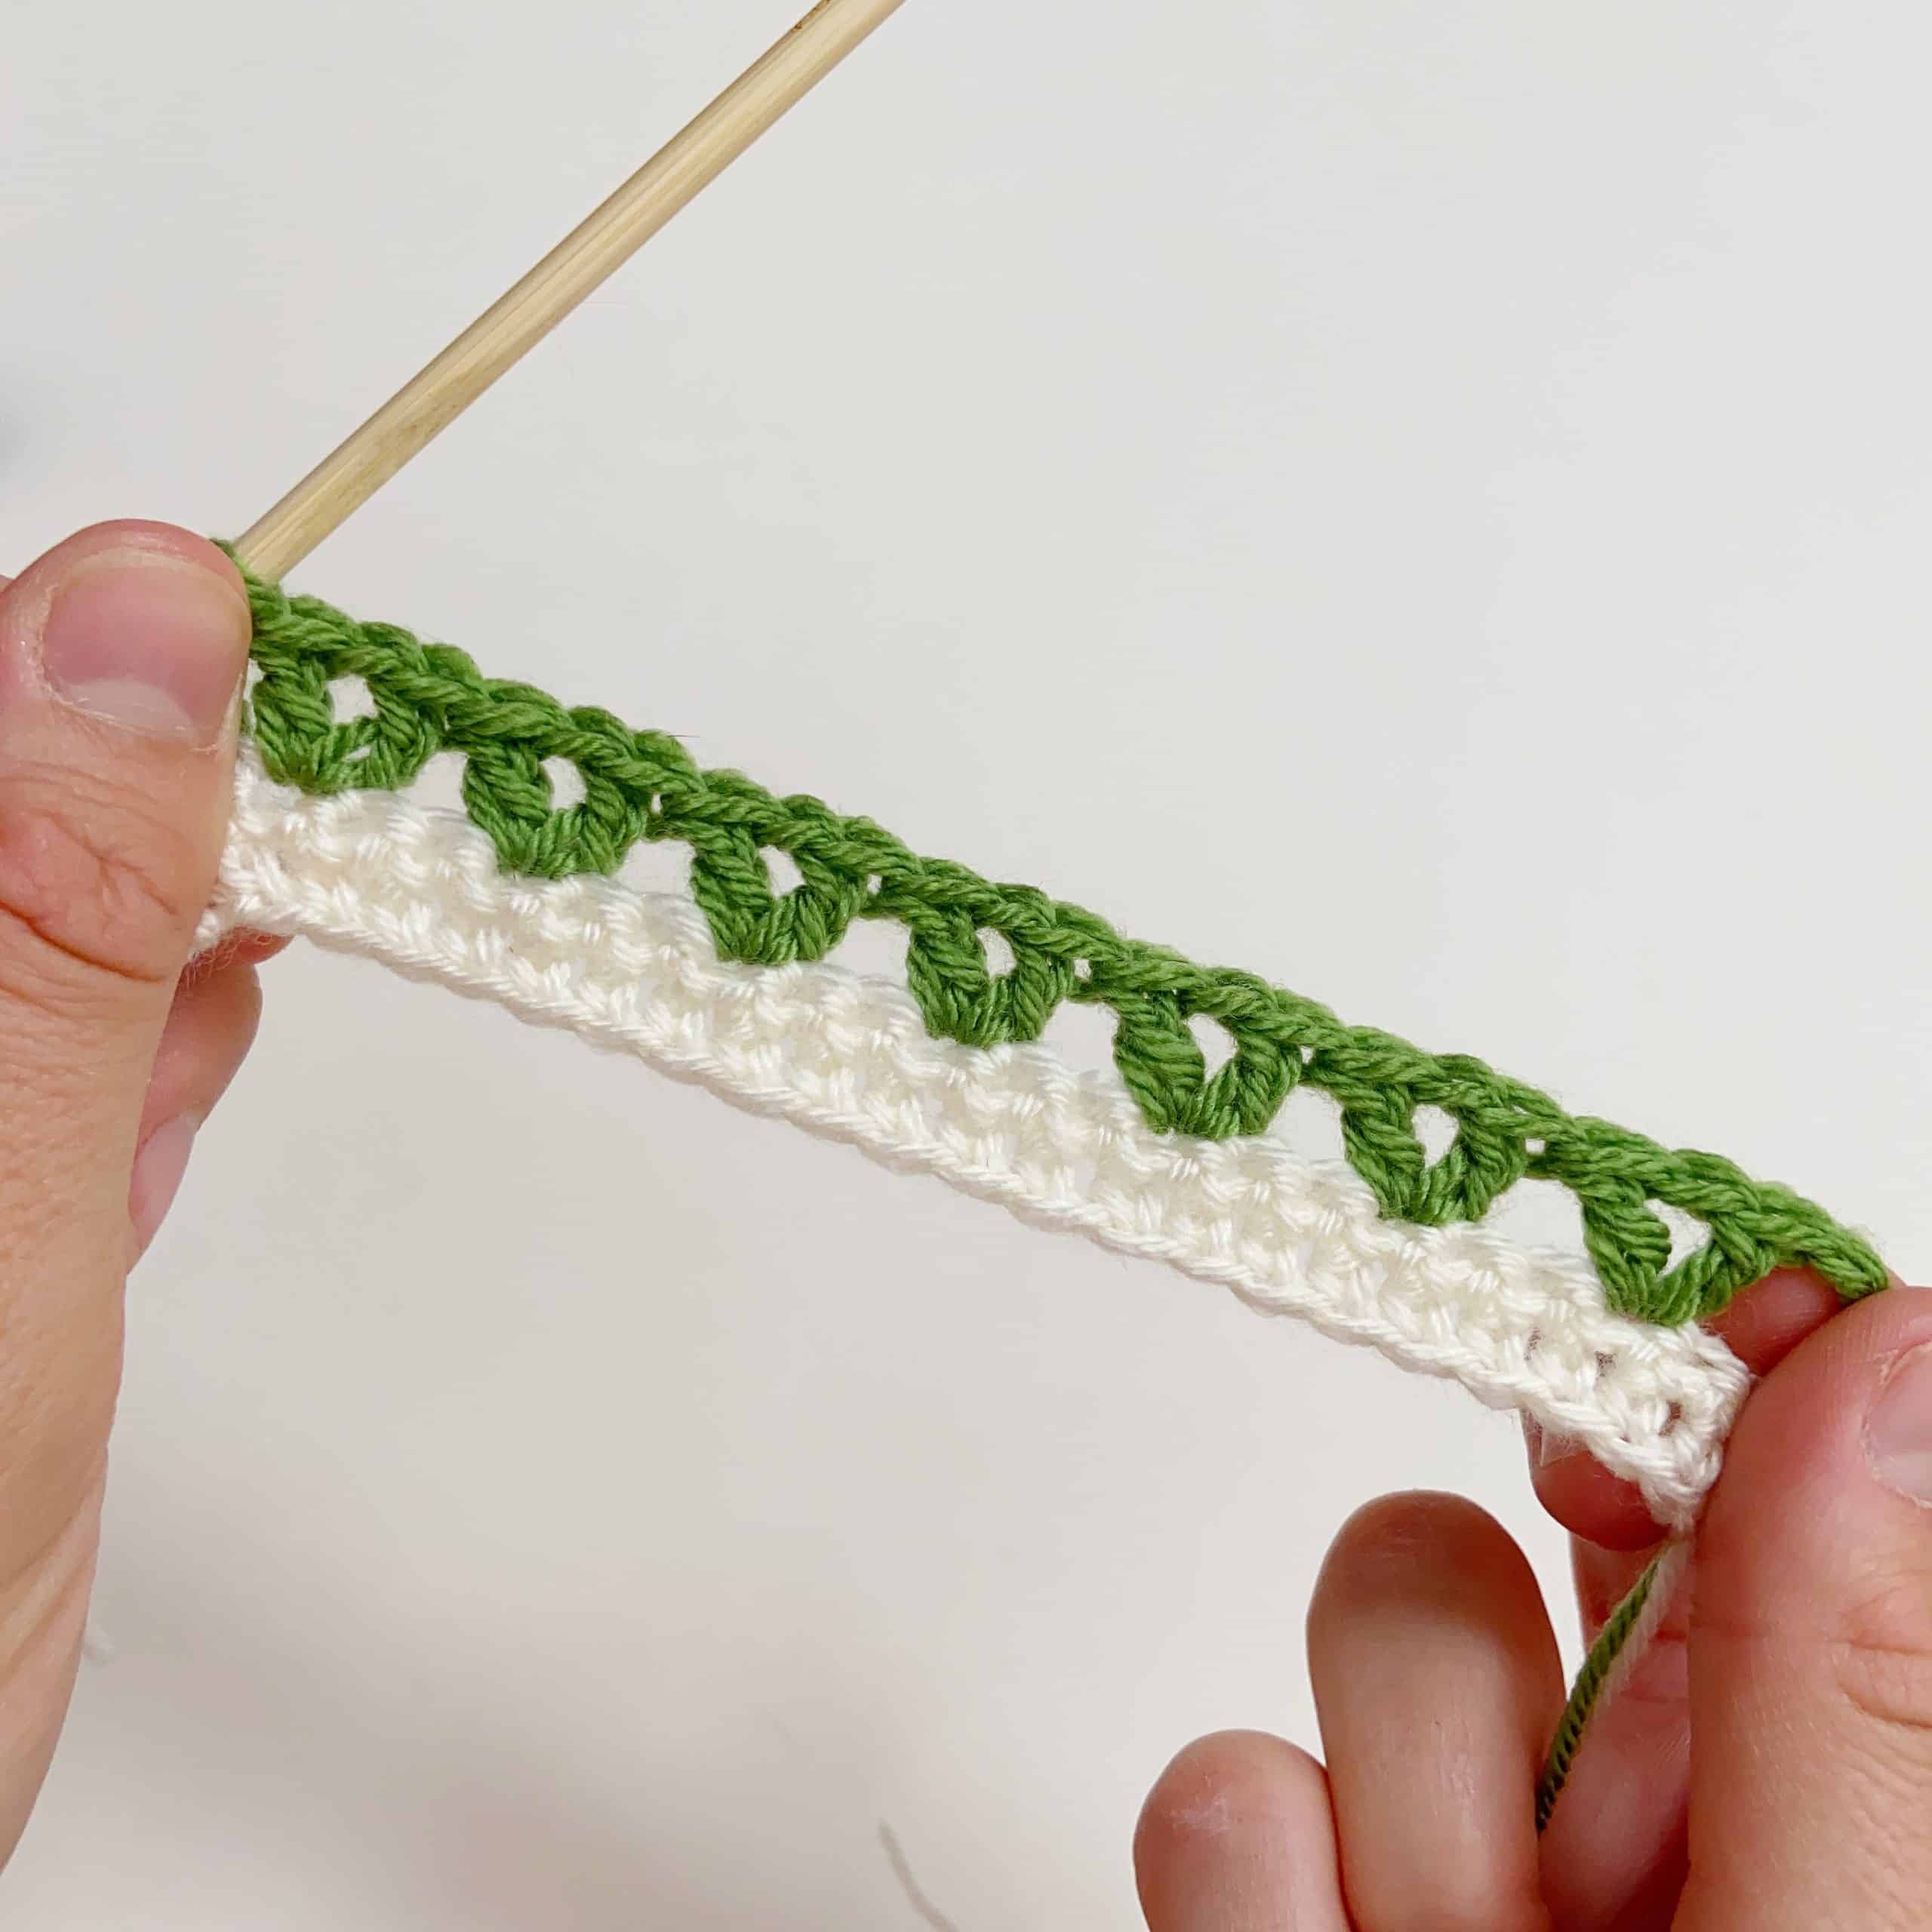
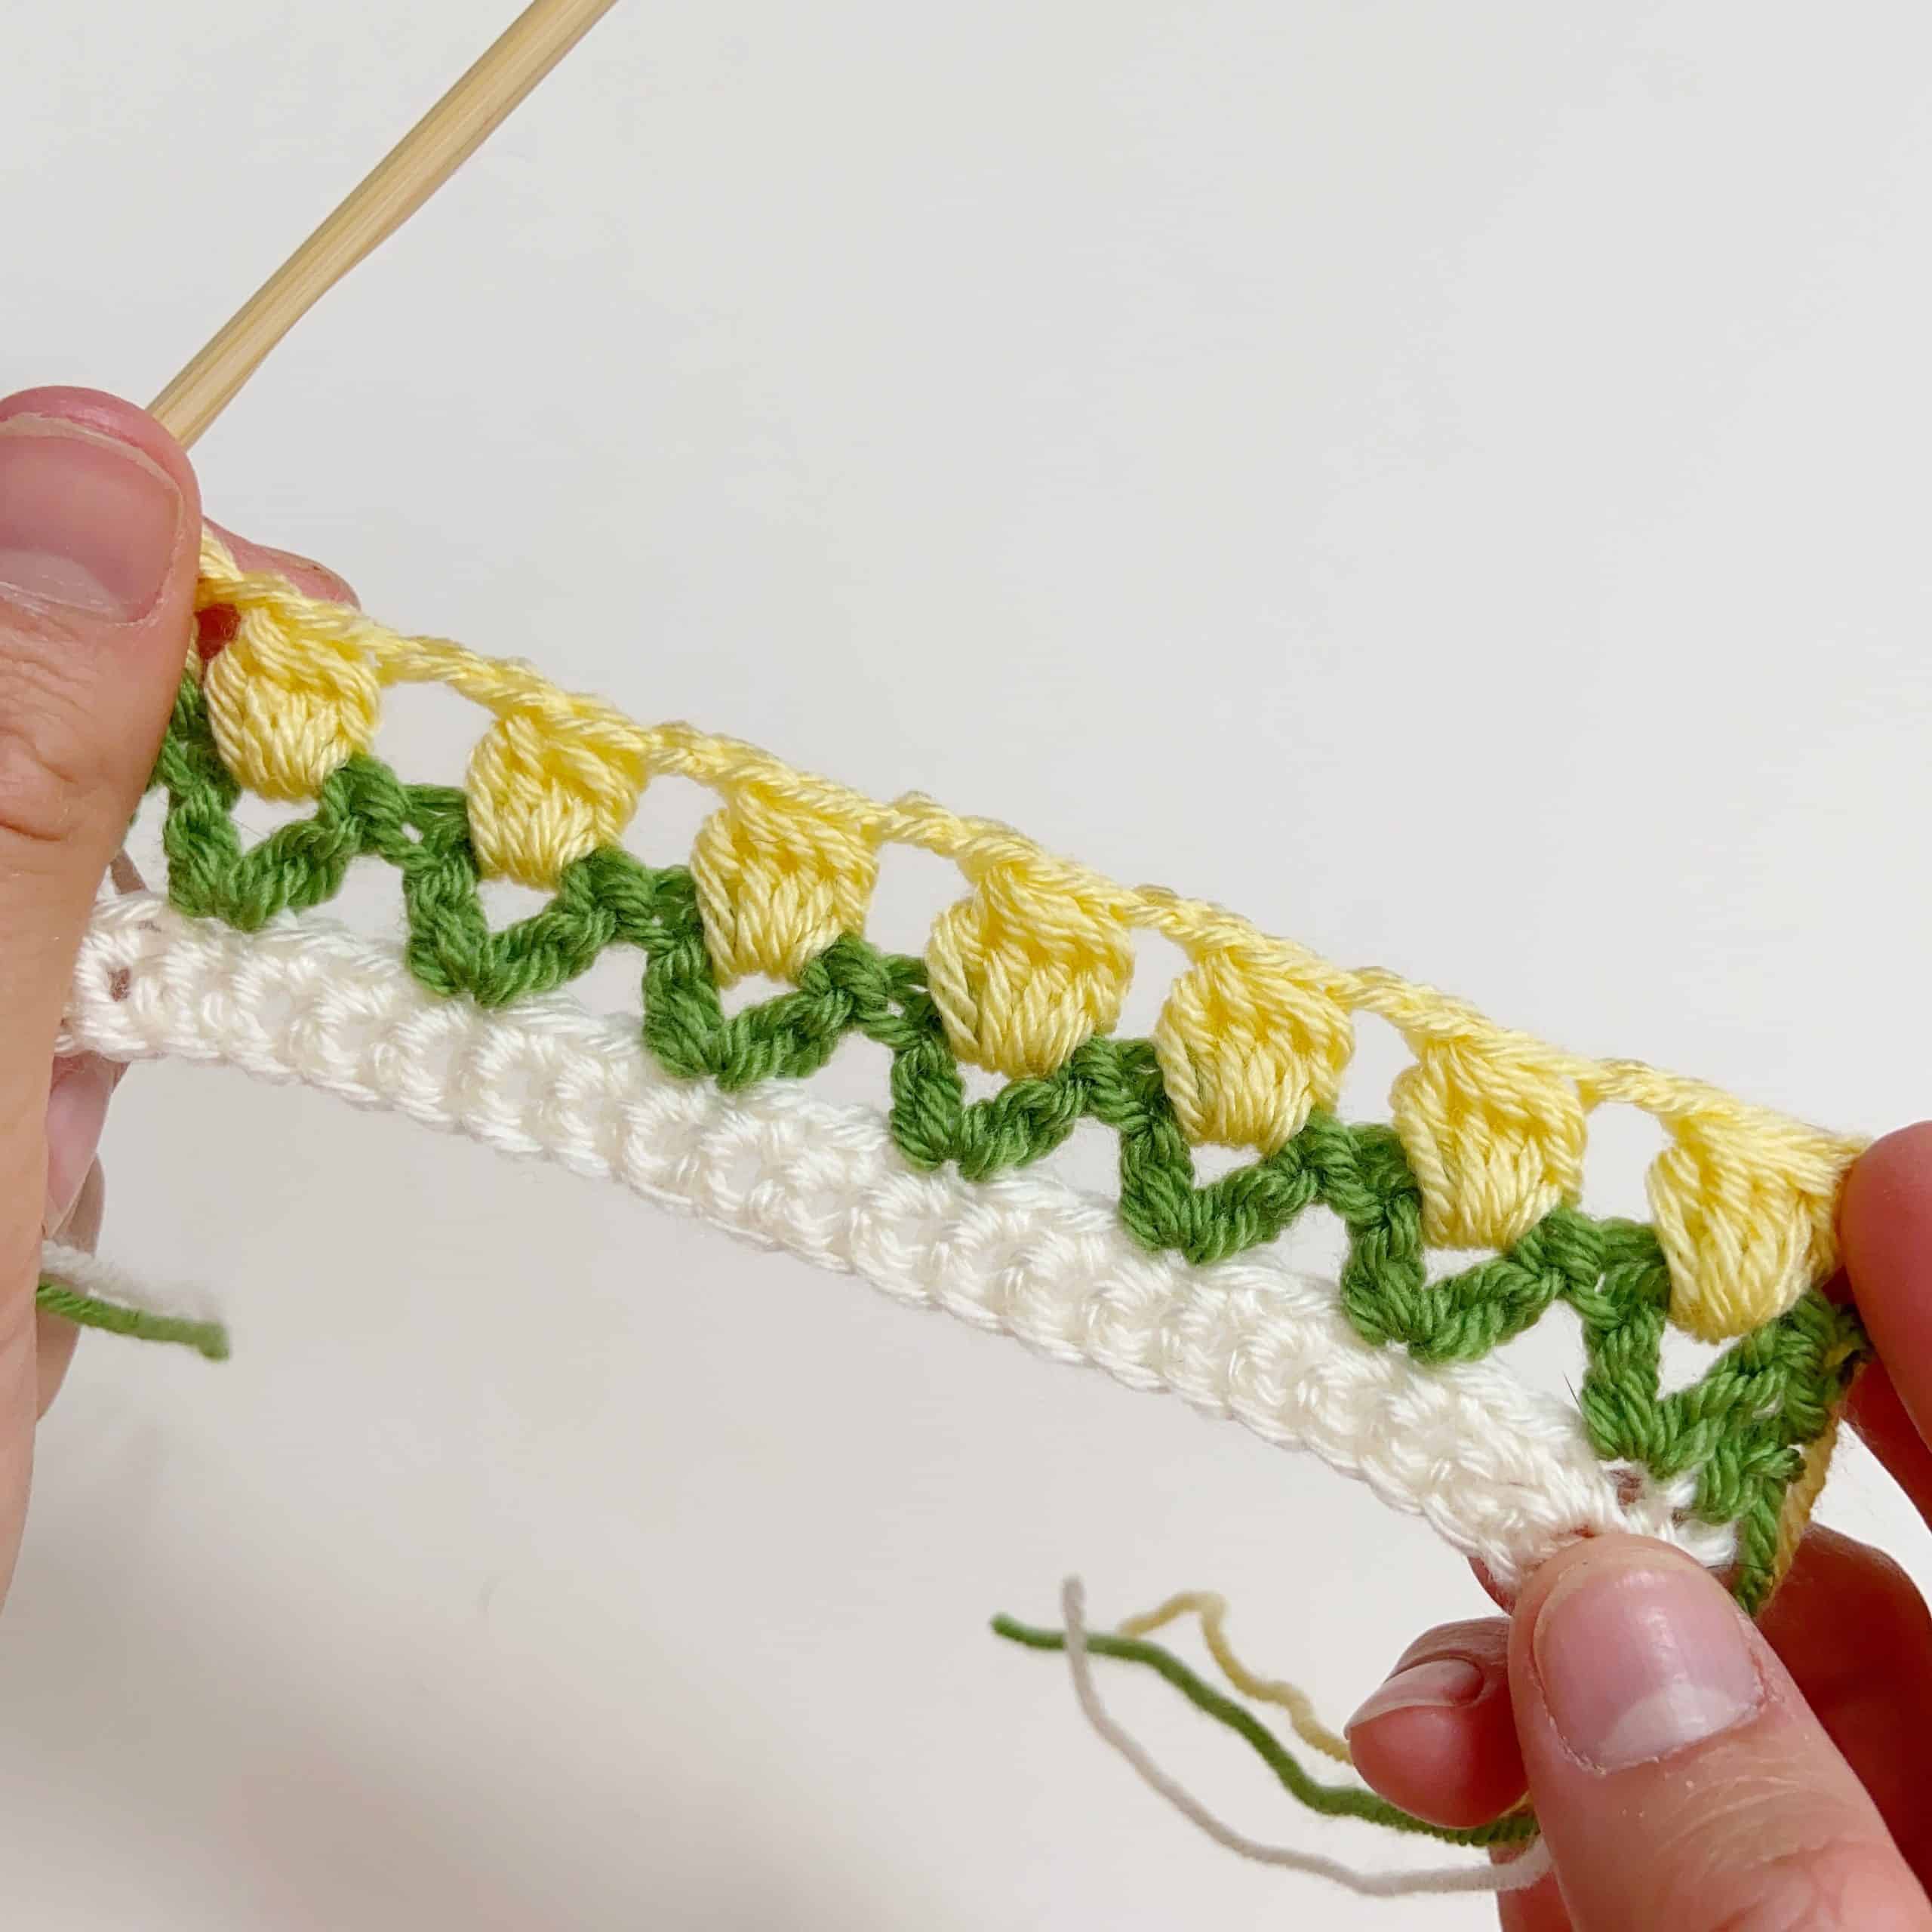
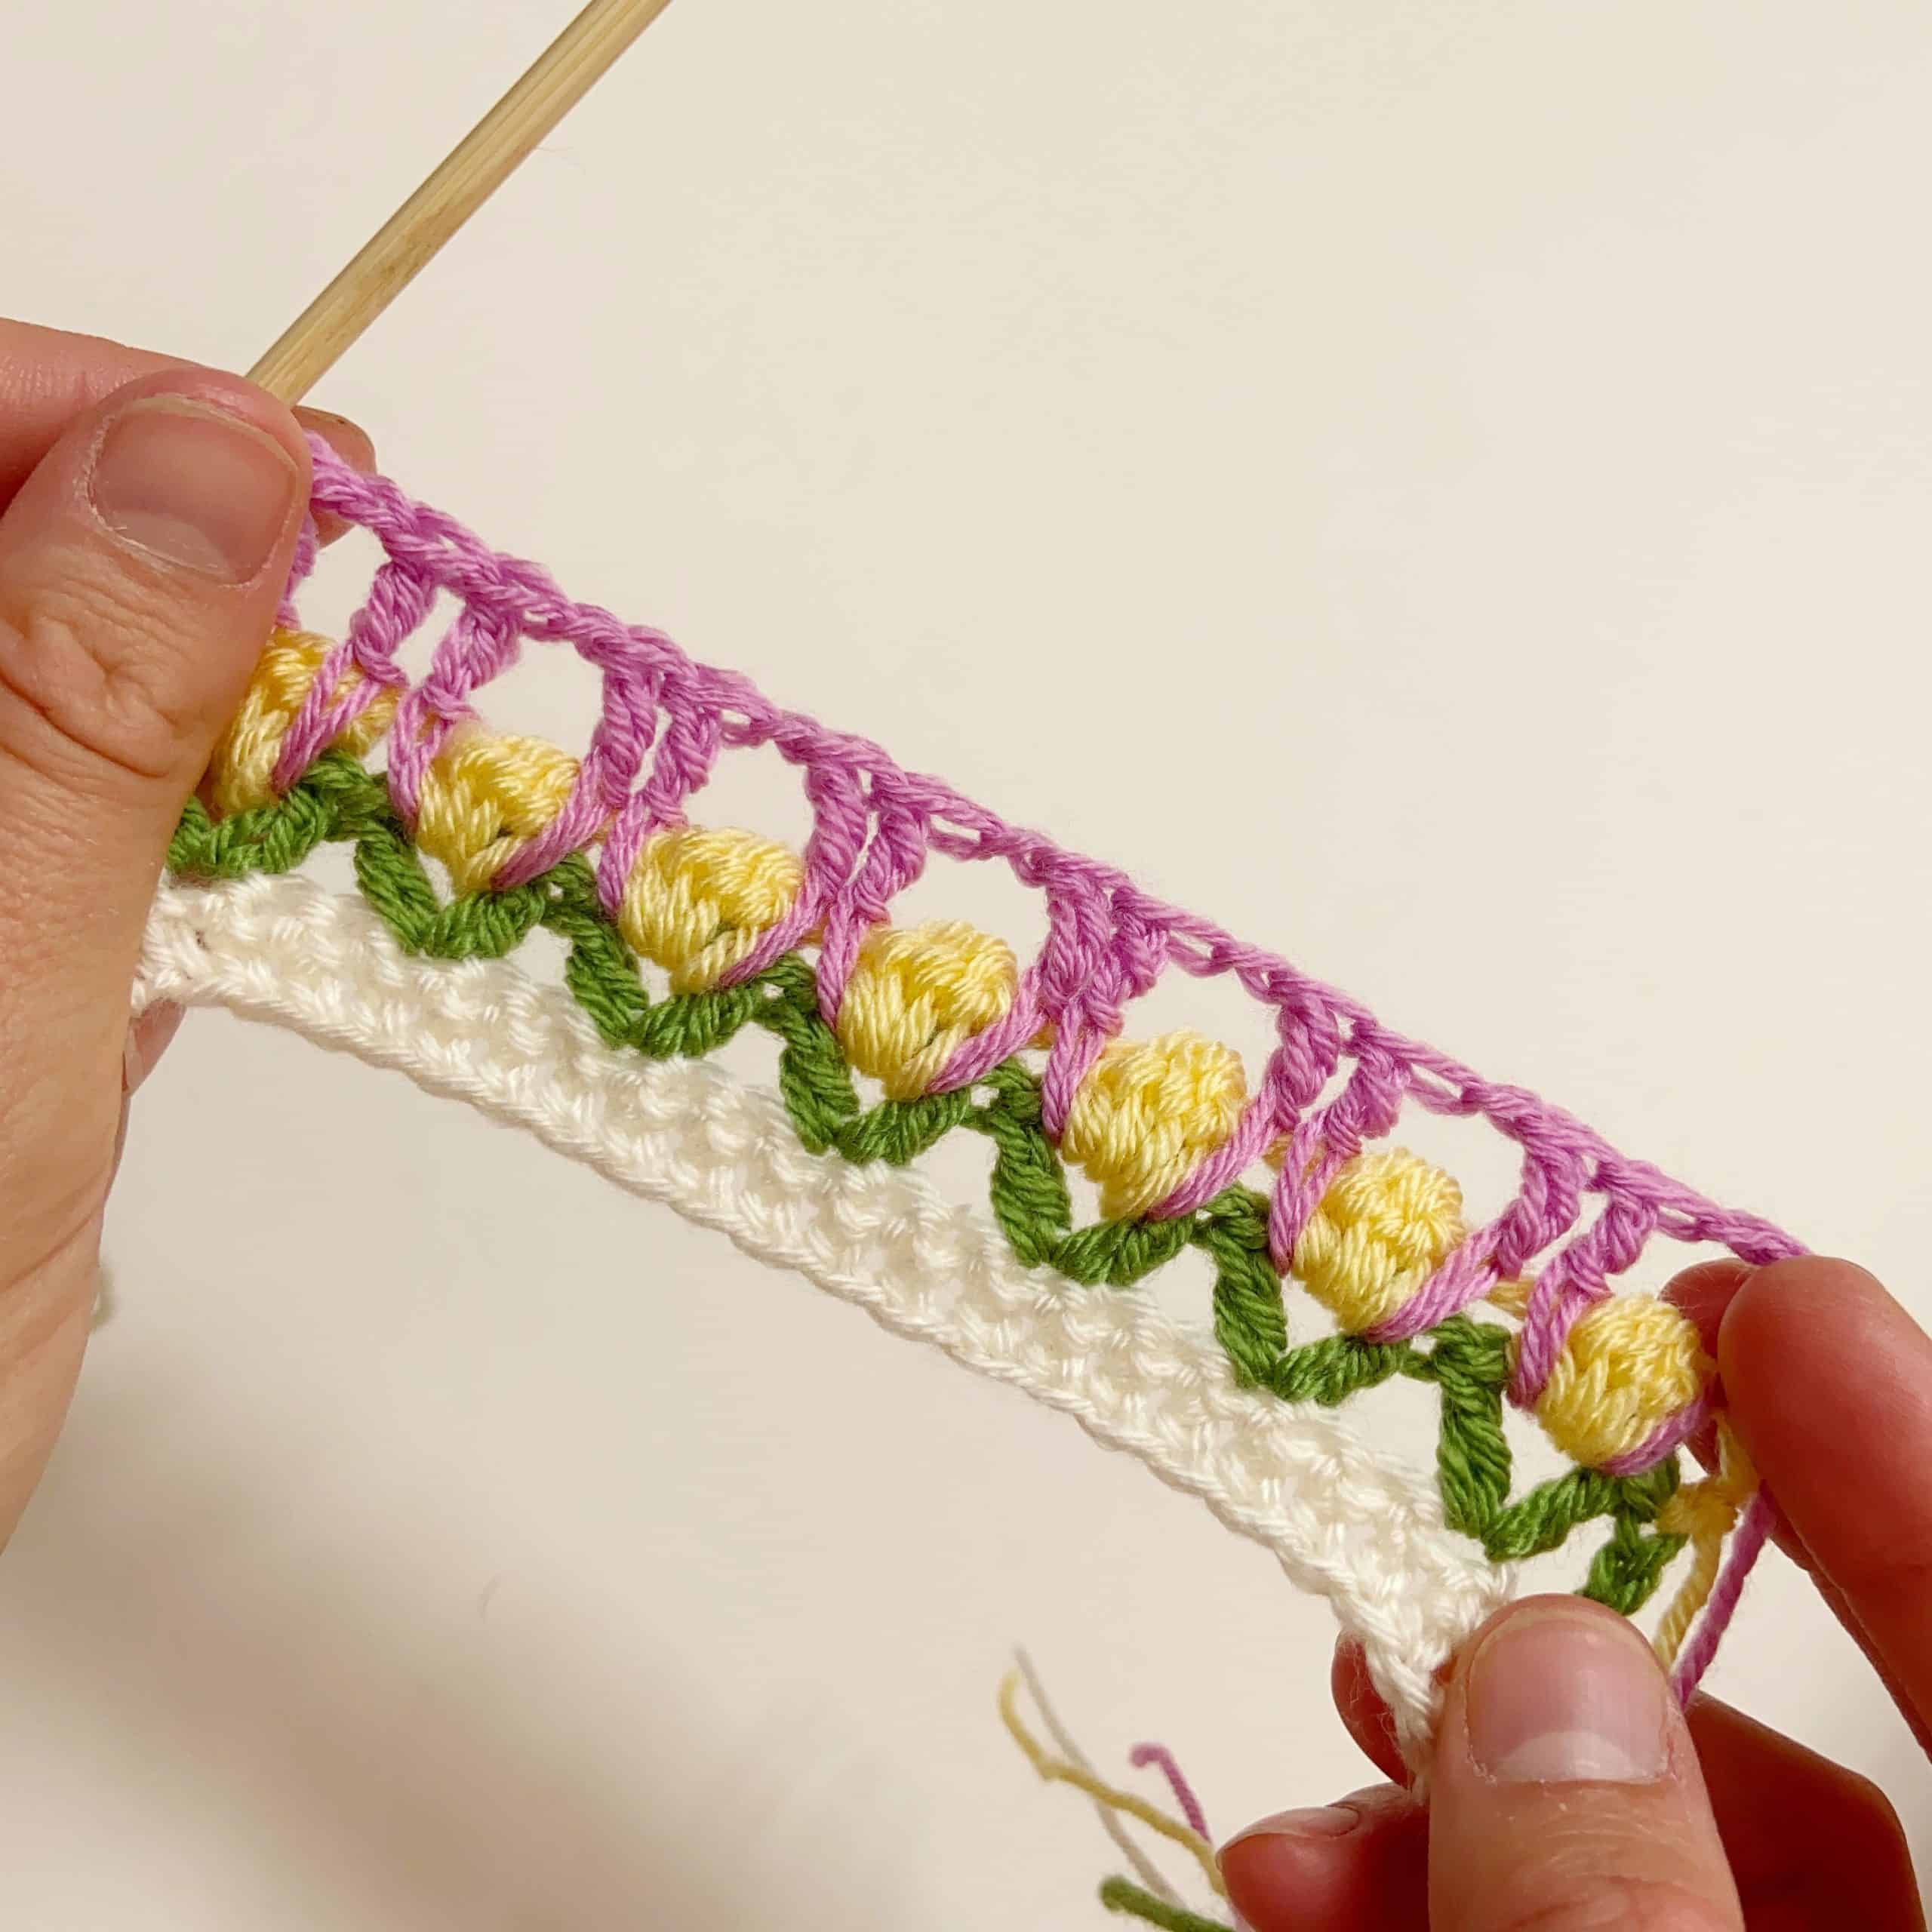
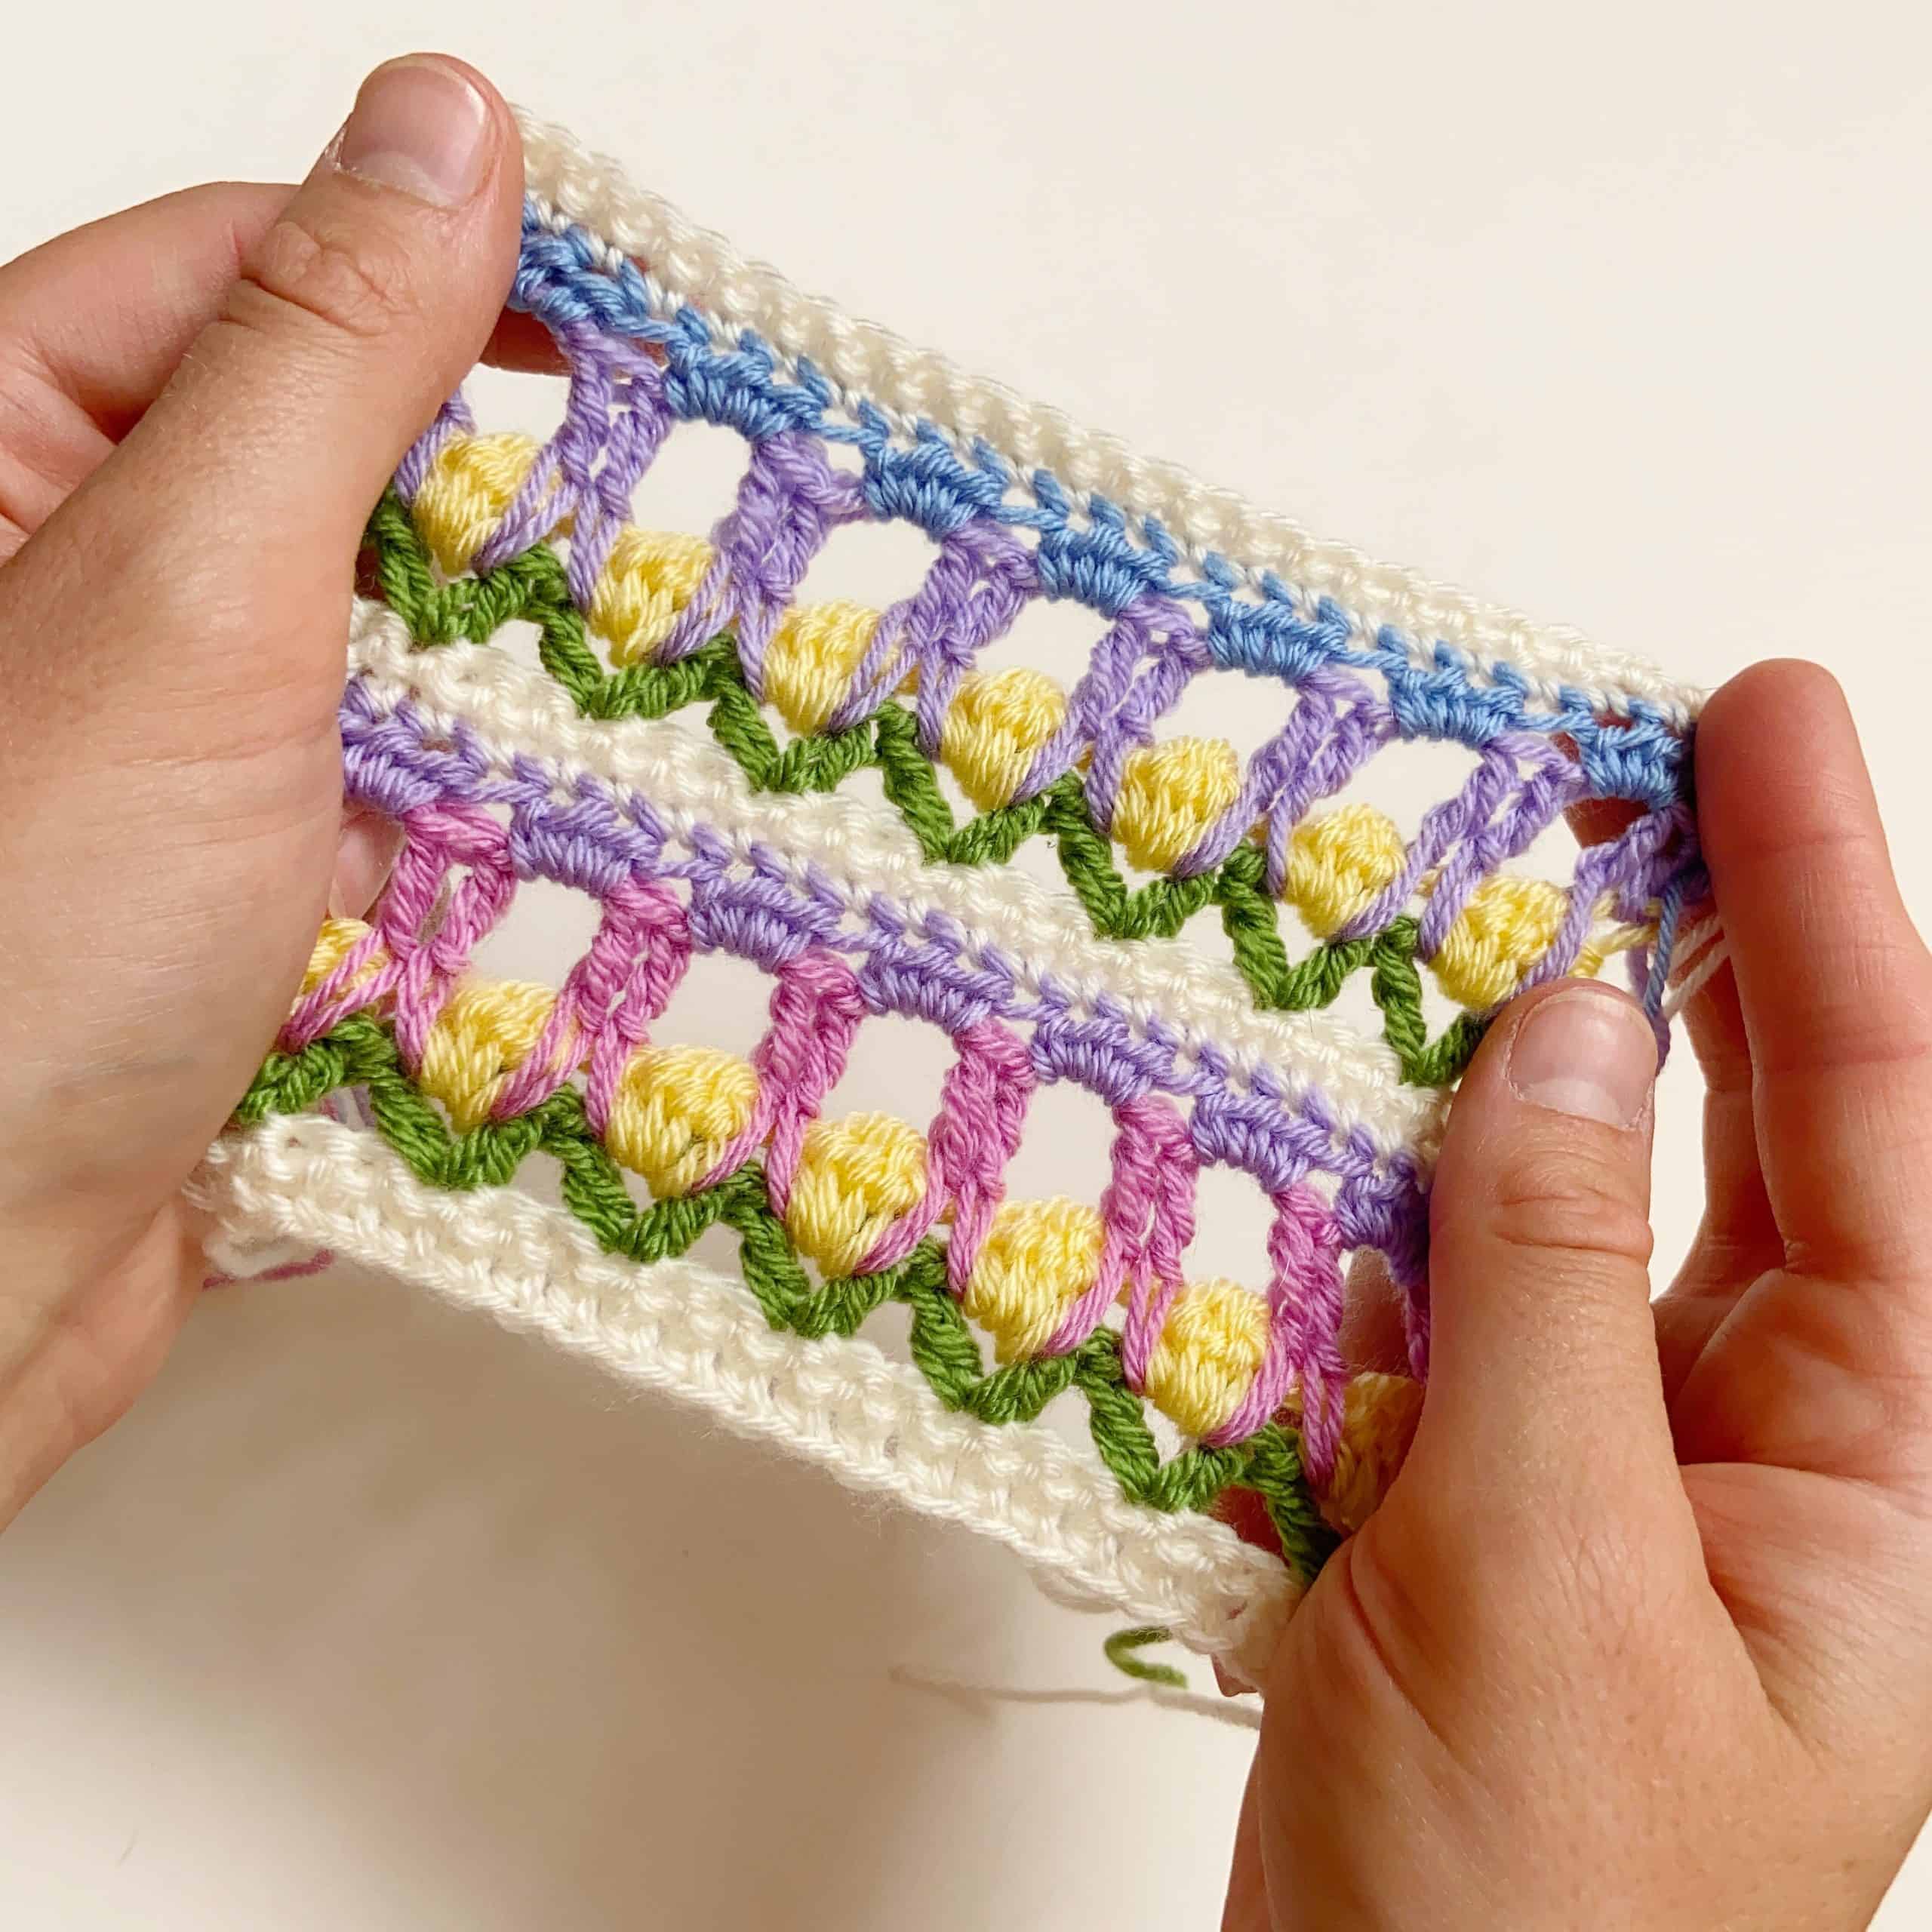
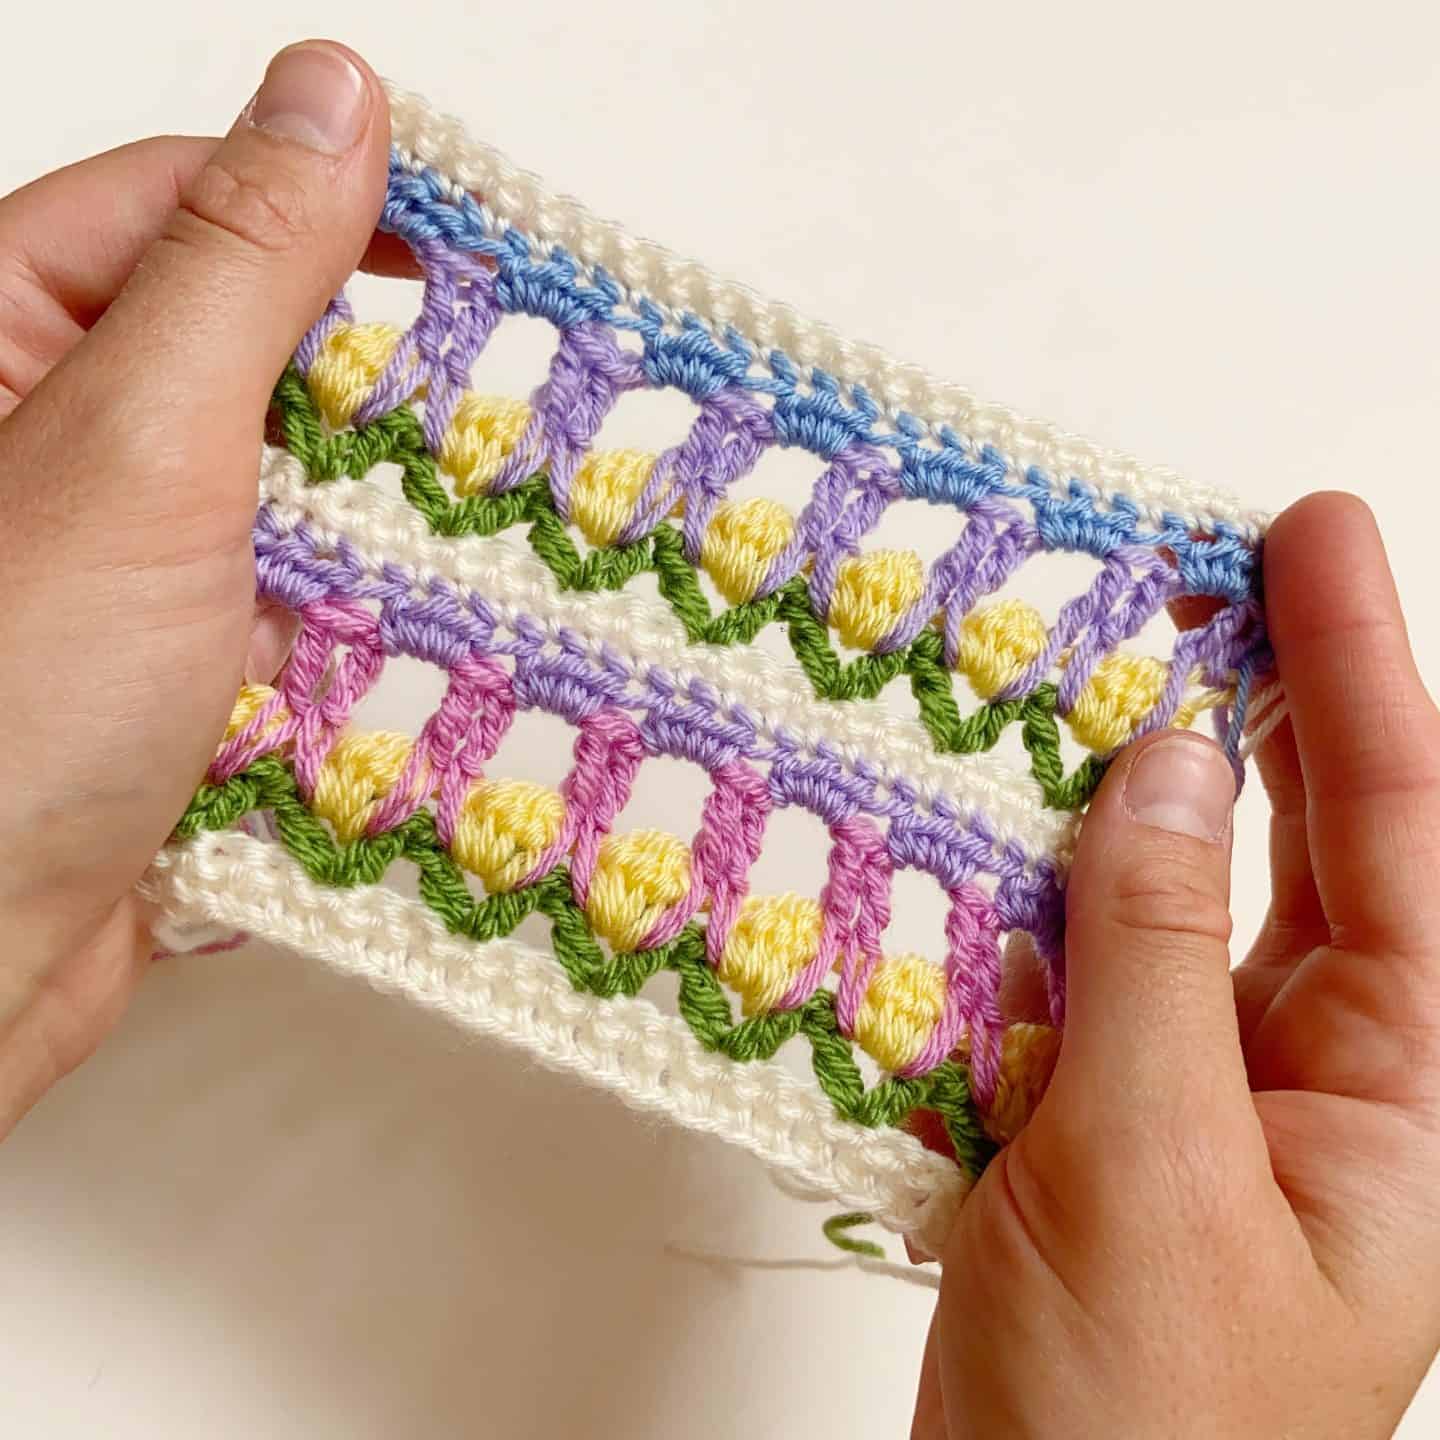
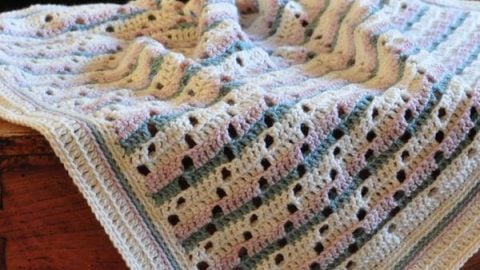
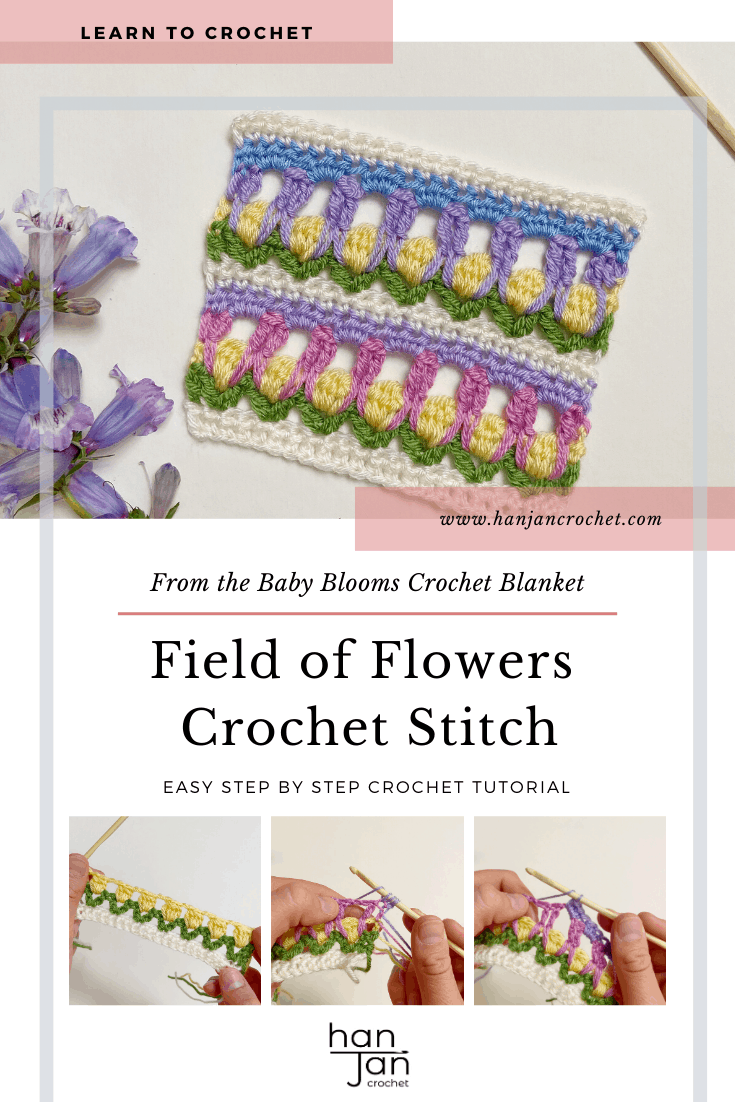
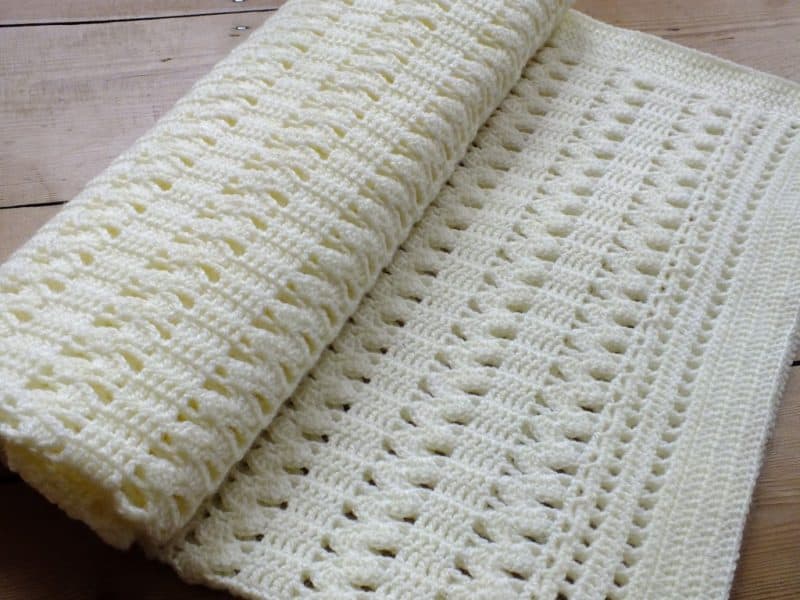
Today I’d love to share with you a free crochet tutorial for the Field of Flowers Stitch that I used for my Baby Blooms Blanket.
I wanted to border the blanket with a flower type stitch but didn’t just want to use the crochet tulip stitch so added a few extra rows and adapted it to suit the blanket. I really hope you like it.
Although I used this crochet stitch as a border you could absolutely use it to create a stunning scarf or shawl, or even a summer lace garment I think! I’d love to know if you decide to use it for anything – you can join the HanJan Crochet family here and let me know:
How to Crochet a Blanket Border – Choosing the Perfect Stitch
On holiday last year, I was crocheting another blanket and husband said something that completely stopped me in my tracks – he said ‘I like the border you’ve started’.
I couldn’t believe my ears. It was indeed a border I had started but I hadn’t turned the corner or changed colour and had no idea how he knew!
When I asked him he replied that it was obvious as it looked like I was ‘completing the balance’ of the blanket.
I’m still a little amazed at the conversation (and proud that some of my crochet and design influence must have rubbed off over the years) and it got me thinking about what makes the perfect border for our projects and indeed how to choose a great crochet border stitch.
My style of borders is fairly consistent. I tend to go for simple, classic borders that pull the elements of the project together.
That being said, I went all out for this particular border. It just felt like the right balance and amount of detail for the blanket and I’ve got a secret for you – it’s nowhere near as tricky as it looks!
I’ve got both step by step pictures here (and also a little video coming soon!) and I’ve also added the full written pattern too.
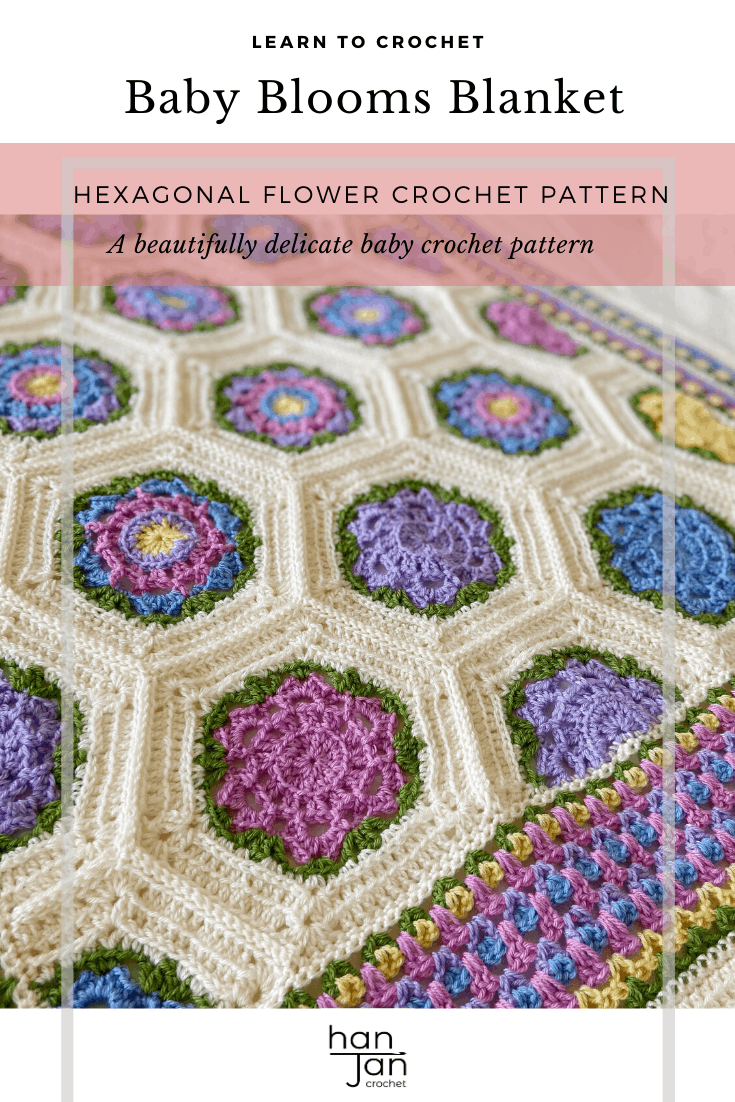
The Baby Blooms Blanket
I’m so proud to present The Baby Blooms Blanket! I designed it for my Deramores store and so whilst that’s the only place you can get the PDF, it’s also fabulously the place where you can get the yarn pack too if you’d like to!
I’ve had lots of people ask me about it so I’ll share the links for both here:
Table of Contents
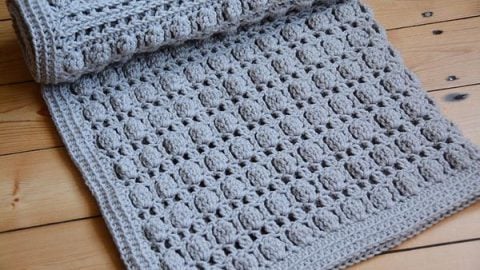
Other Delicate Crochet Stitches
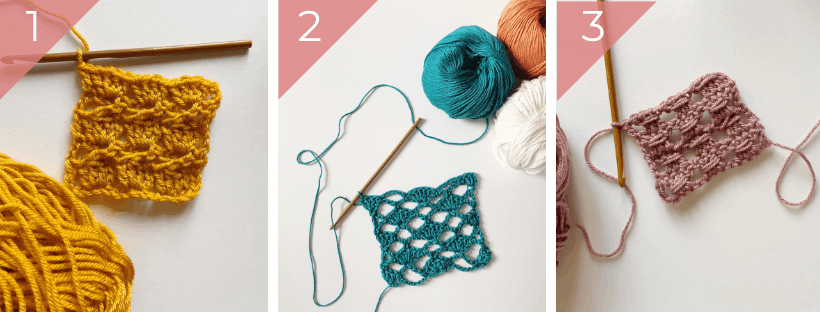
If you enjoy learning new stitches then you might also enjoy these other delicate stitches I’ve got tutorials for too:
Other Crochet Blankets with Statement Borders
I looked through all of my blanket designs and realised that I do love a good deep statement border sometimes! Here are some I thought you might like:
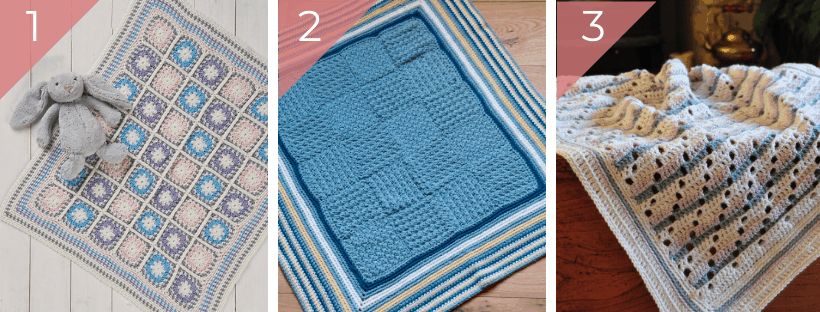
- Not a Peep Blanket (paid pattern)
- The Seaside Blanket (free pattern)
- Soft Steps Blanket (free pattern)
Glossary
ch(s) – chain(s)
ss – slip stitch
sk – skip
st(s) – stitch (es)
RS – right side
WS – wrong side
rep – repeat
sp – space
beg – beginning
Stitches
The following stitches are used in the Field of Flowers crochet border stitch:
| UK Terms | US Terms |
| dc – double crochet | sc – single crochet |
| htr – half treble | hdc – half double crochet |
| tr – treble | dc – double crochet |
| dtr – double treble | tr – treble crochet |
| 4tr-cl – treble cluster | 4dc -cl – double crochet cluster |
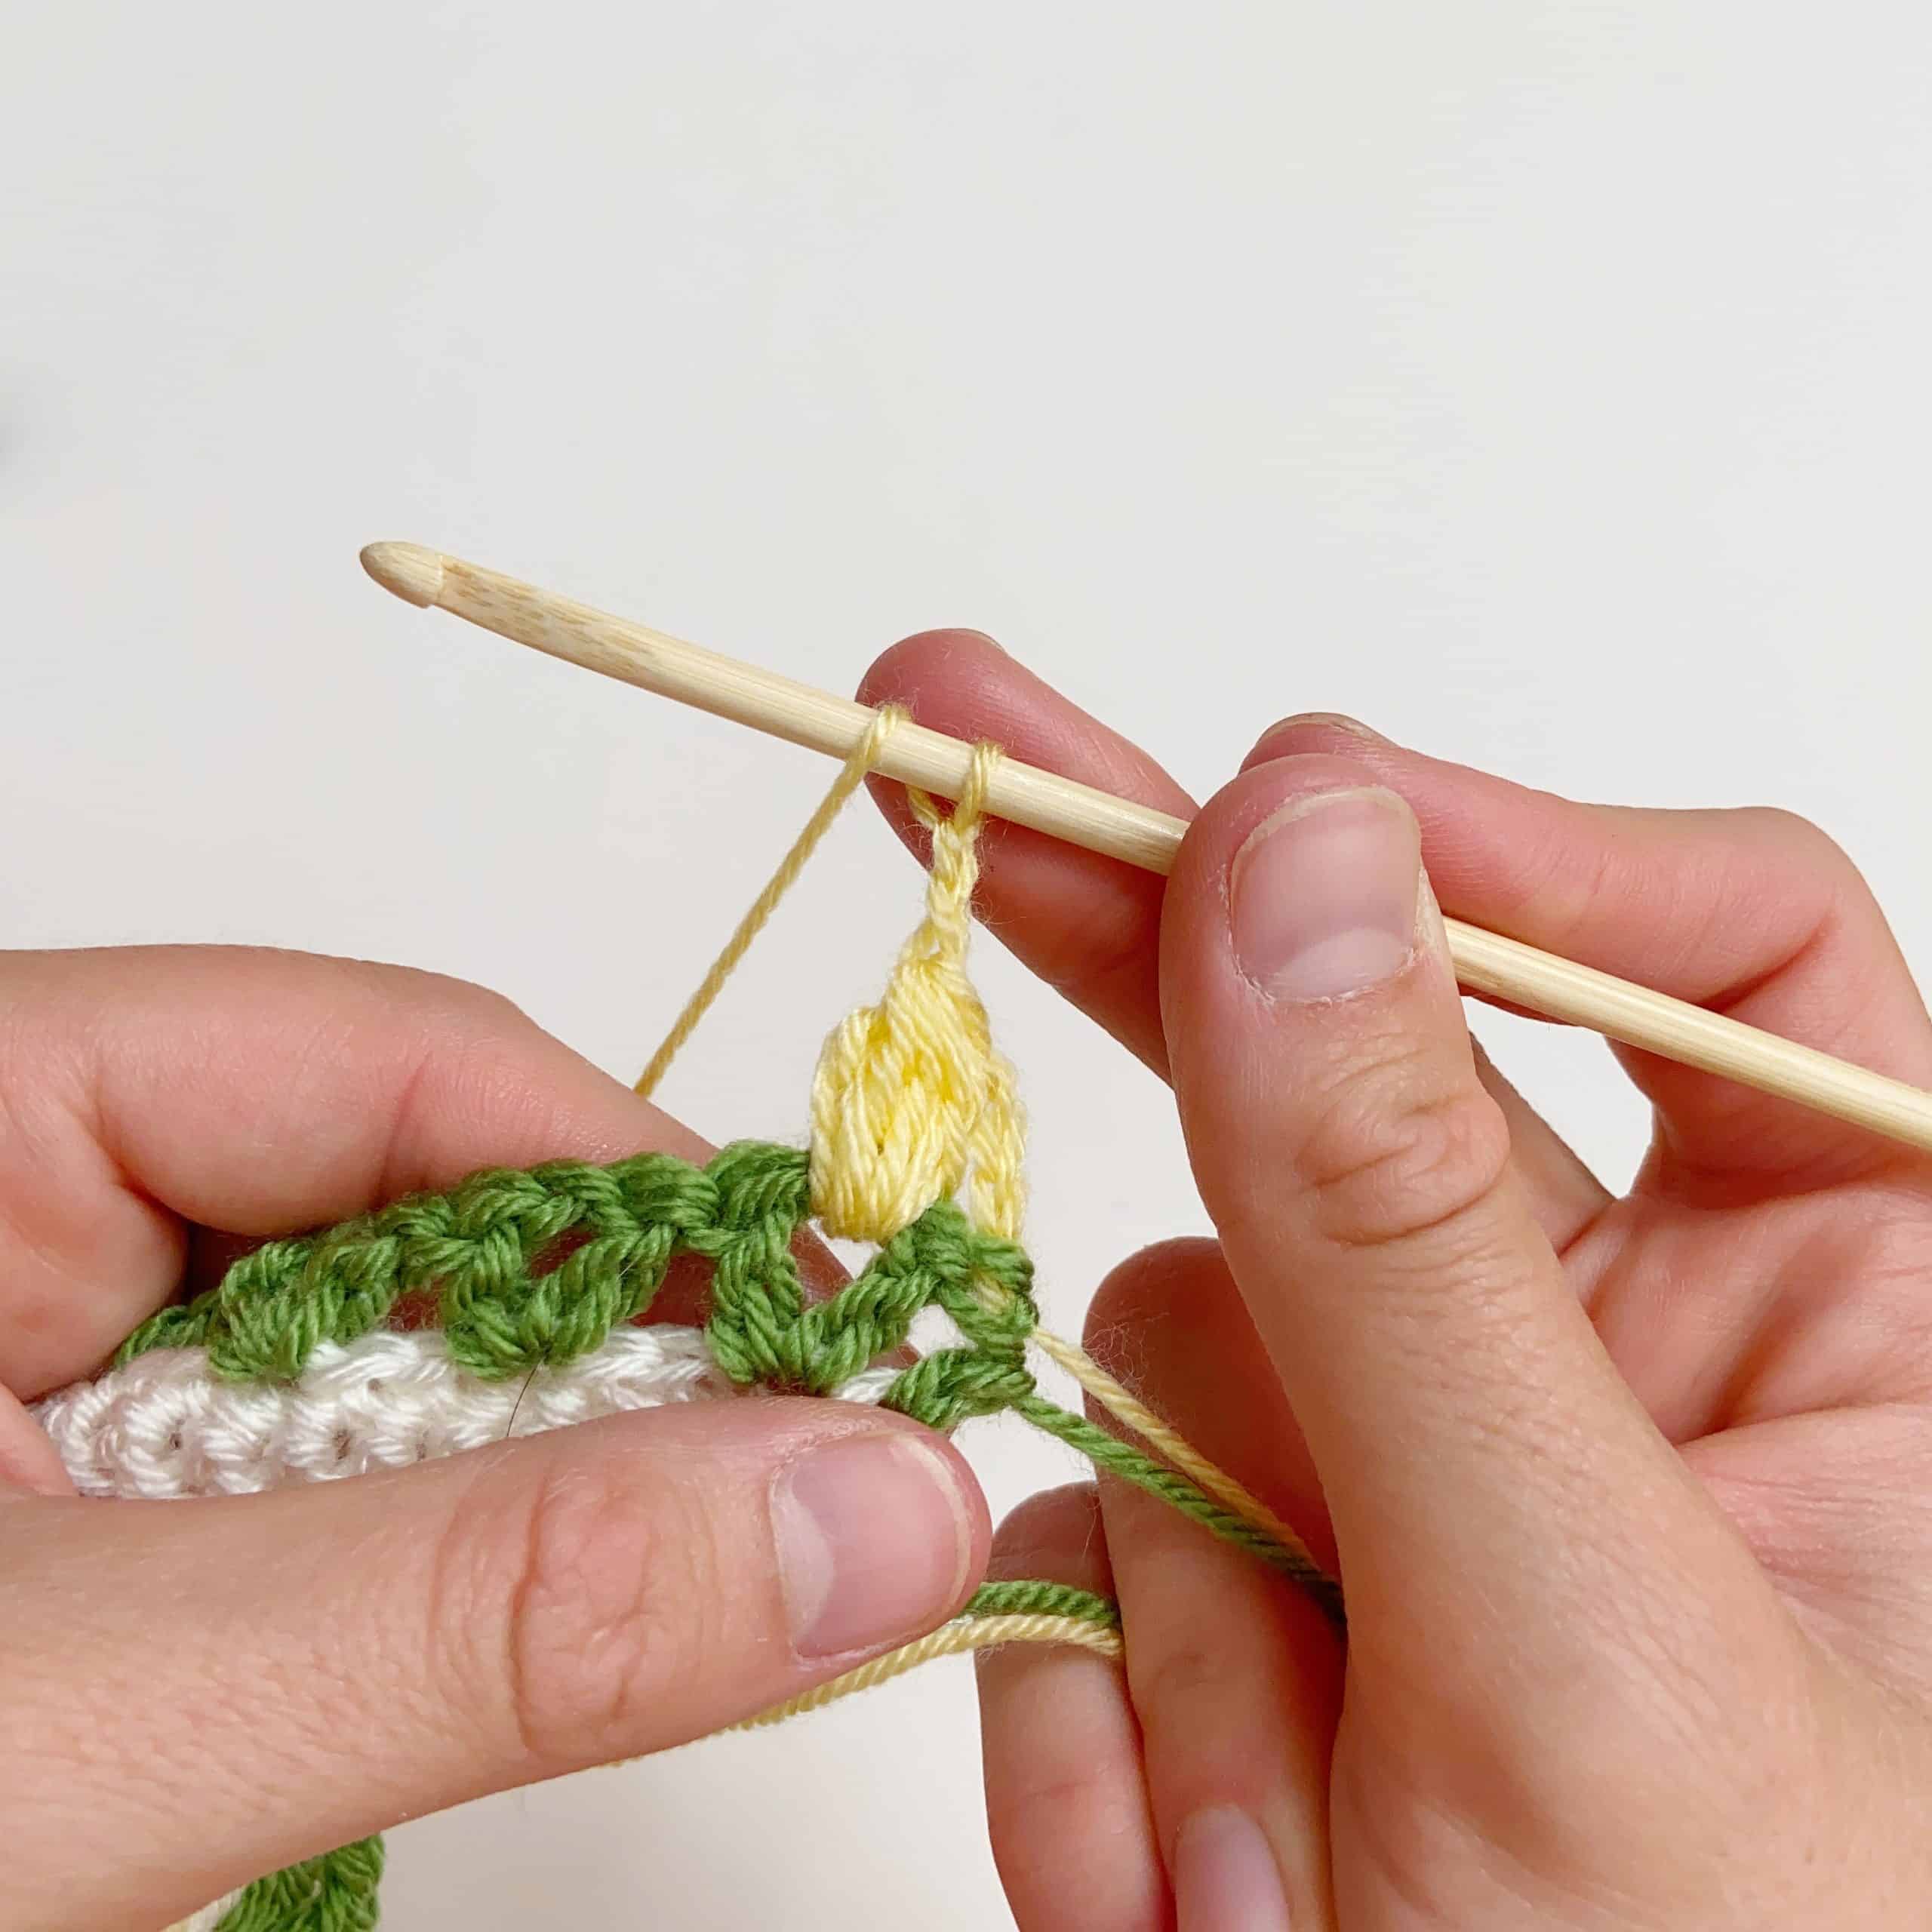
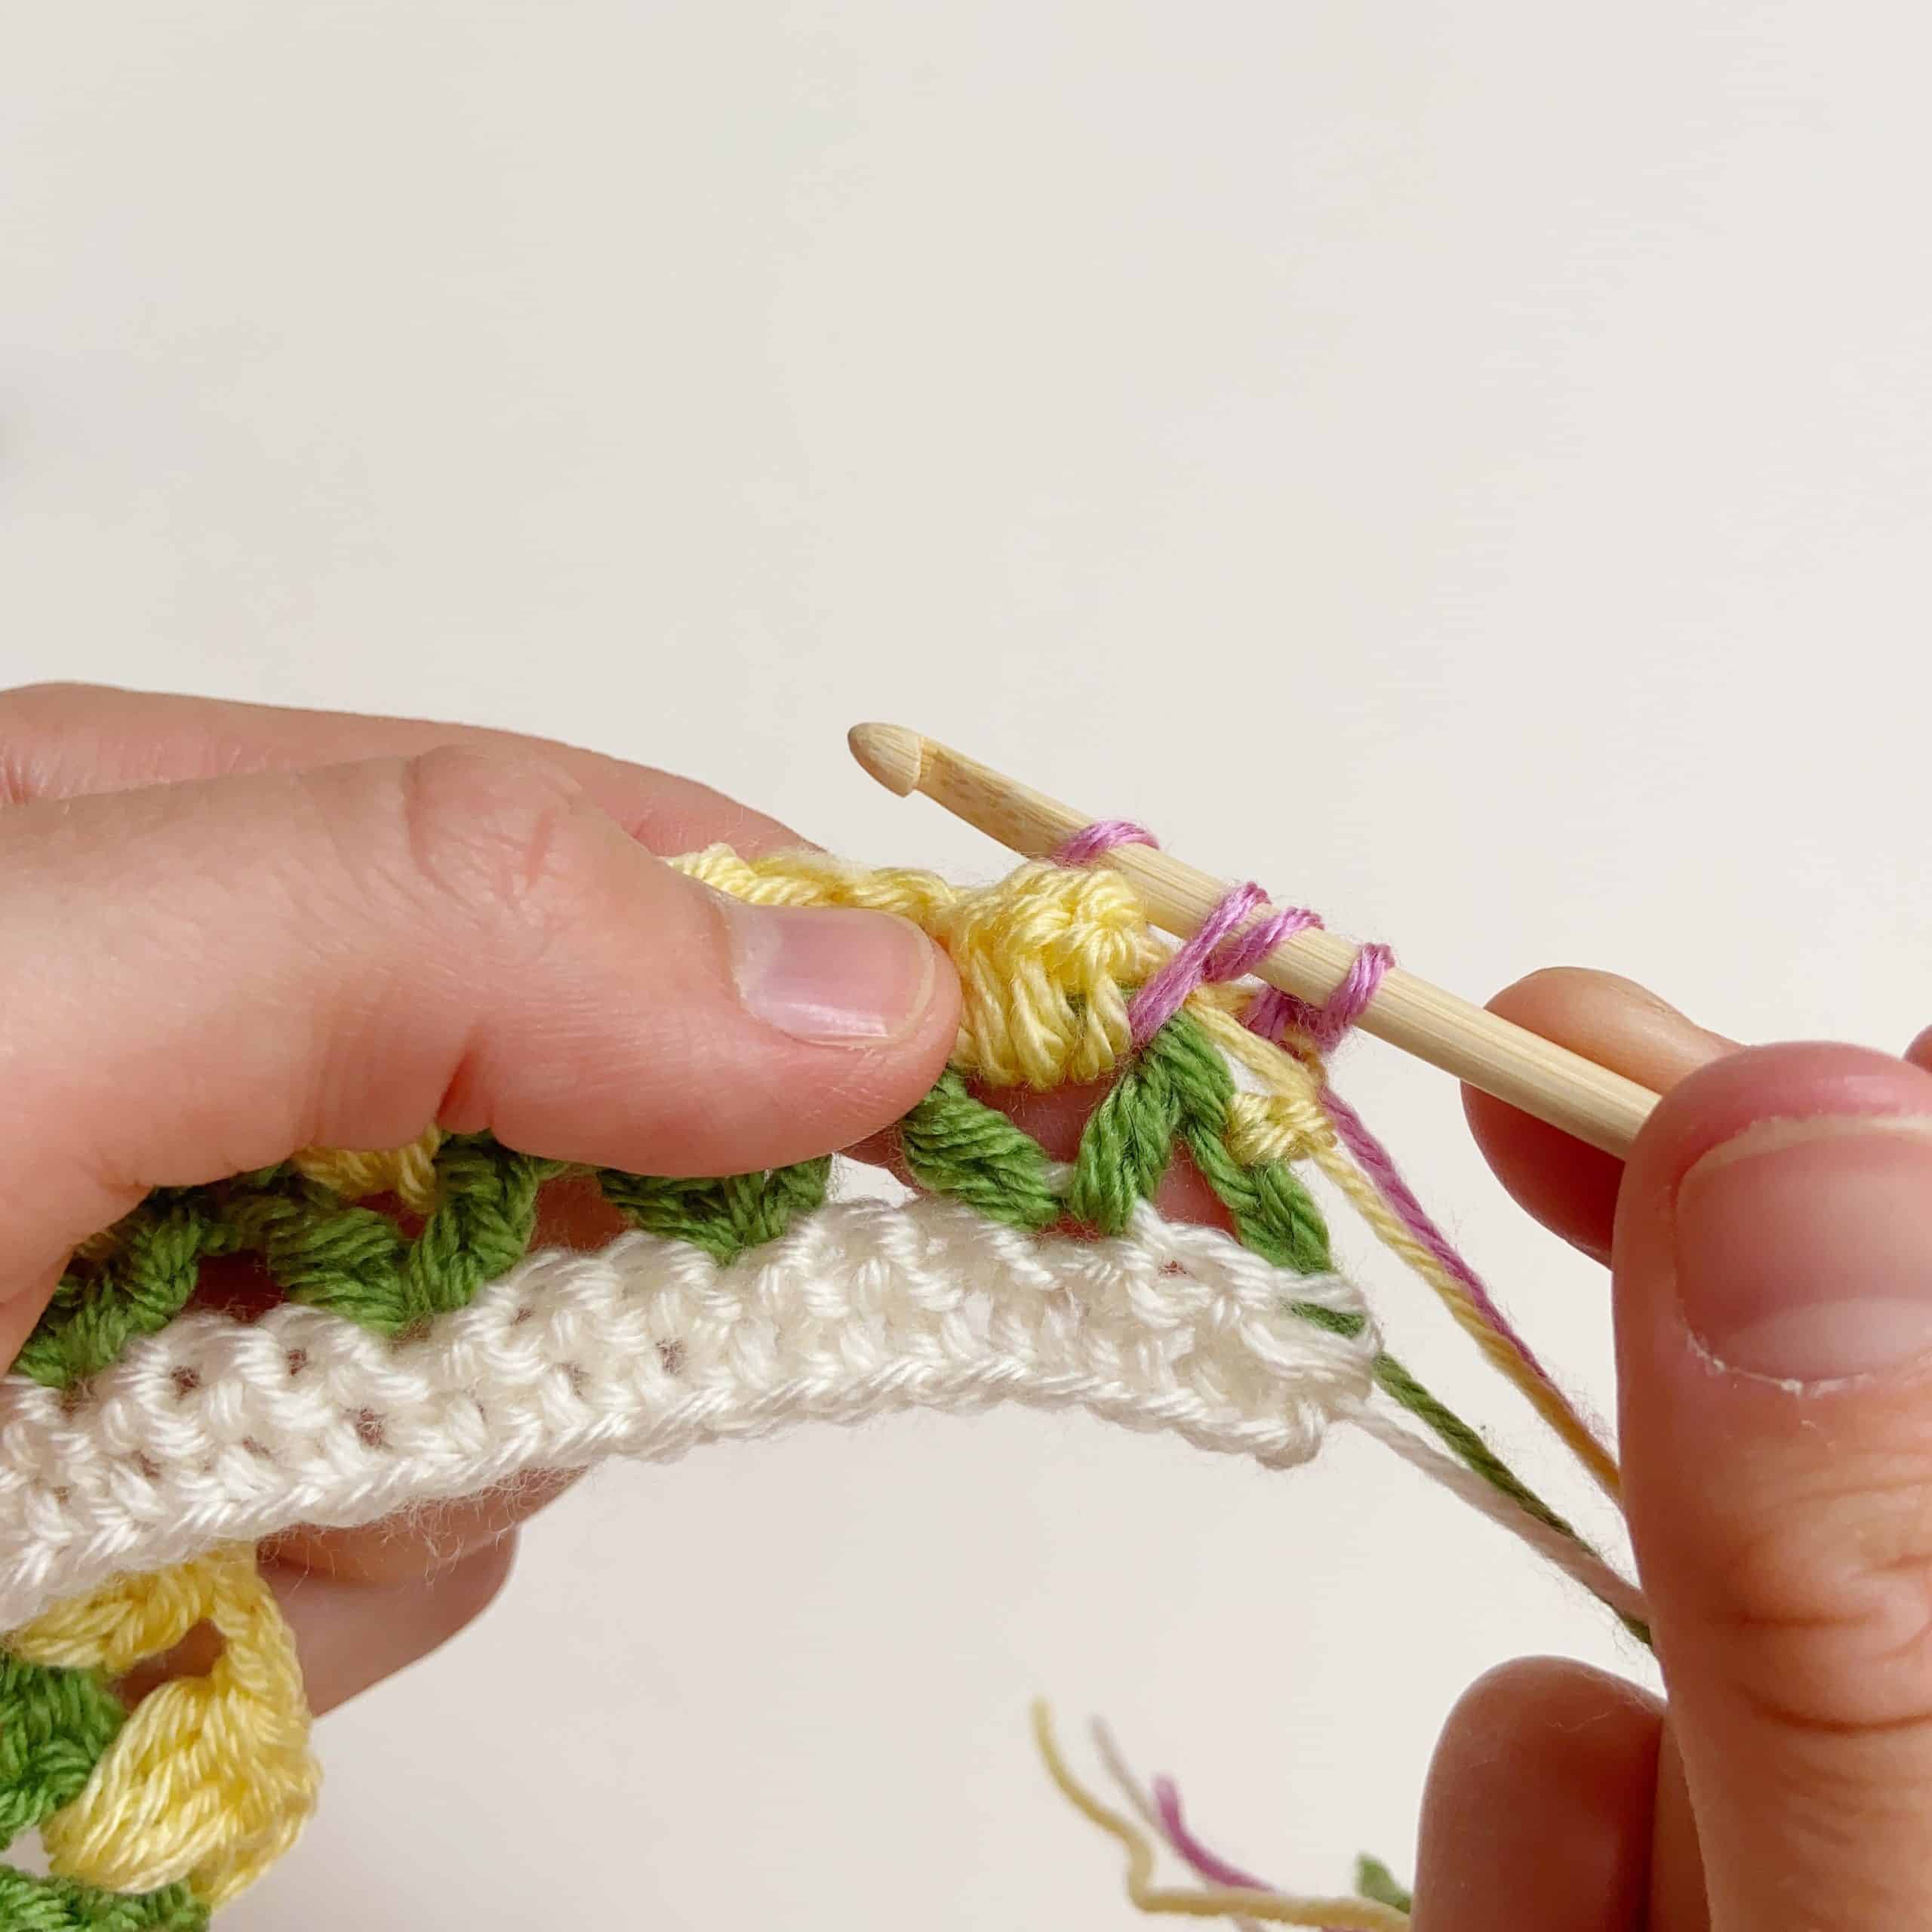
The 4 cluster stitch in crochet is made in the following way: *yarn over hook, insert into stitch, pull the yarn through the stitch, yarn over, pull the yarn through 2 loops on the hook. Repeat the instructions from * a total of 4 times, giving you five loops left on the hook, yarn over and pull through all the loops on your hook to complete the stitch.
Crochet Stitch Tutorial
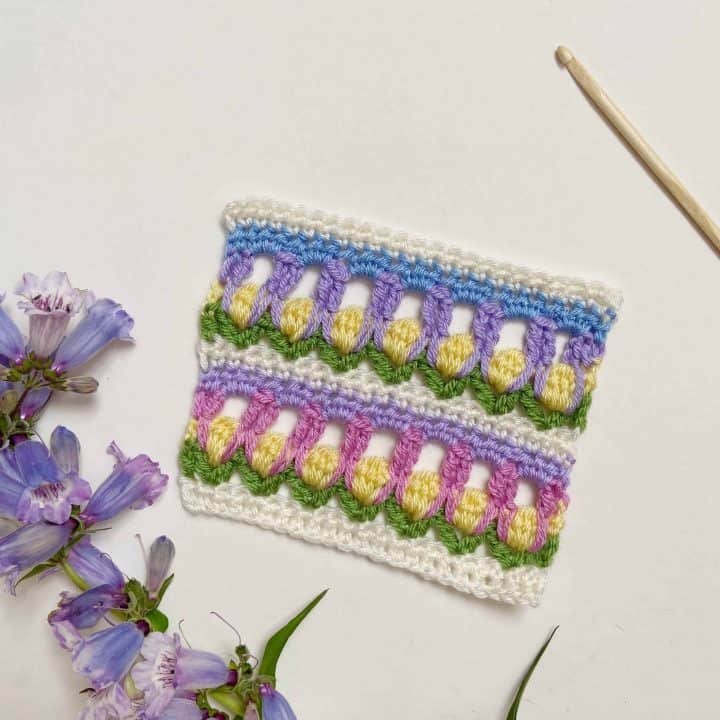
Field of Flowers Crochet Stitch
A great stitch for crochet blanket borders, scarves, wraps, shawls and garments too.
Instructions
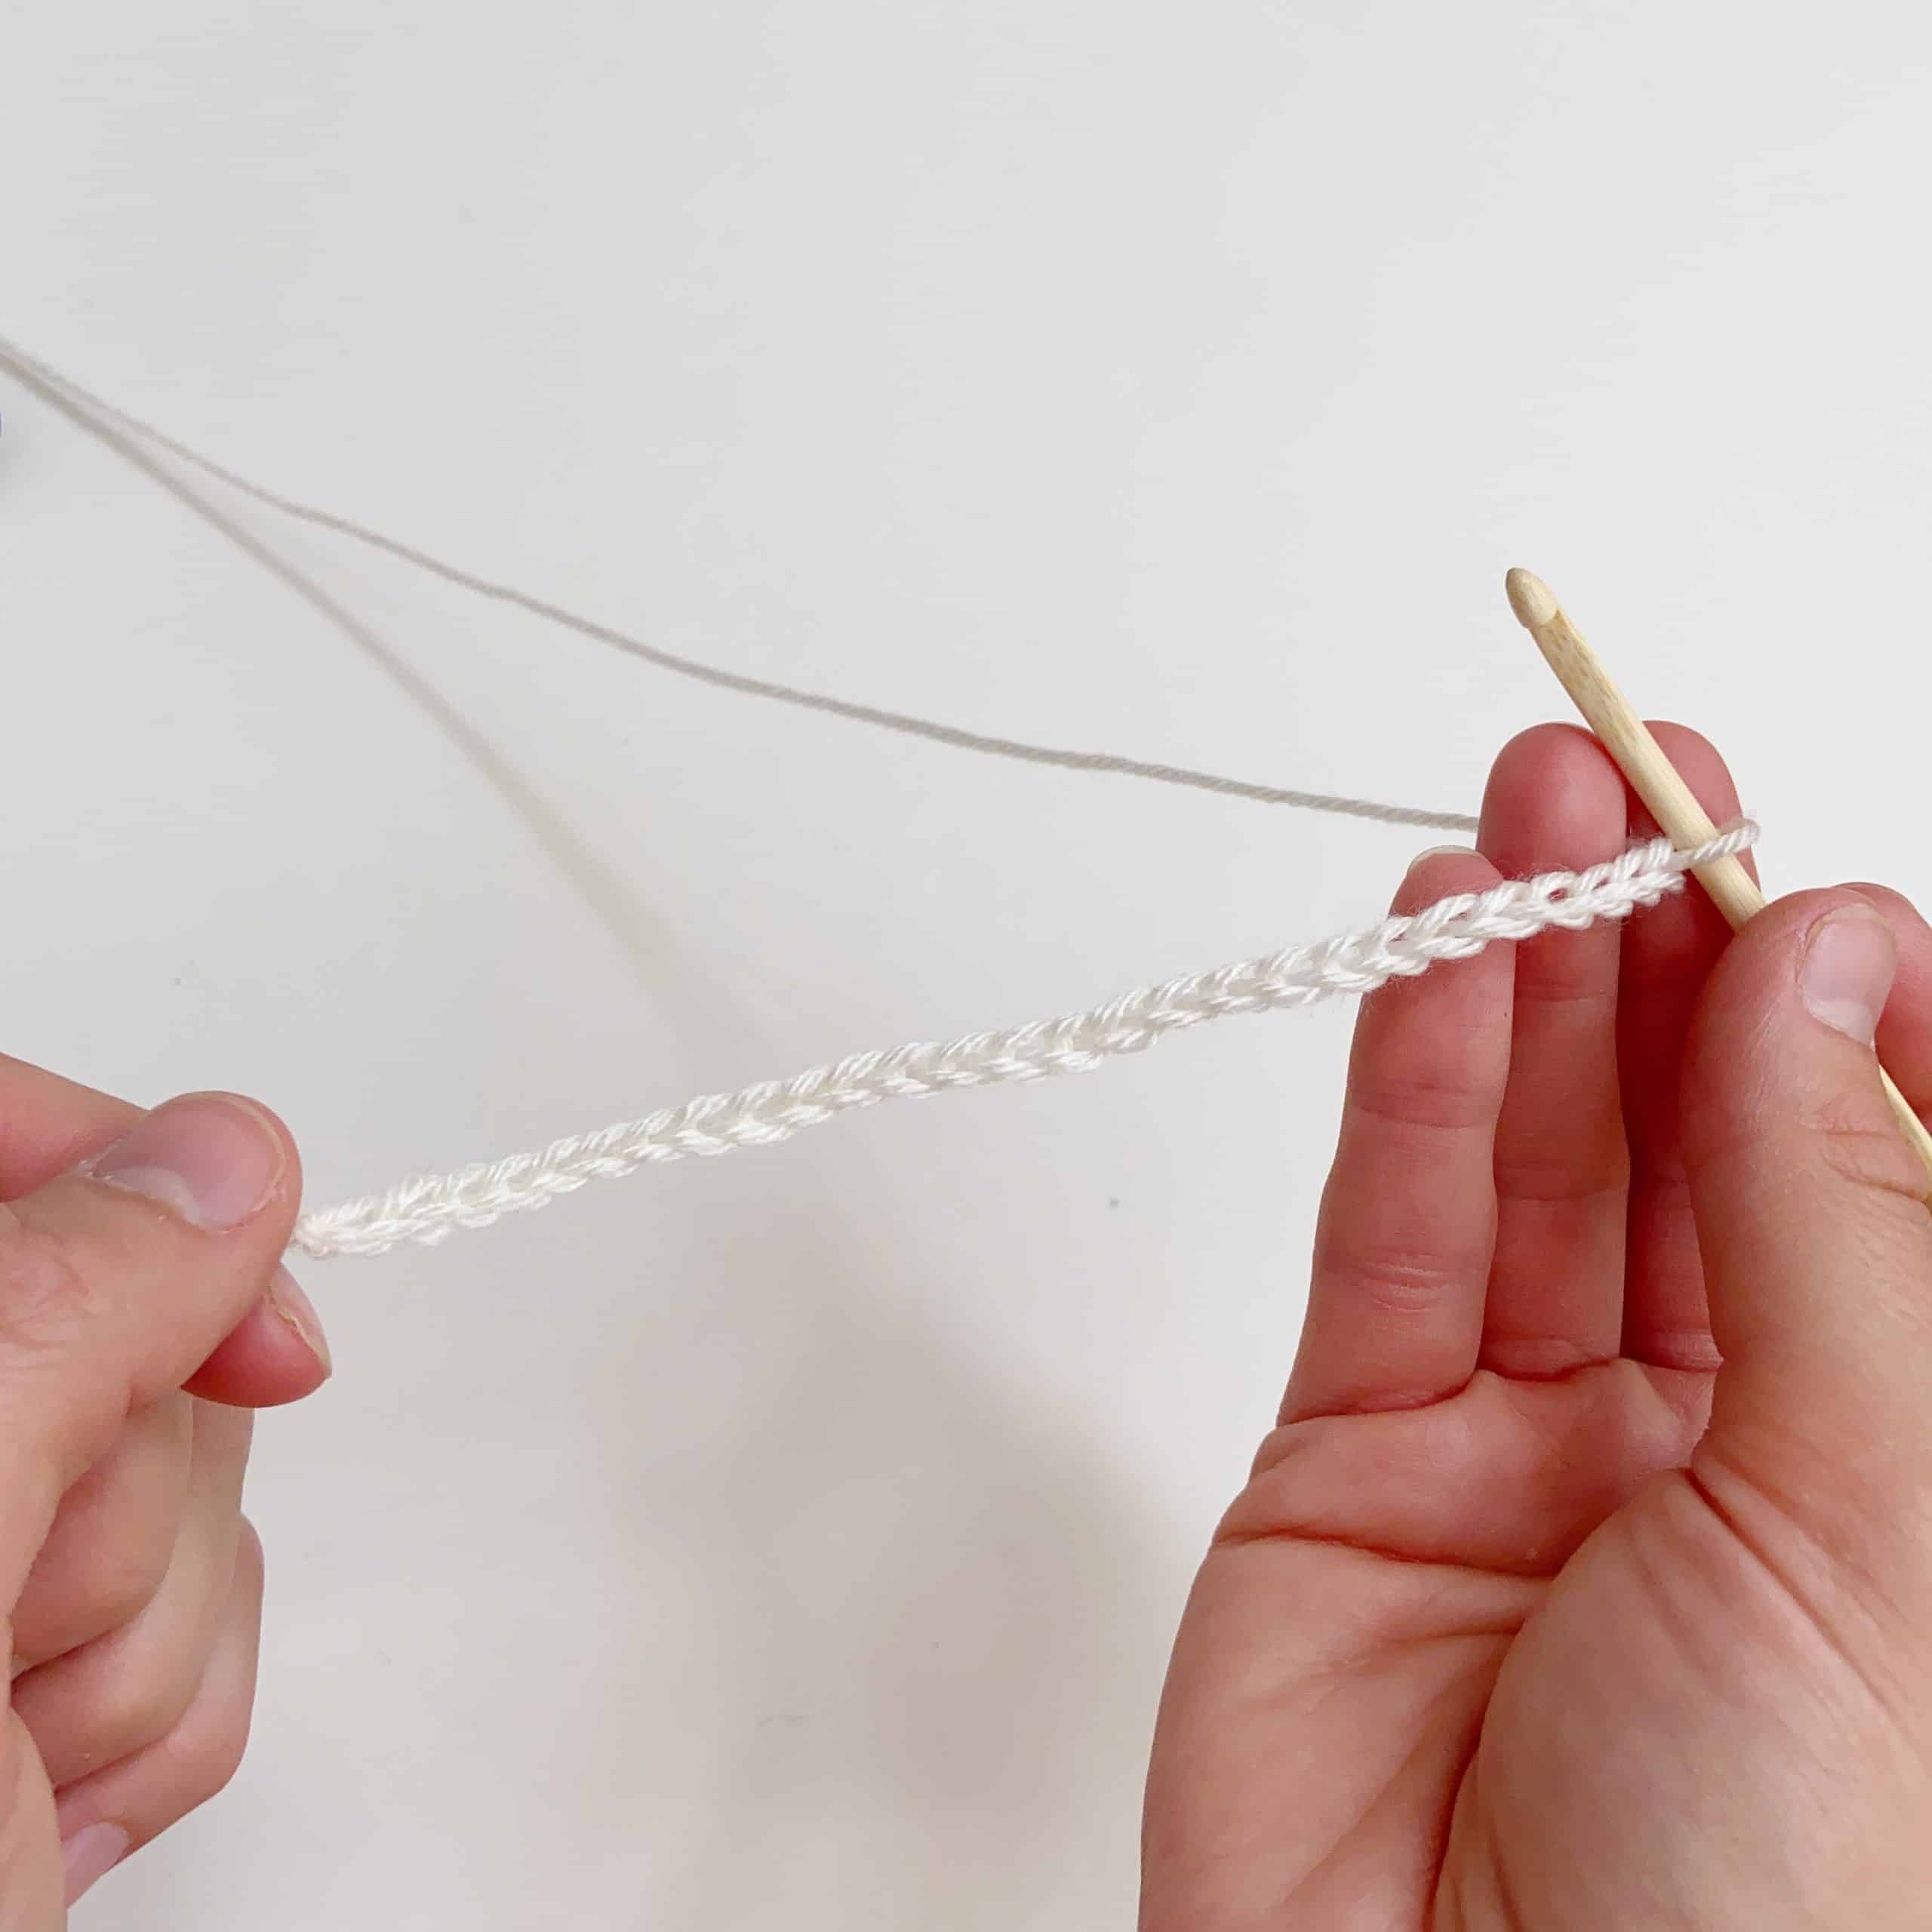
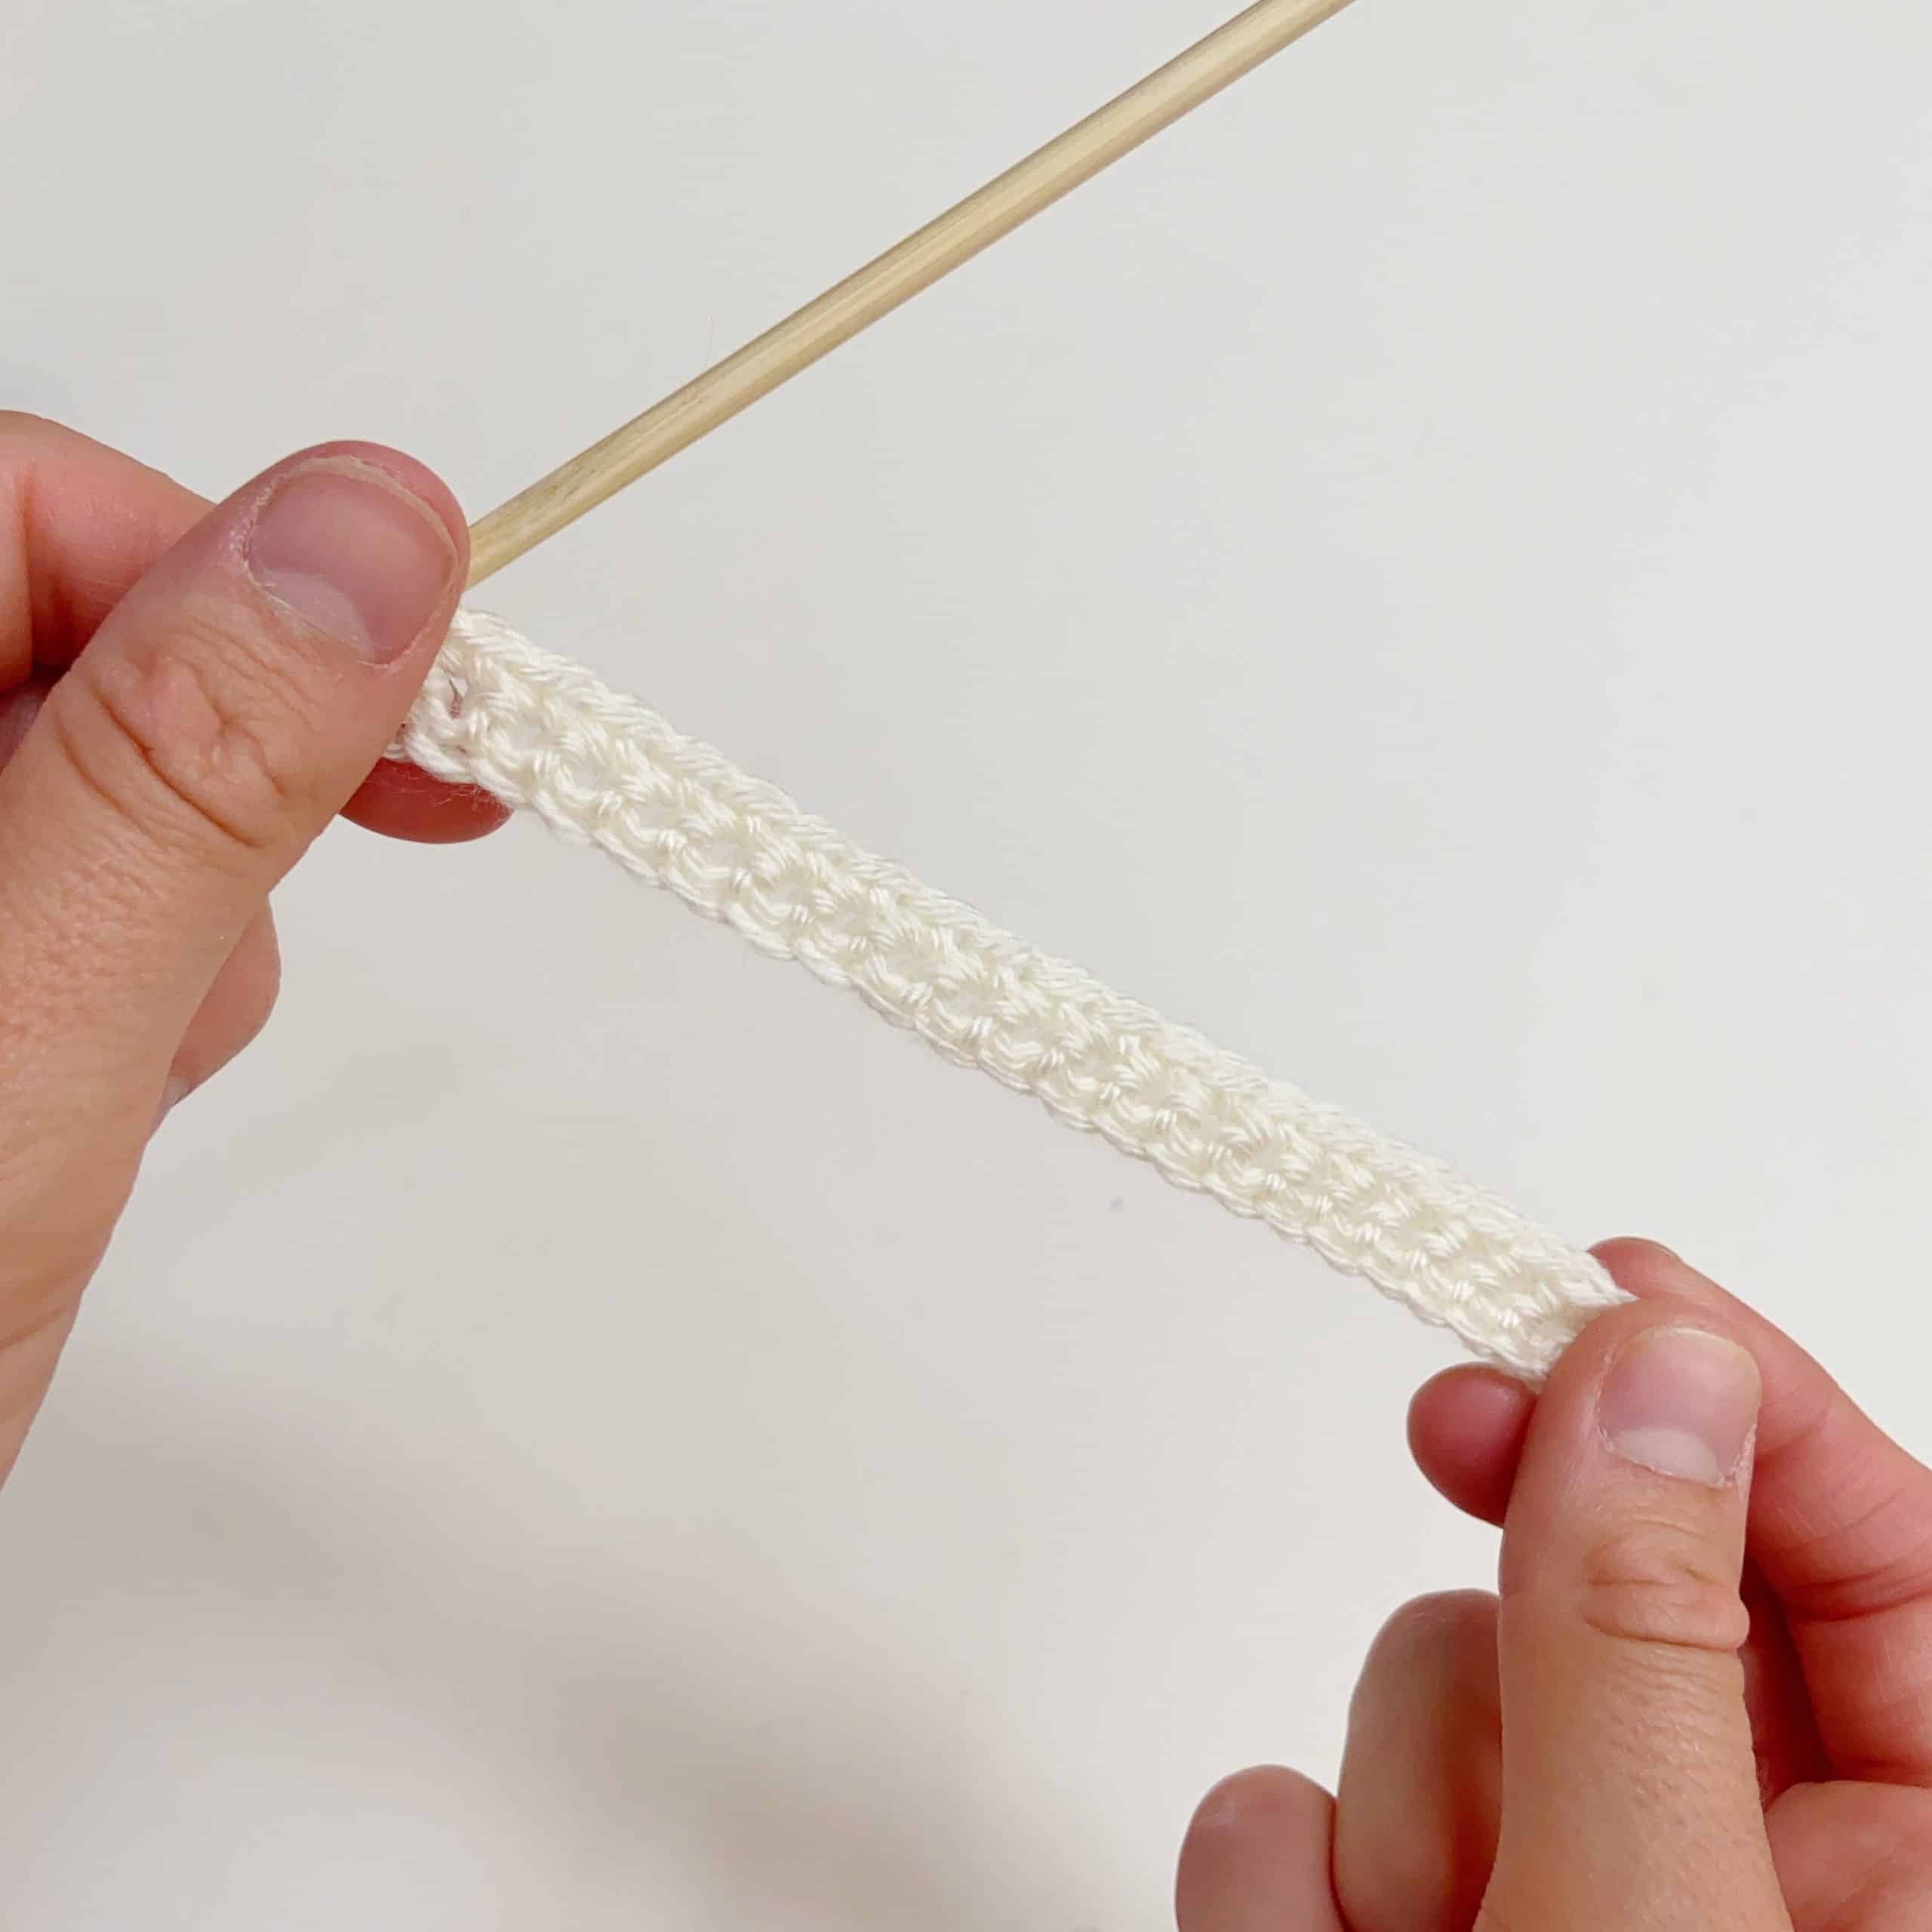
- Crochet a foundation chain of any multiple of 3 to begin.
- Work a double crochet (US single crochet) in the second chain from the hook and each chain to the end. Turn to work the next row.
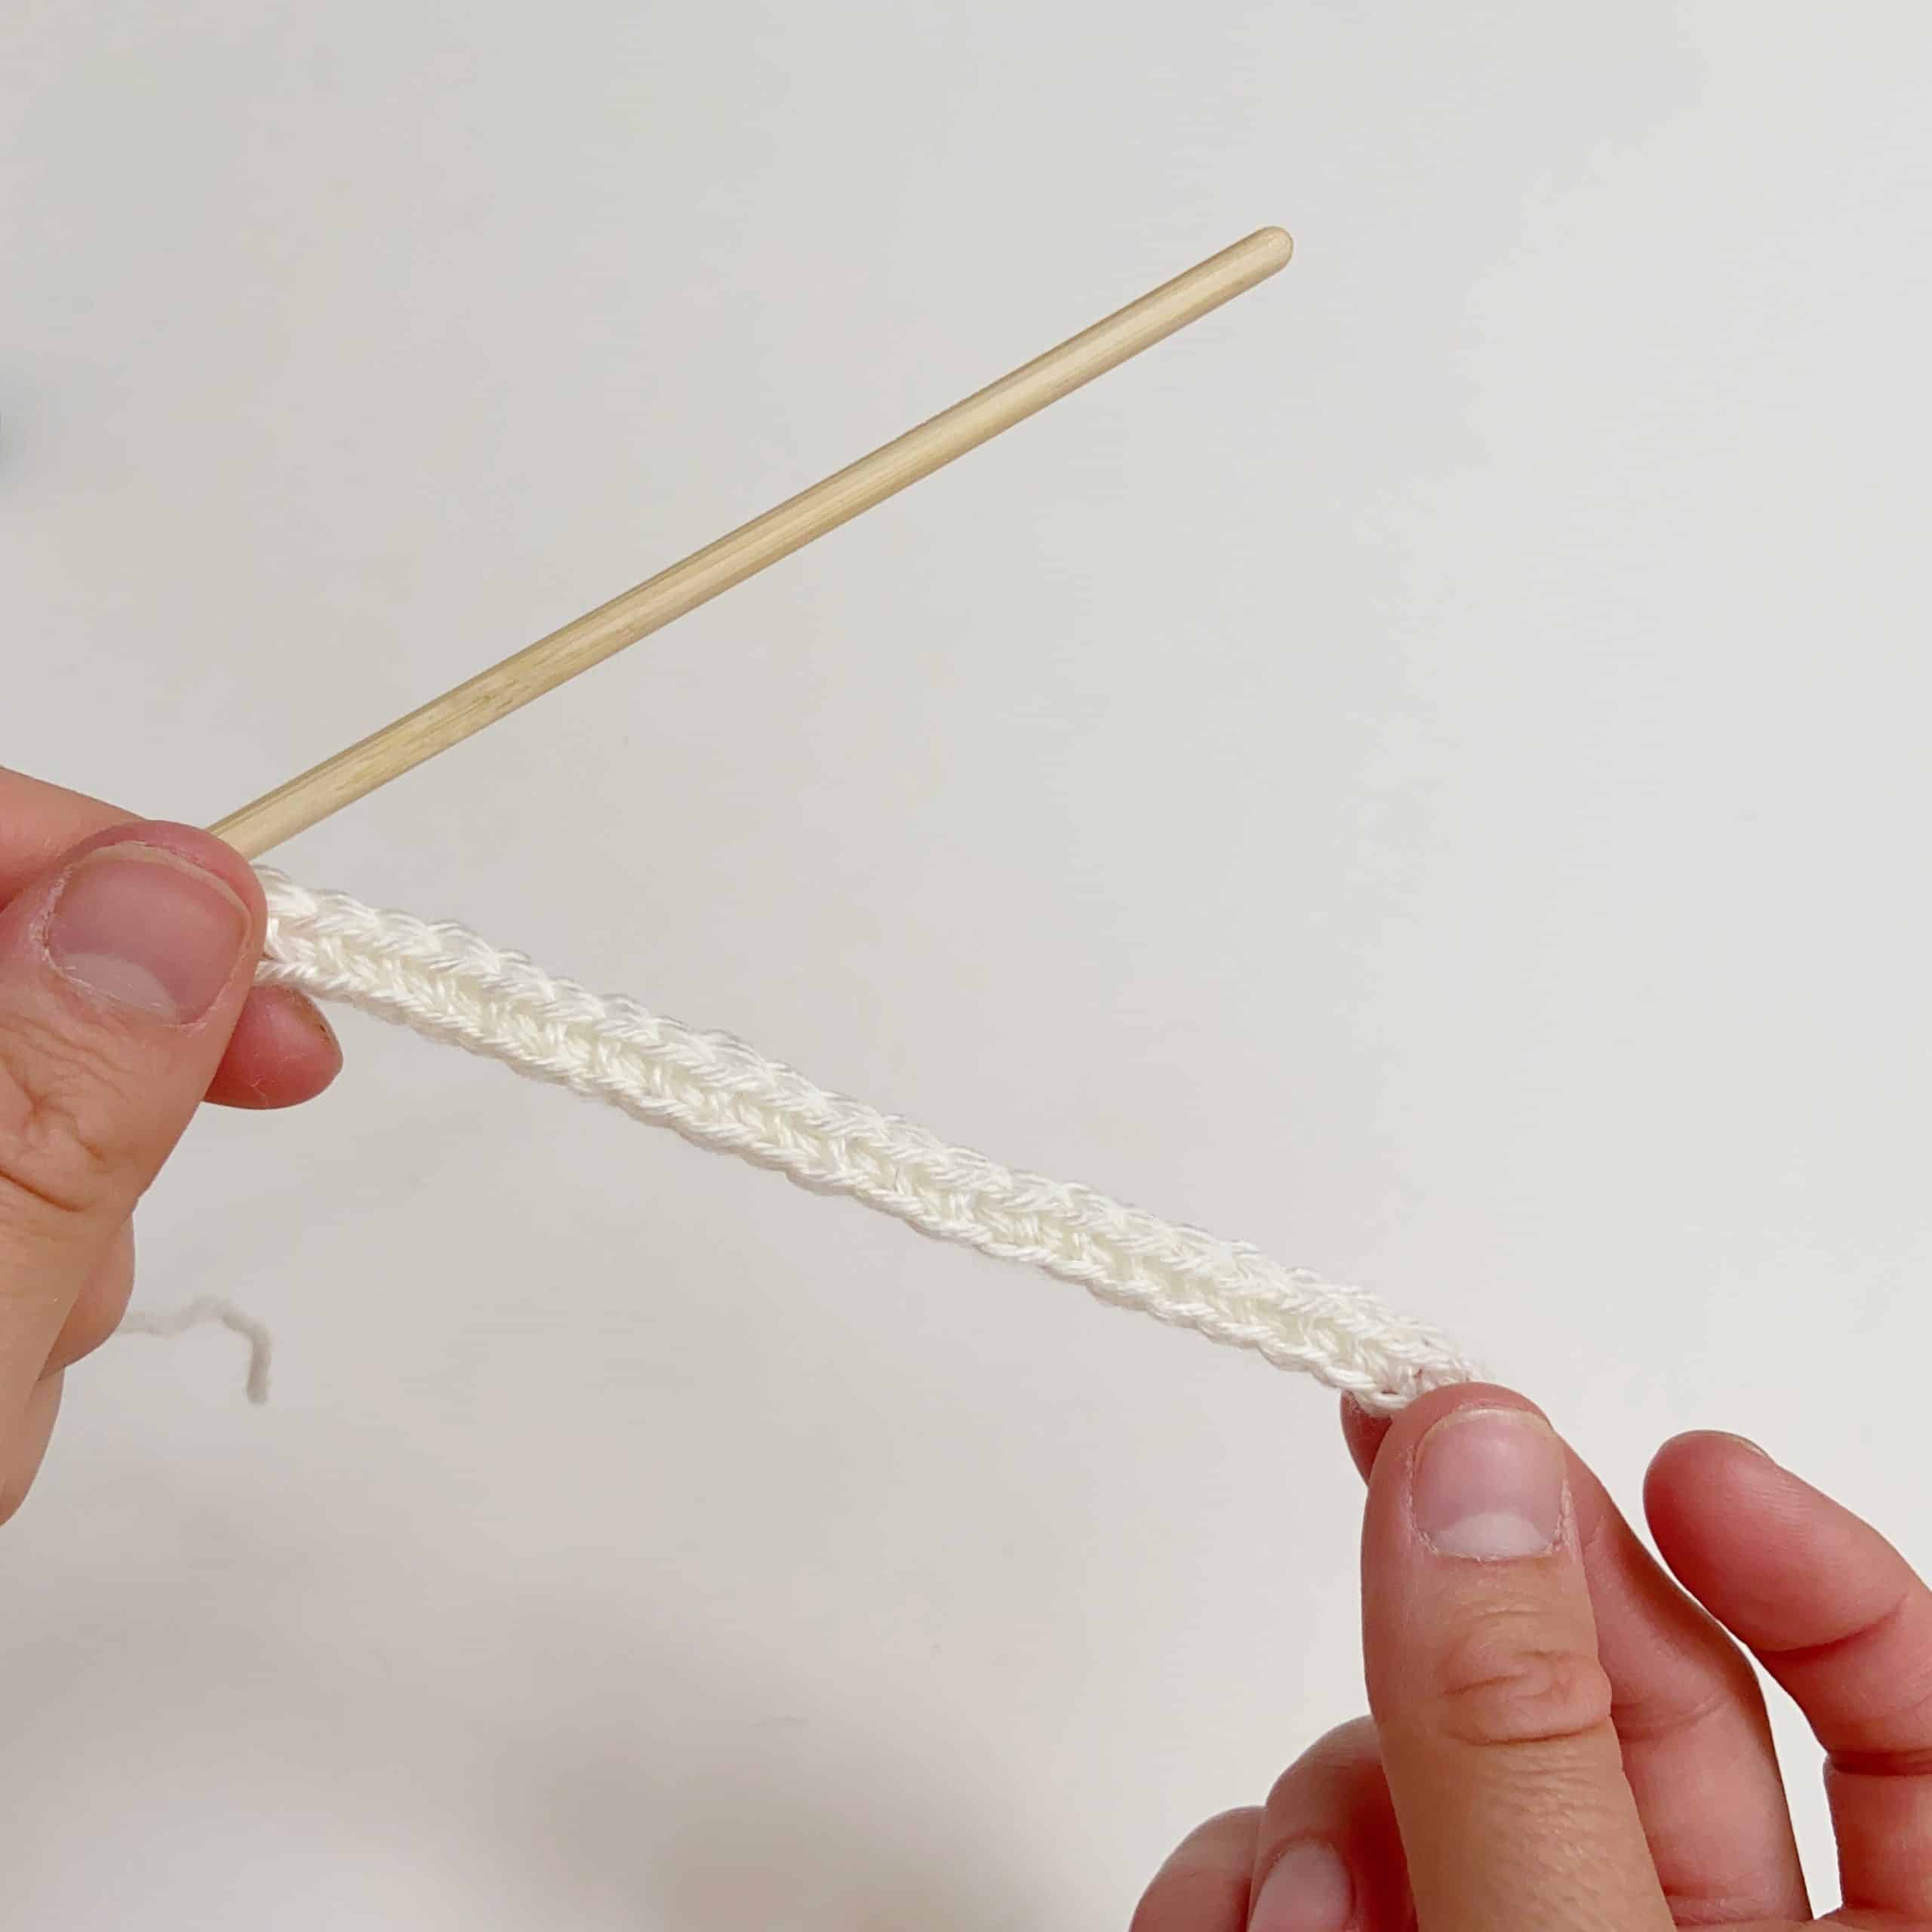
- Chain 1, (this doesn't count as a stitch), work a double crochet (US single crochet) into every stitch of the previous row.
- Second row completed. Change to green yarn and turn to work the next row.
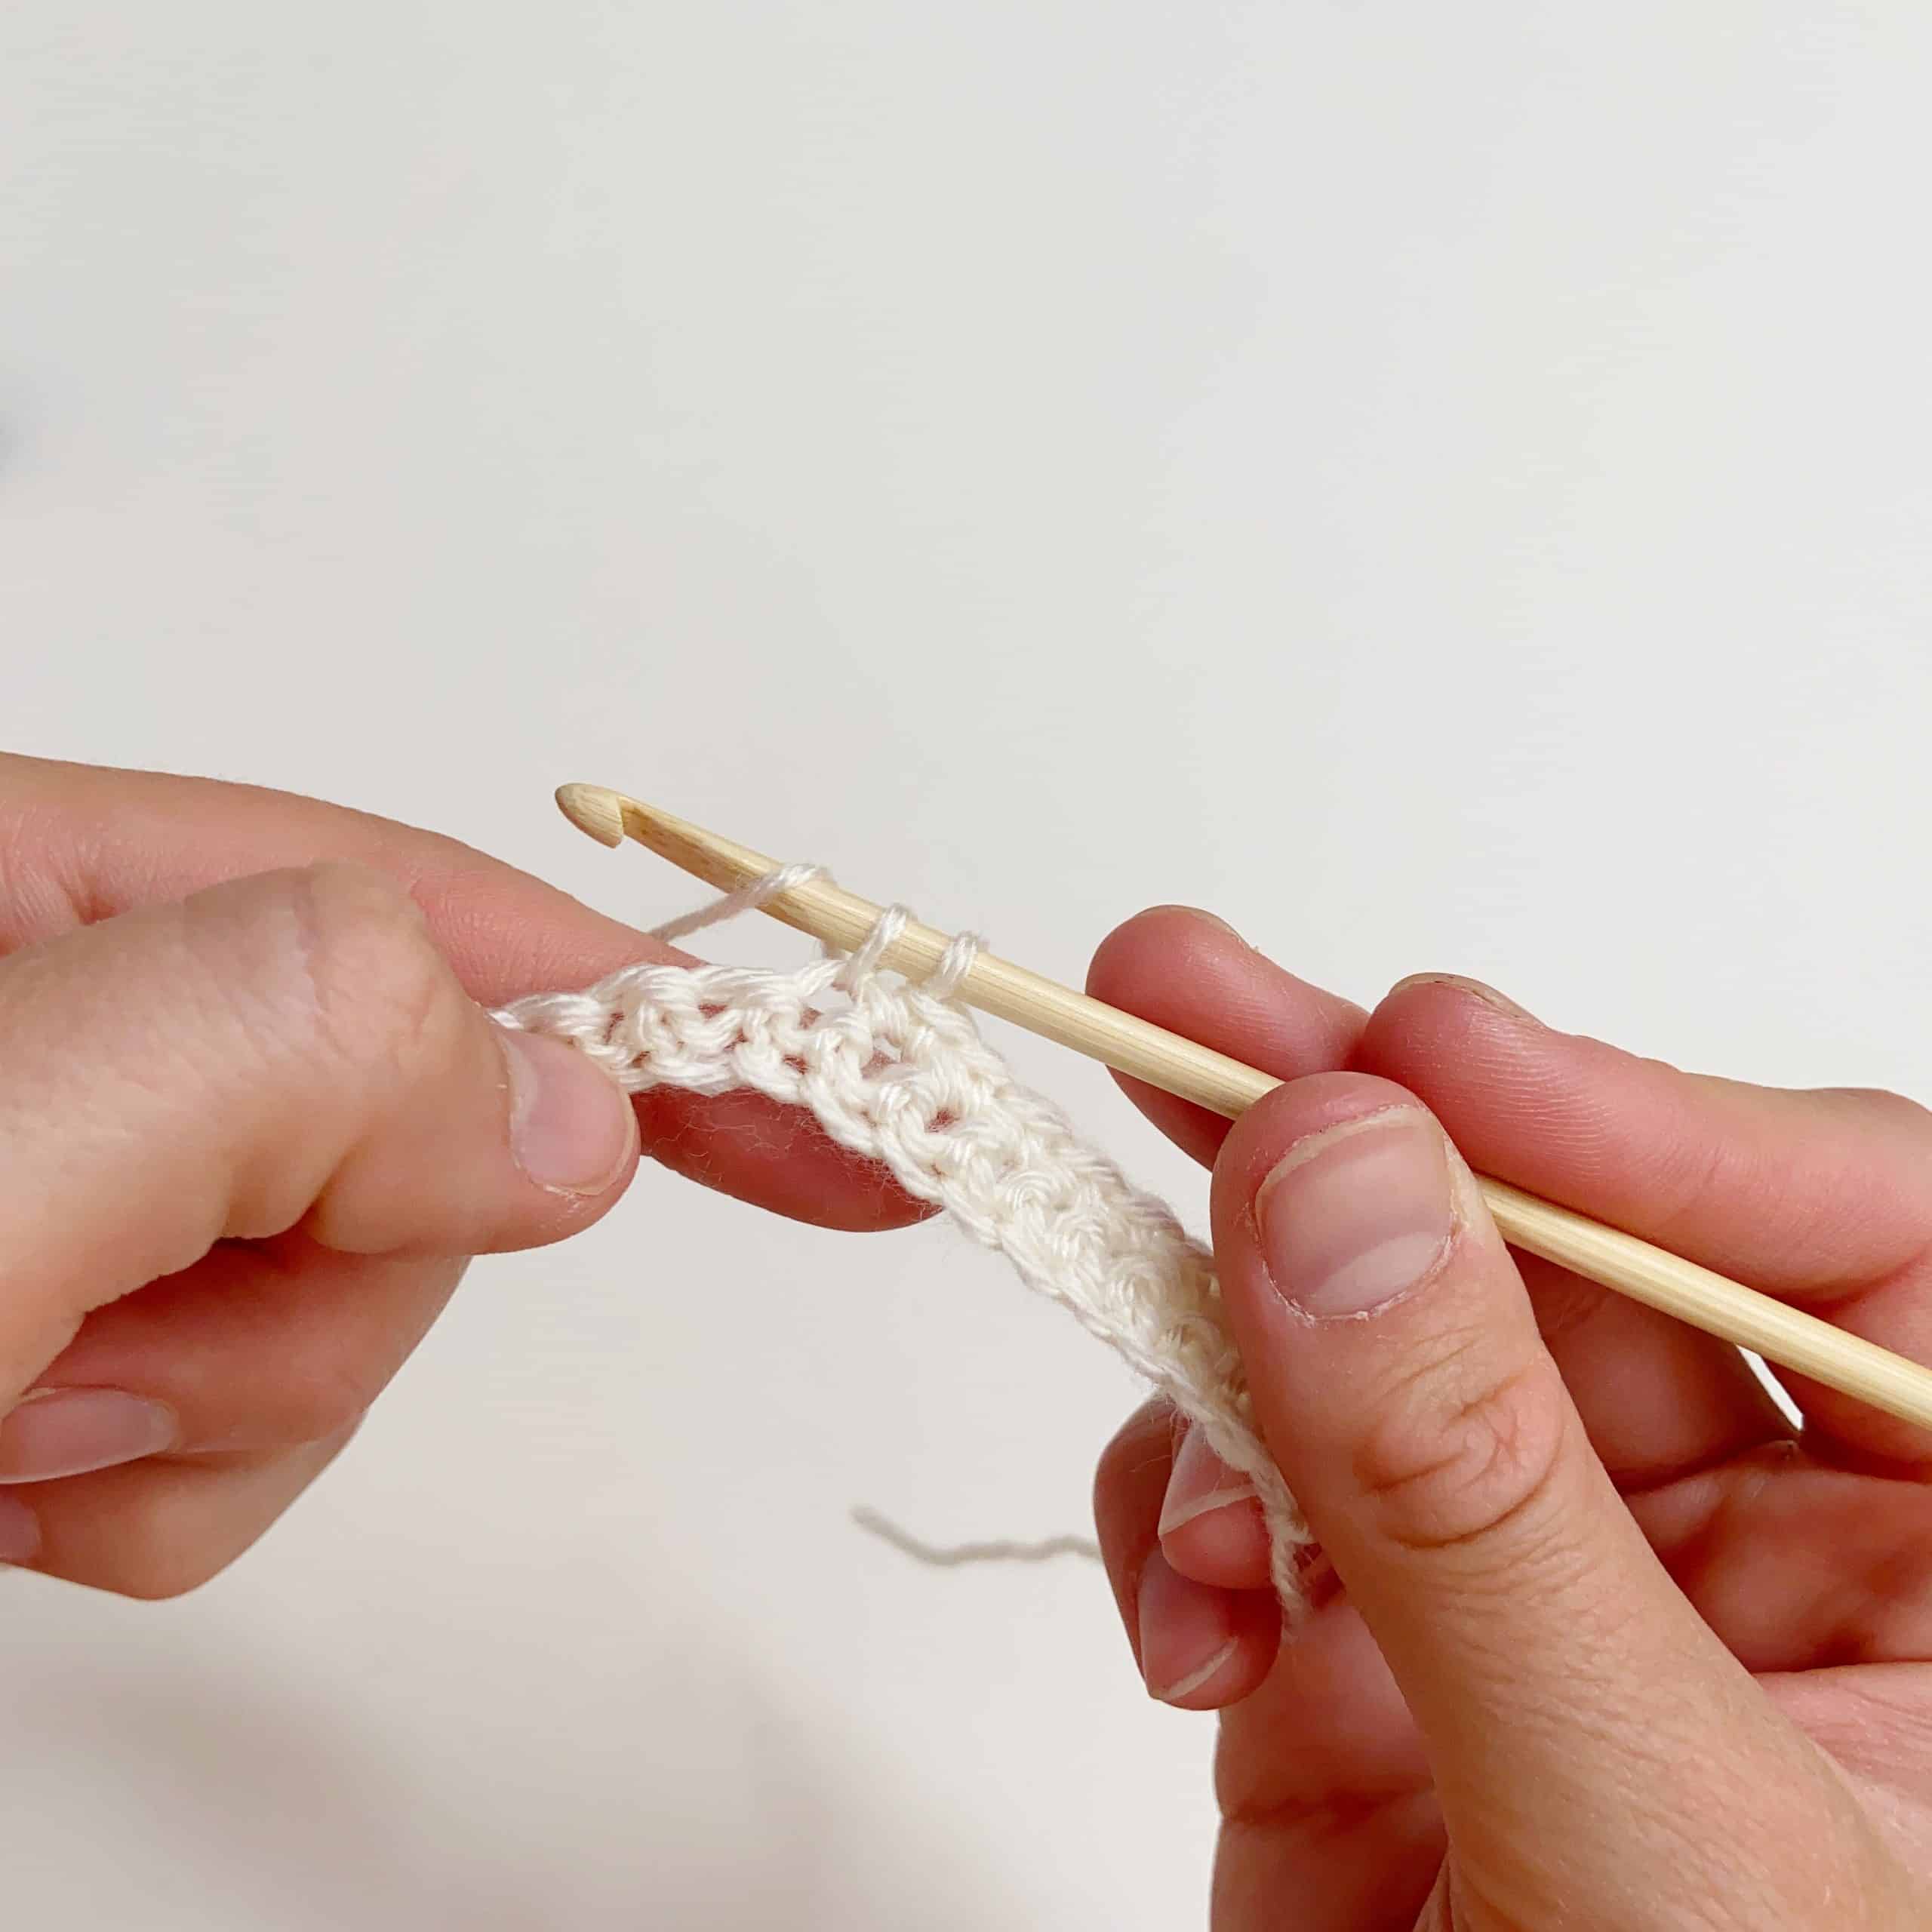
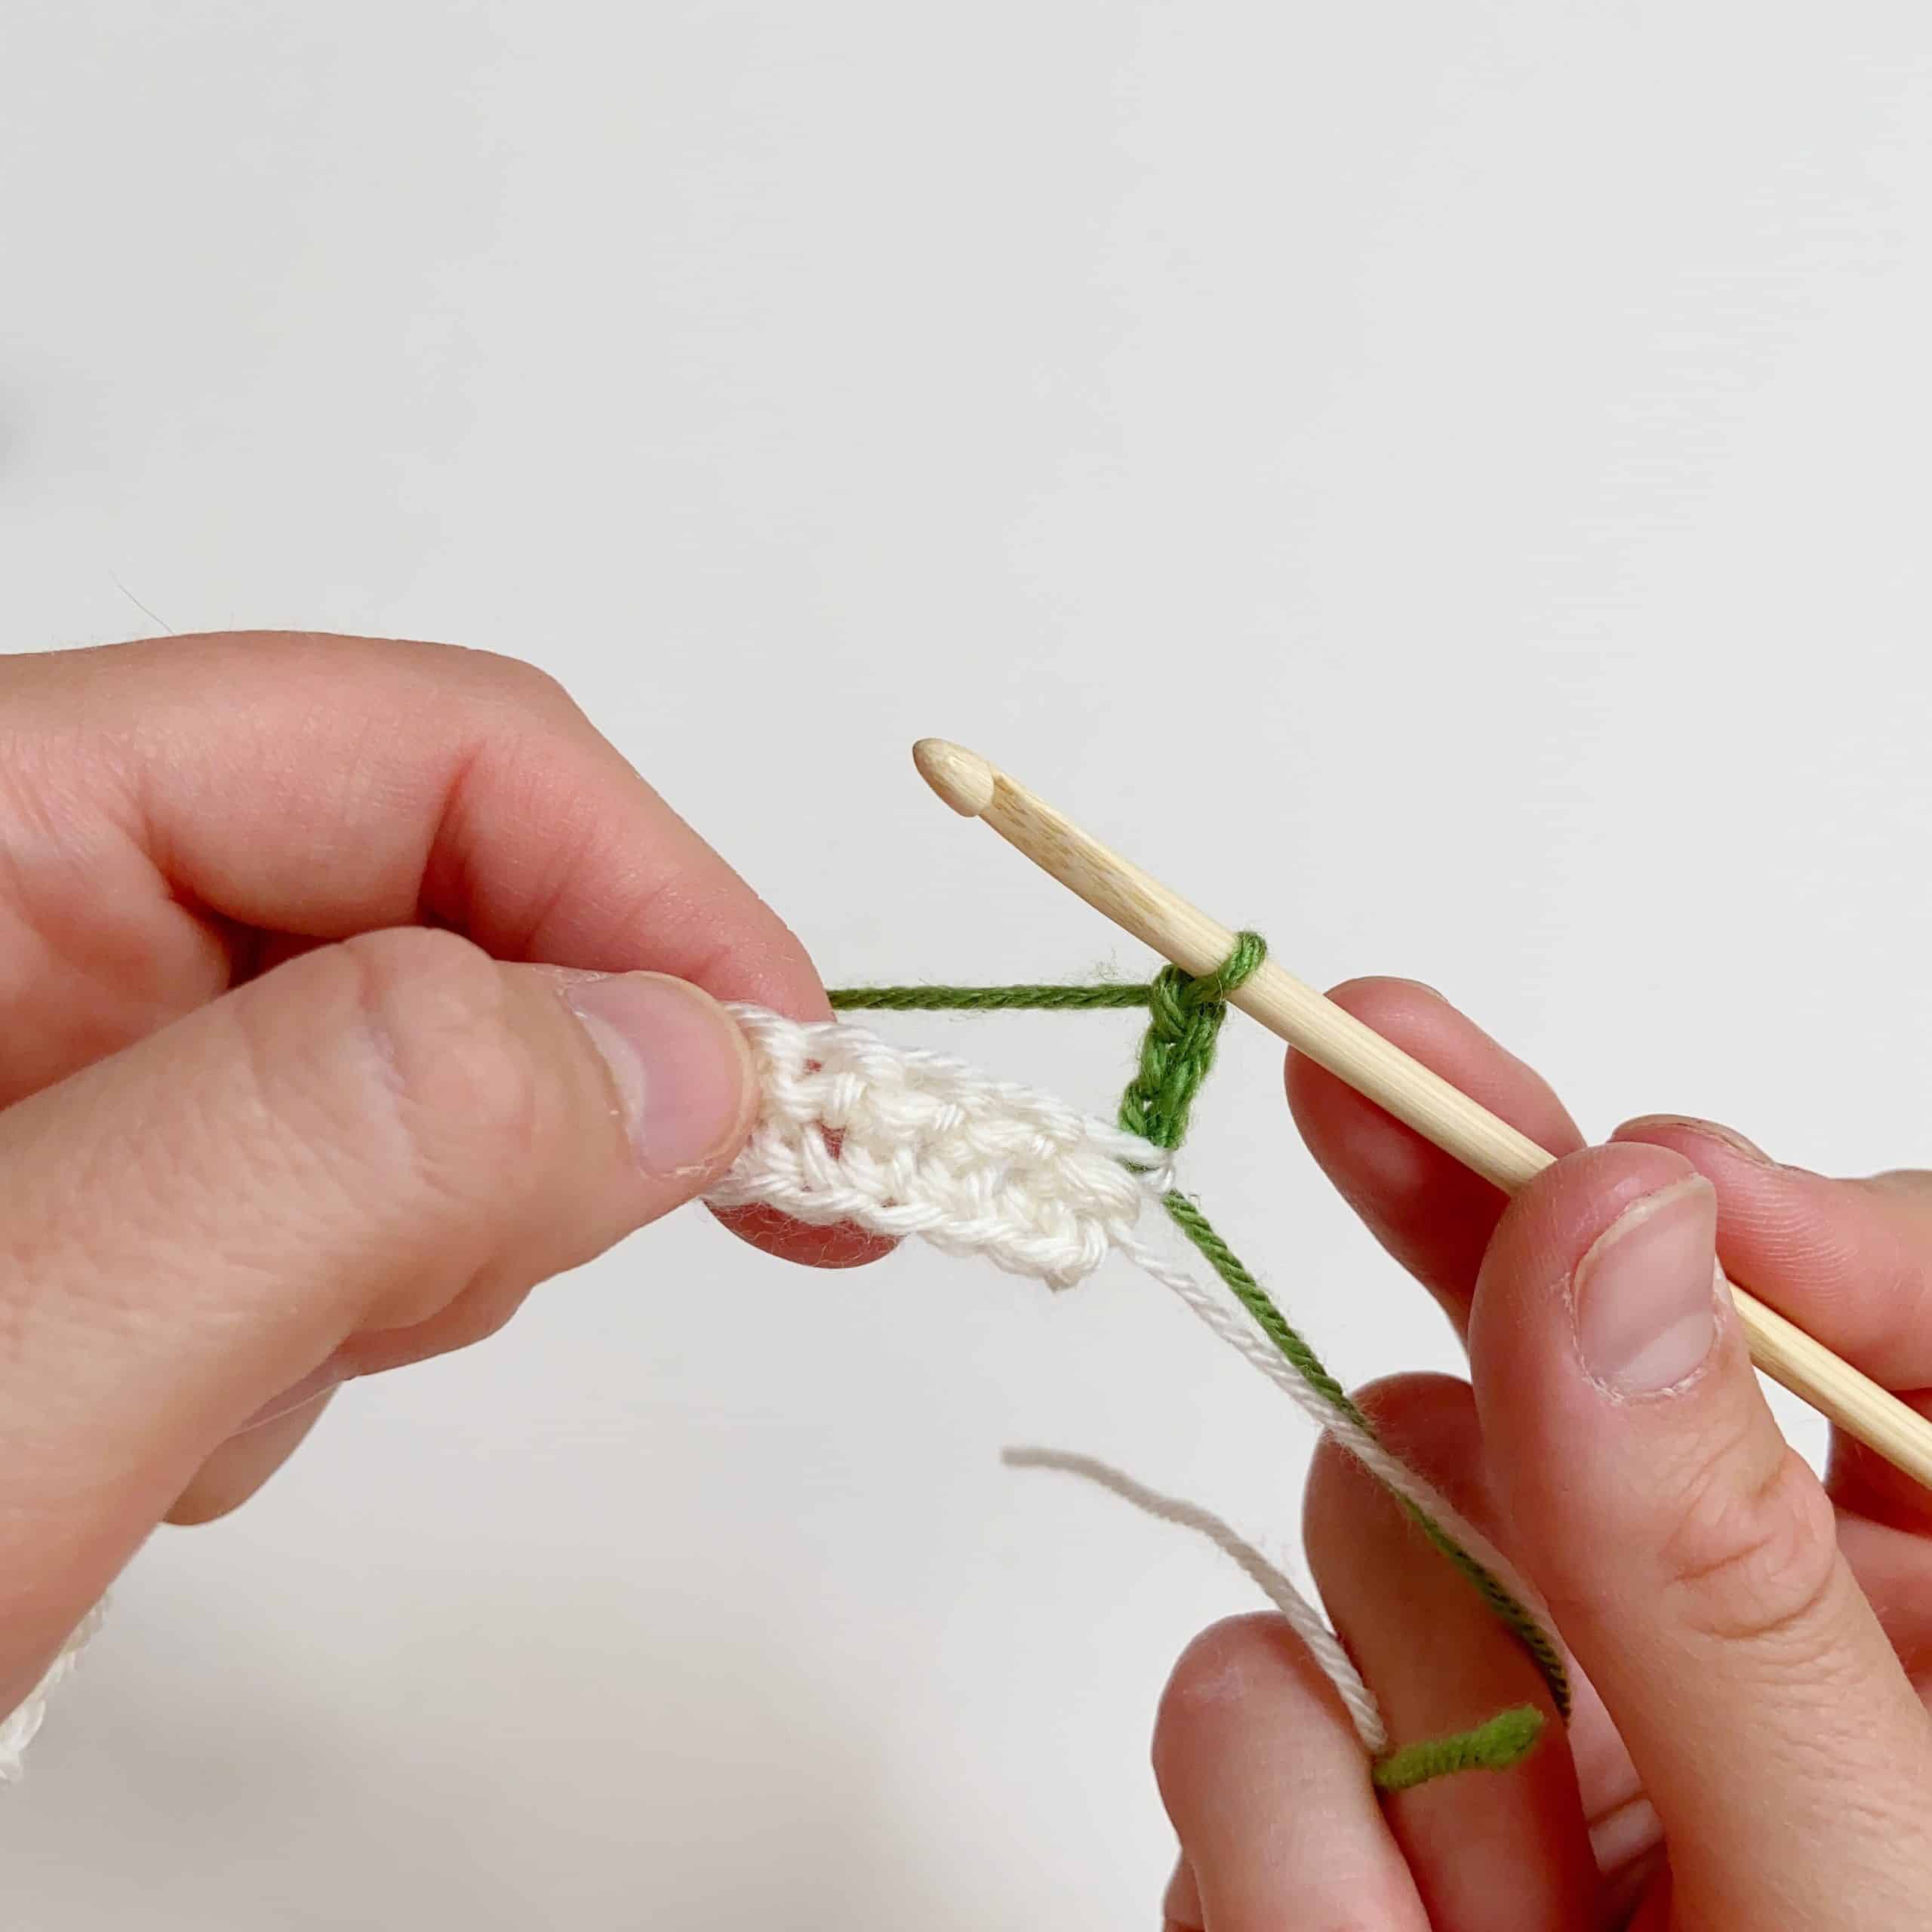
- Start the next row by working a chain 3, this counts as your first stitch.
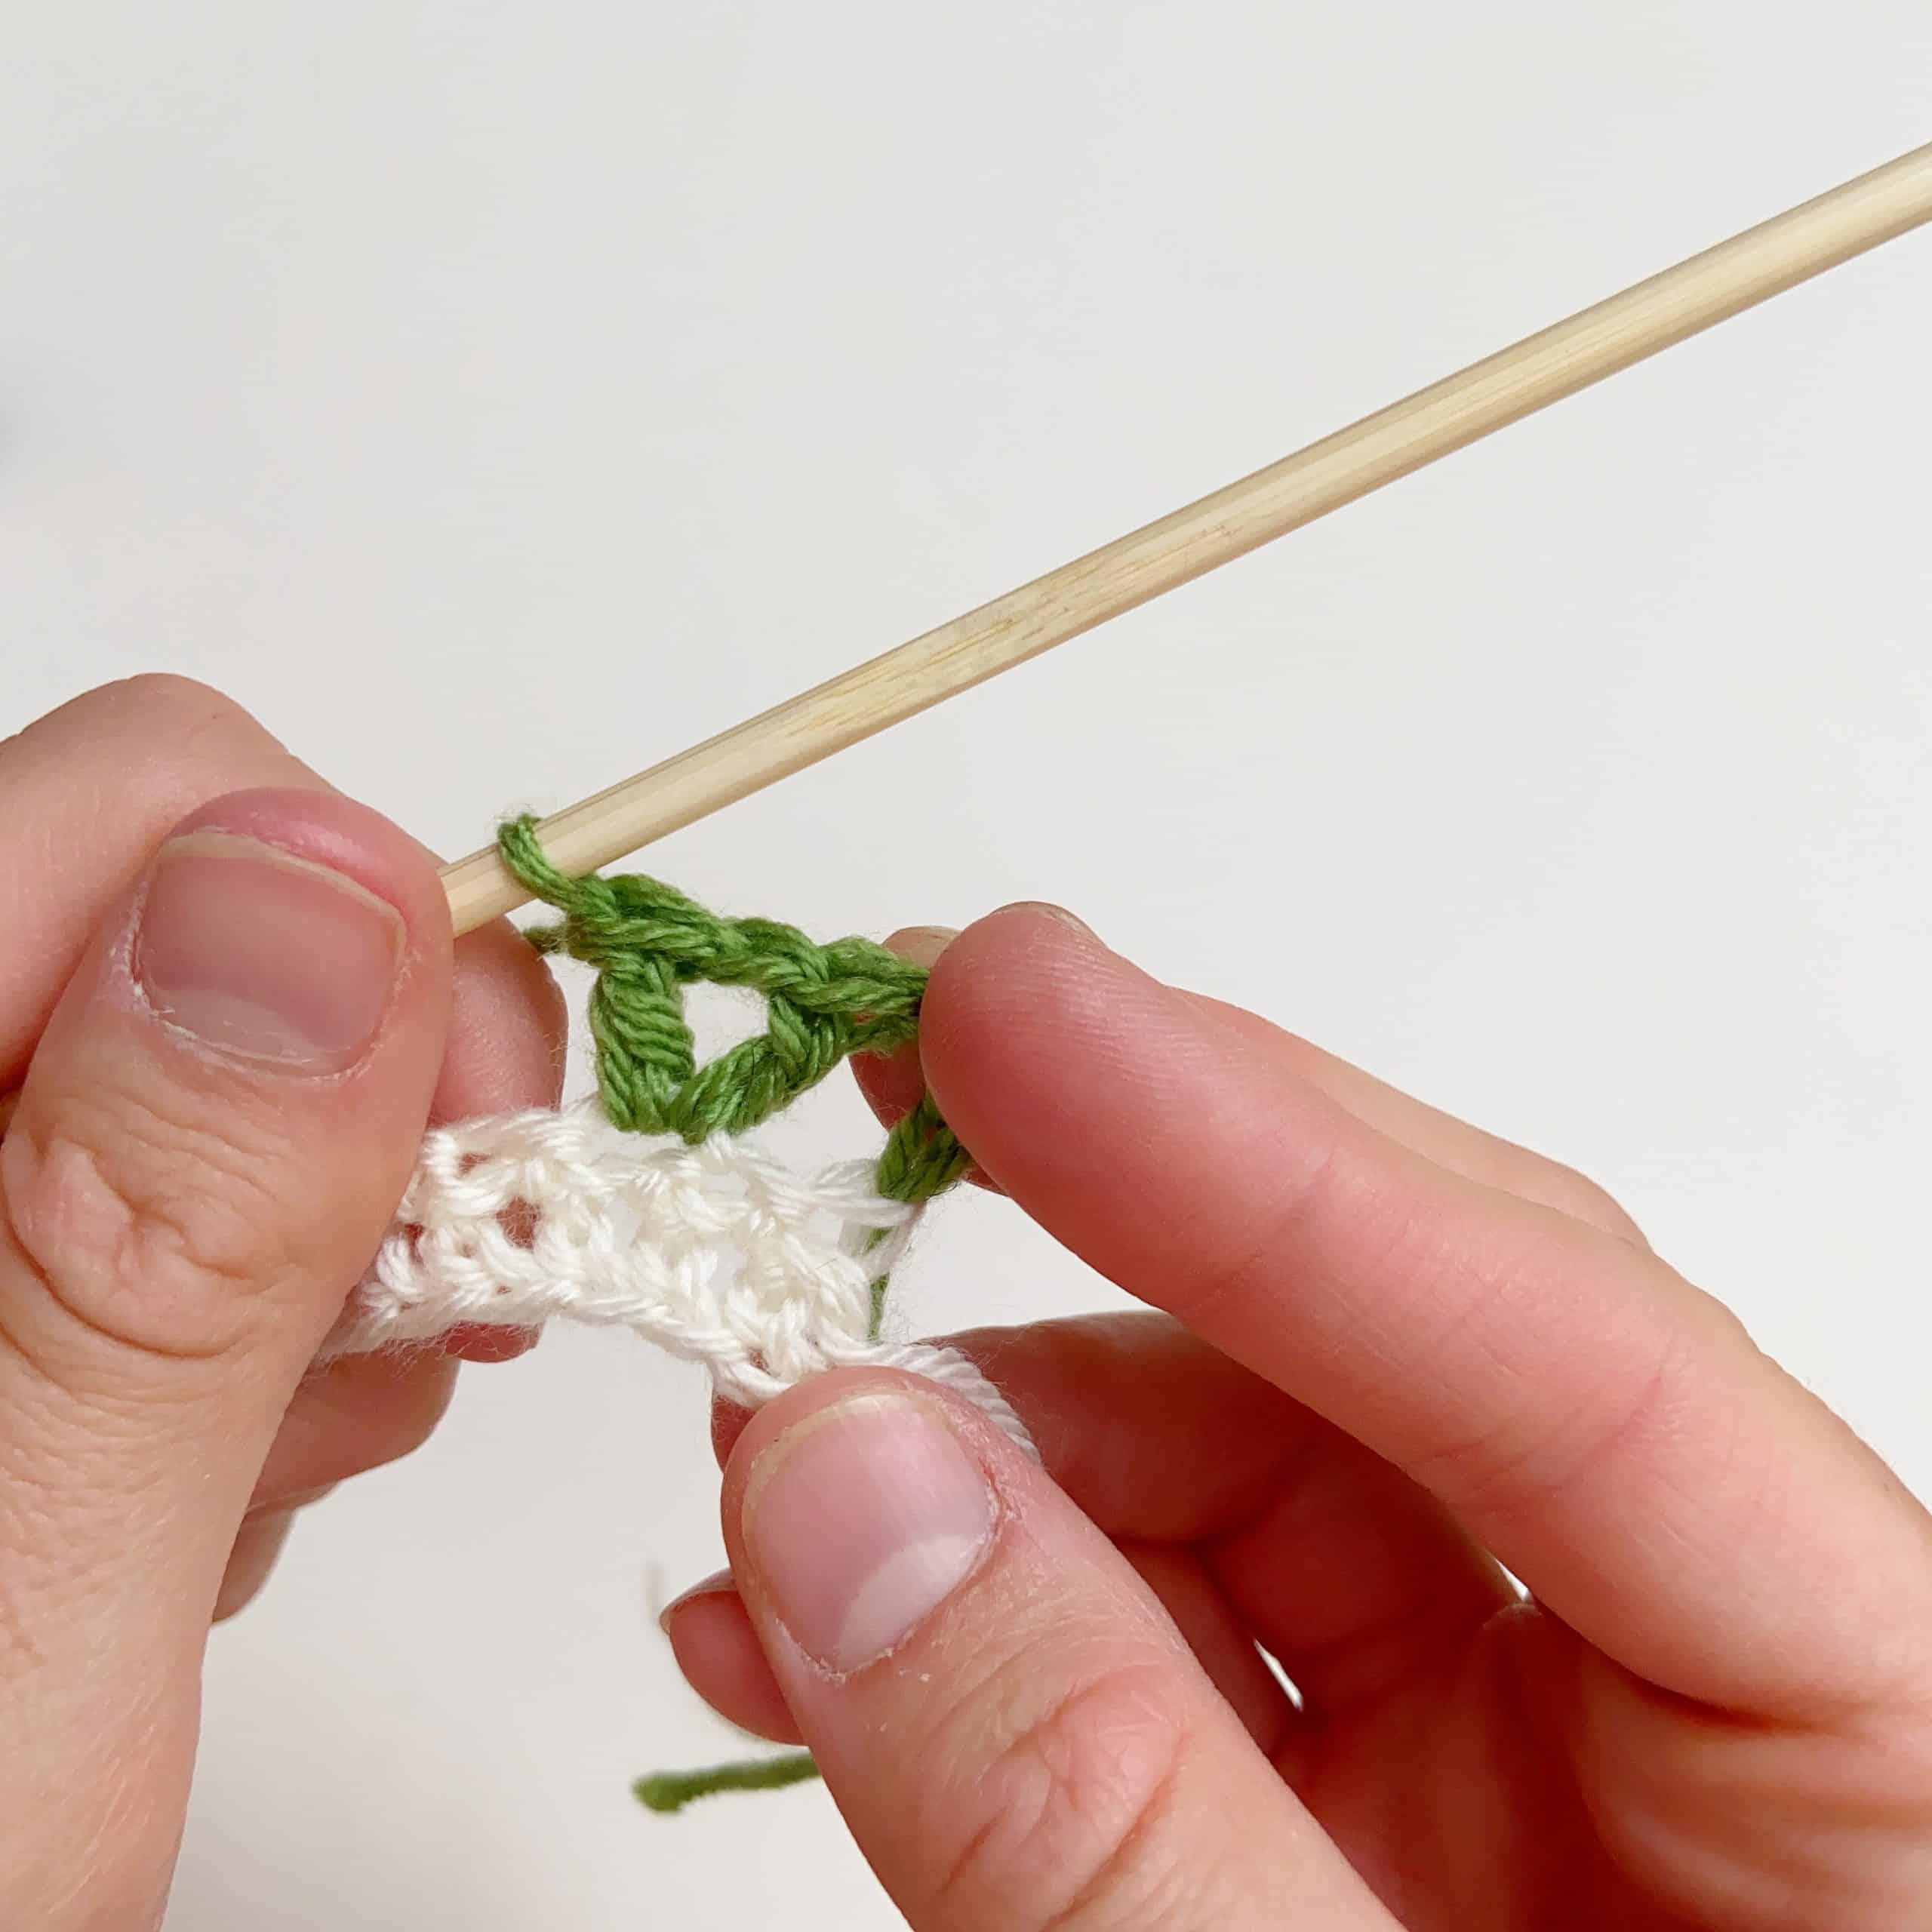
- Now you need to skip one stitch, and work a (treble, chain 1, treble) UK/ (double crochet, chain 1, double crochet) US into the next stitch, skip the next stitch.
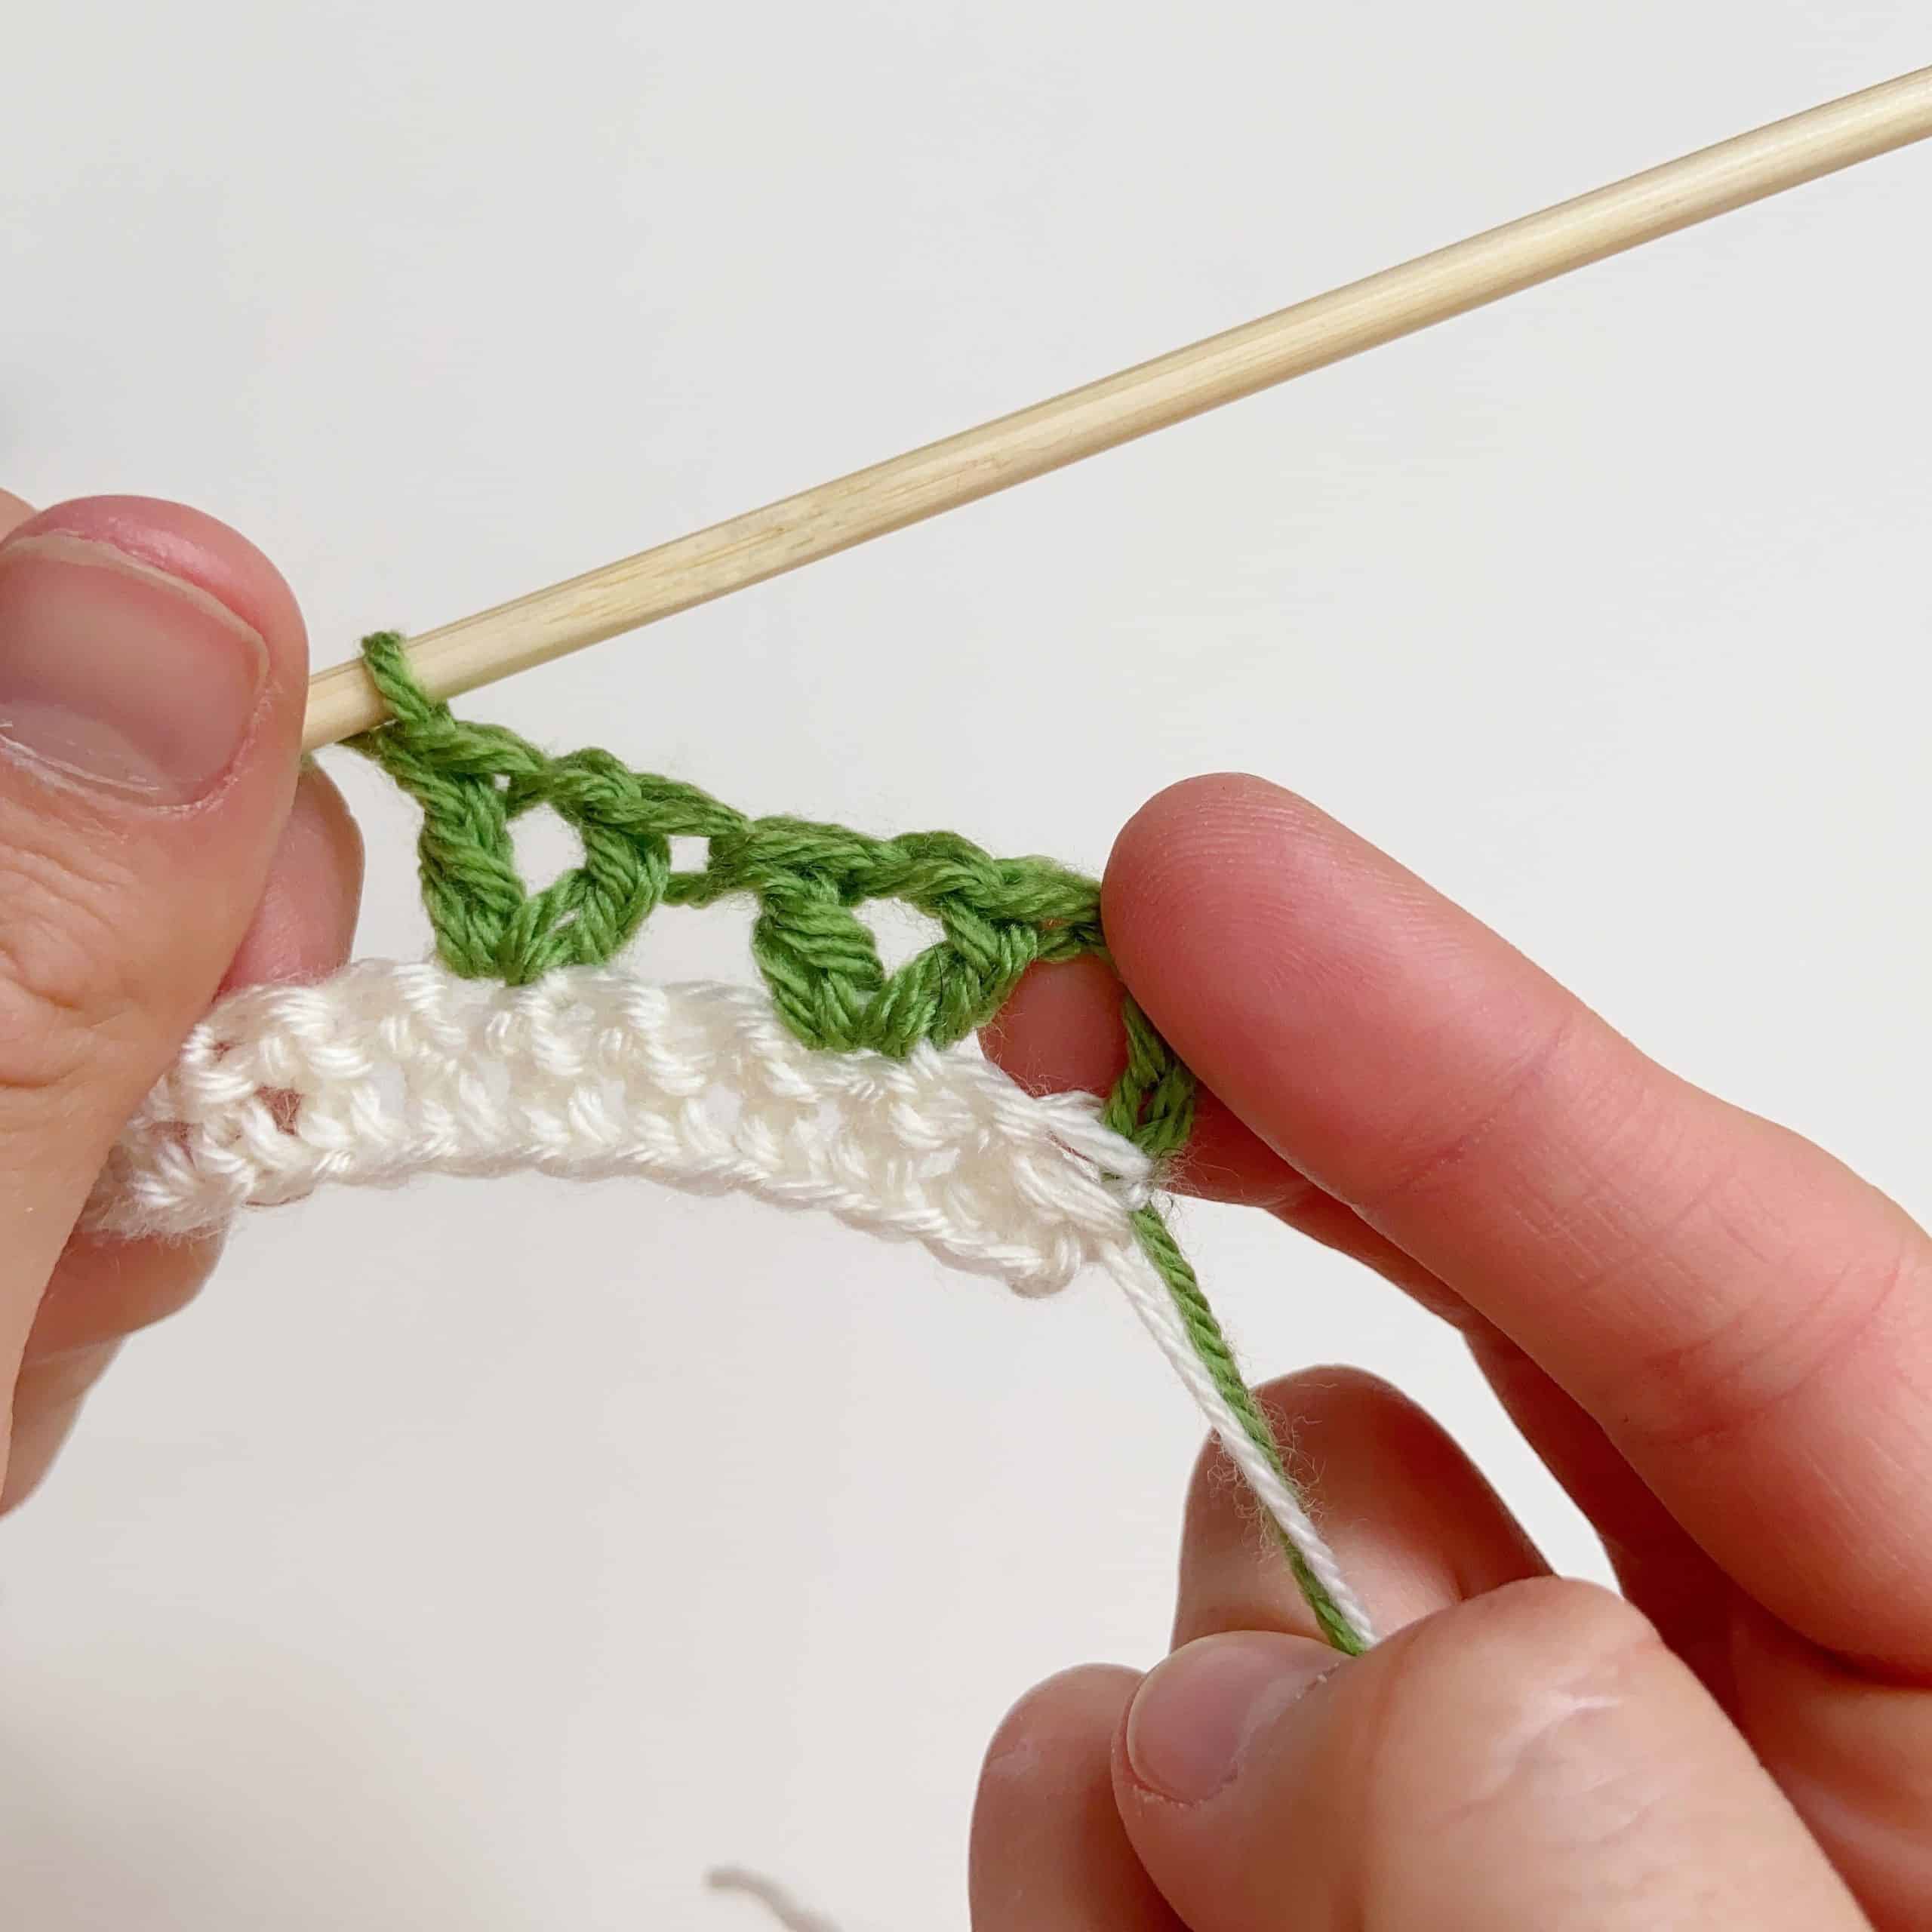
- Continue along this row in the same way - you've just ended the last instruction by skipping a stitch and now you need to skip another. So make sure you skip a stitch both before and after the following repeat. Skip the next stitch, and work a (treble, chain 1, treble) UK/ (double crochet, chain 1, double crochet) US into the next stitch, skip the next stitch.
- Complete this row by working a treble/ double crochet into the last stitch. Change colour to yellow now.
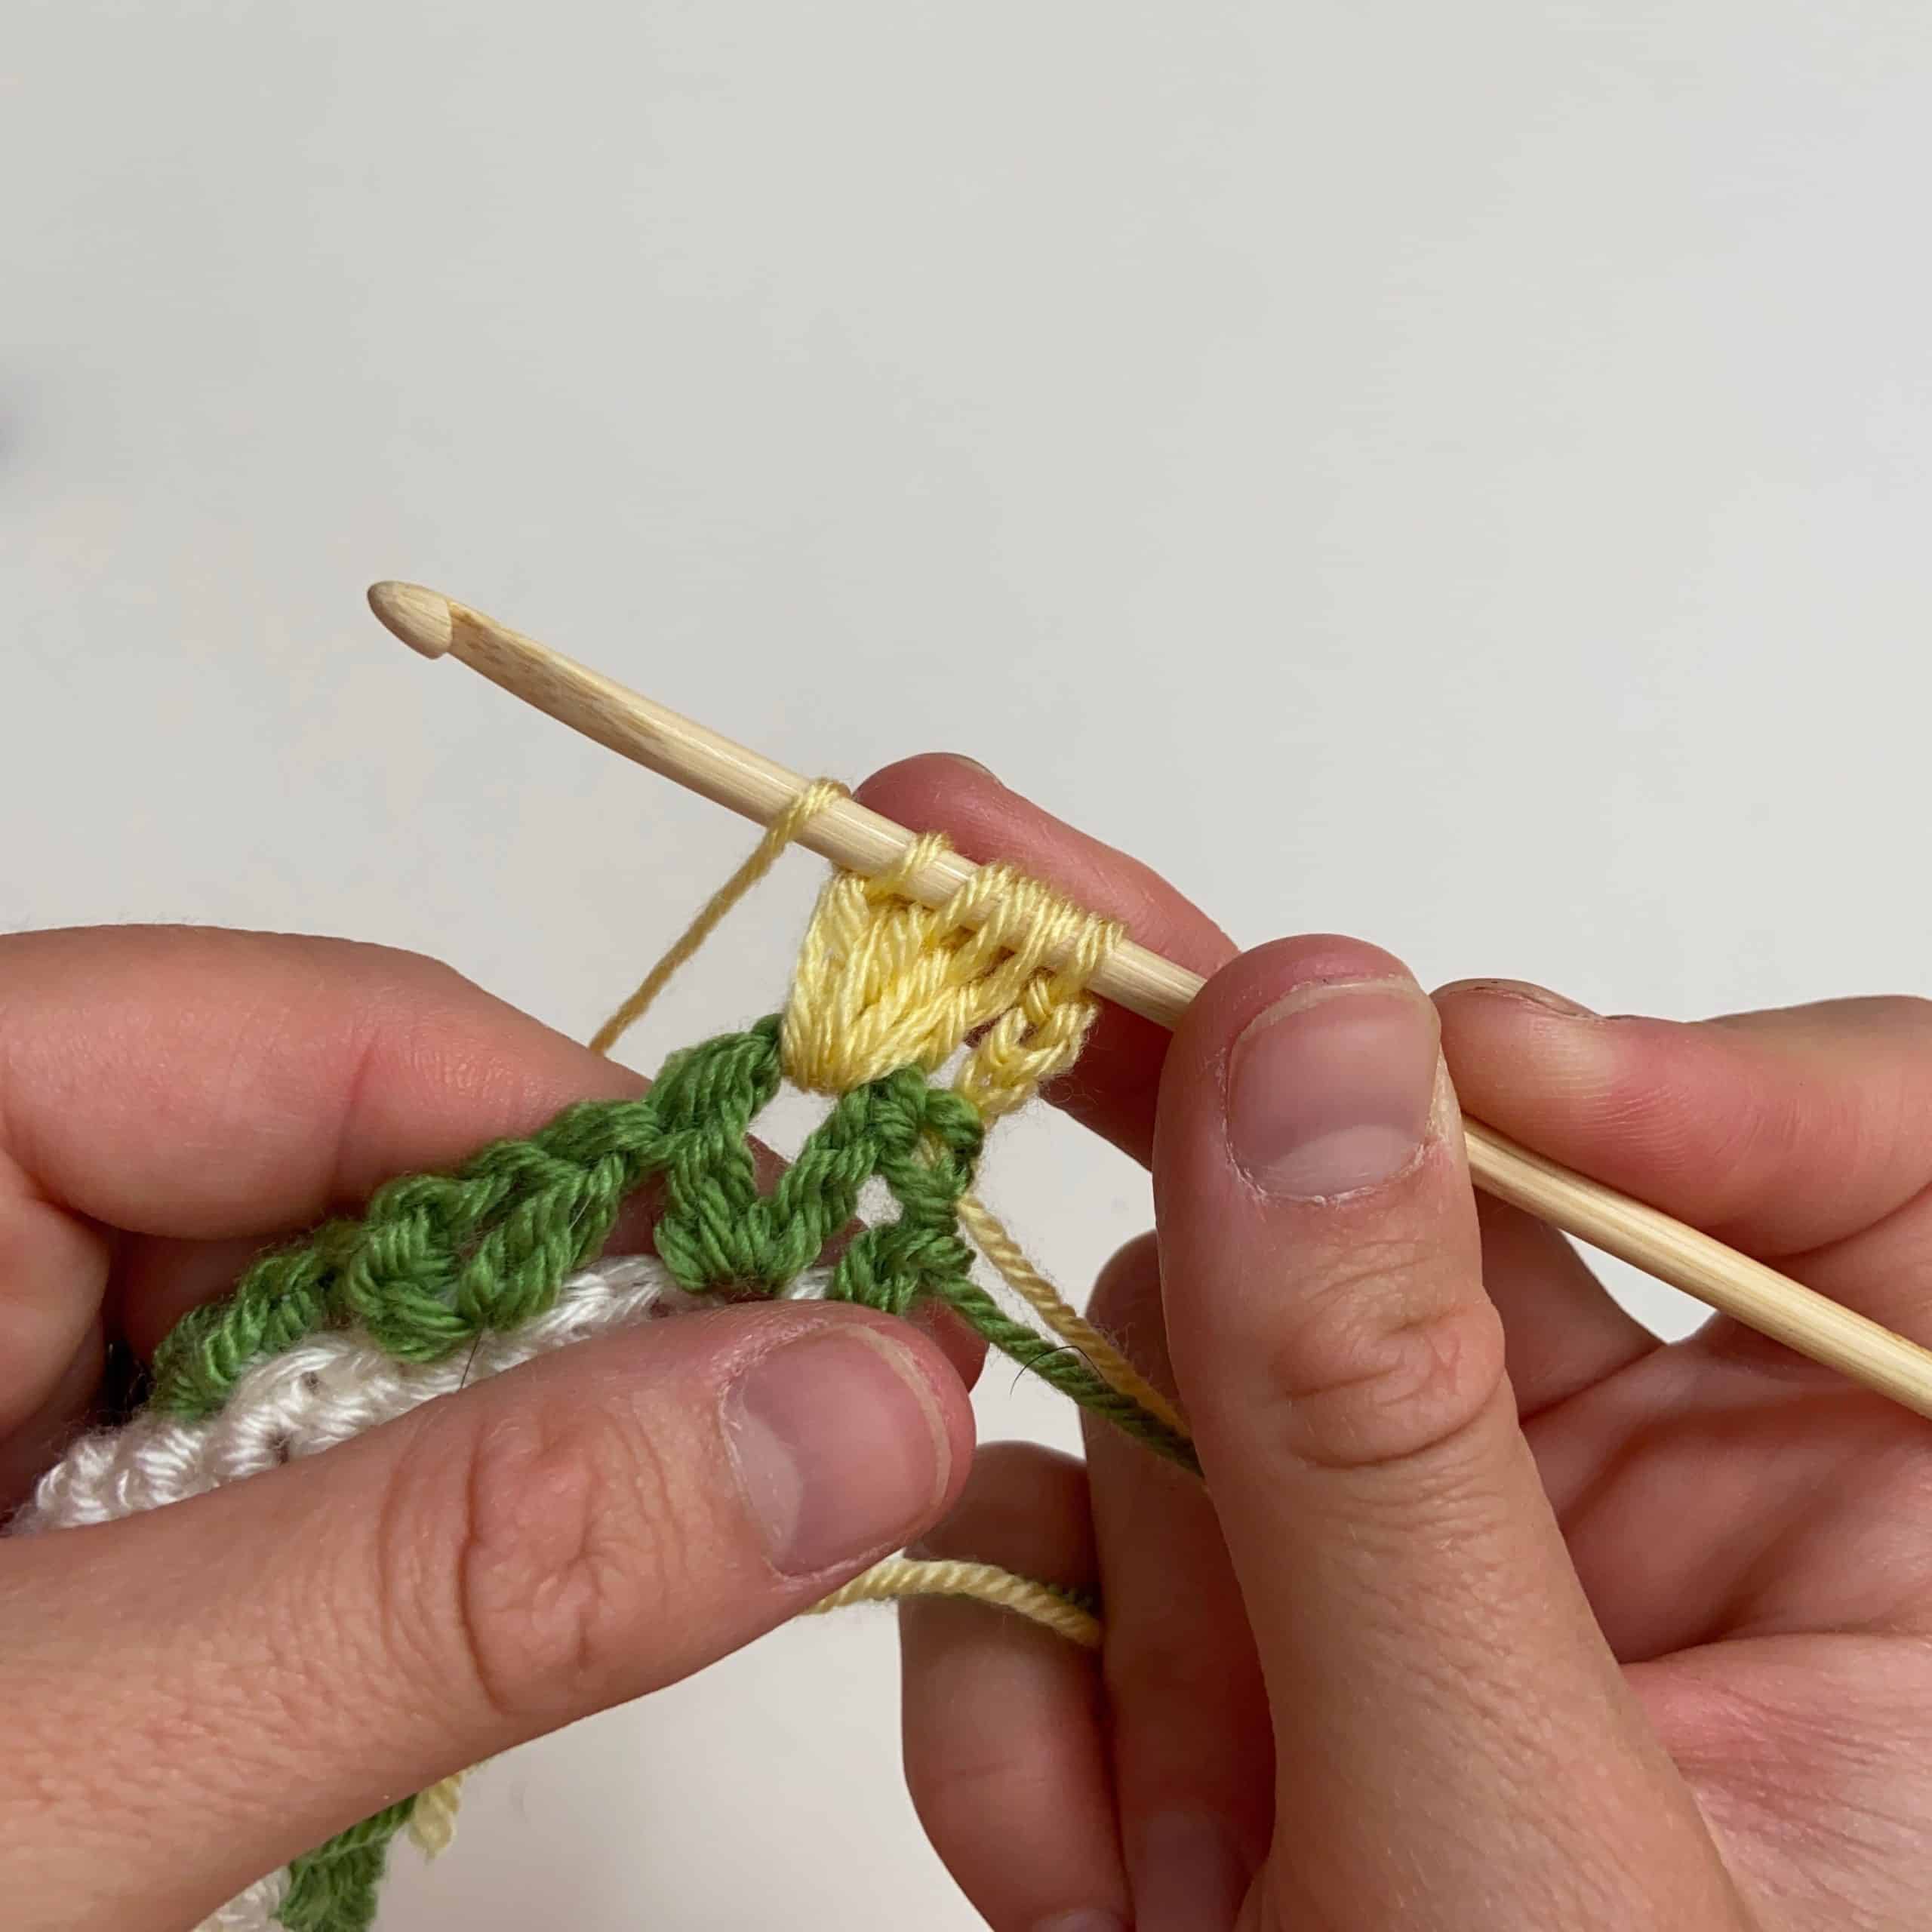
- Chain 3 (counts as a stitch), chain 1, then work a 4tr-cl/4dc-cl in chain 1 space as shown, chain 1.
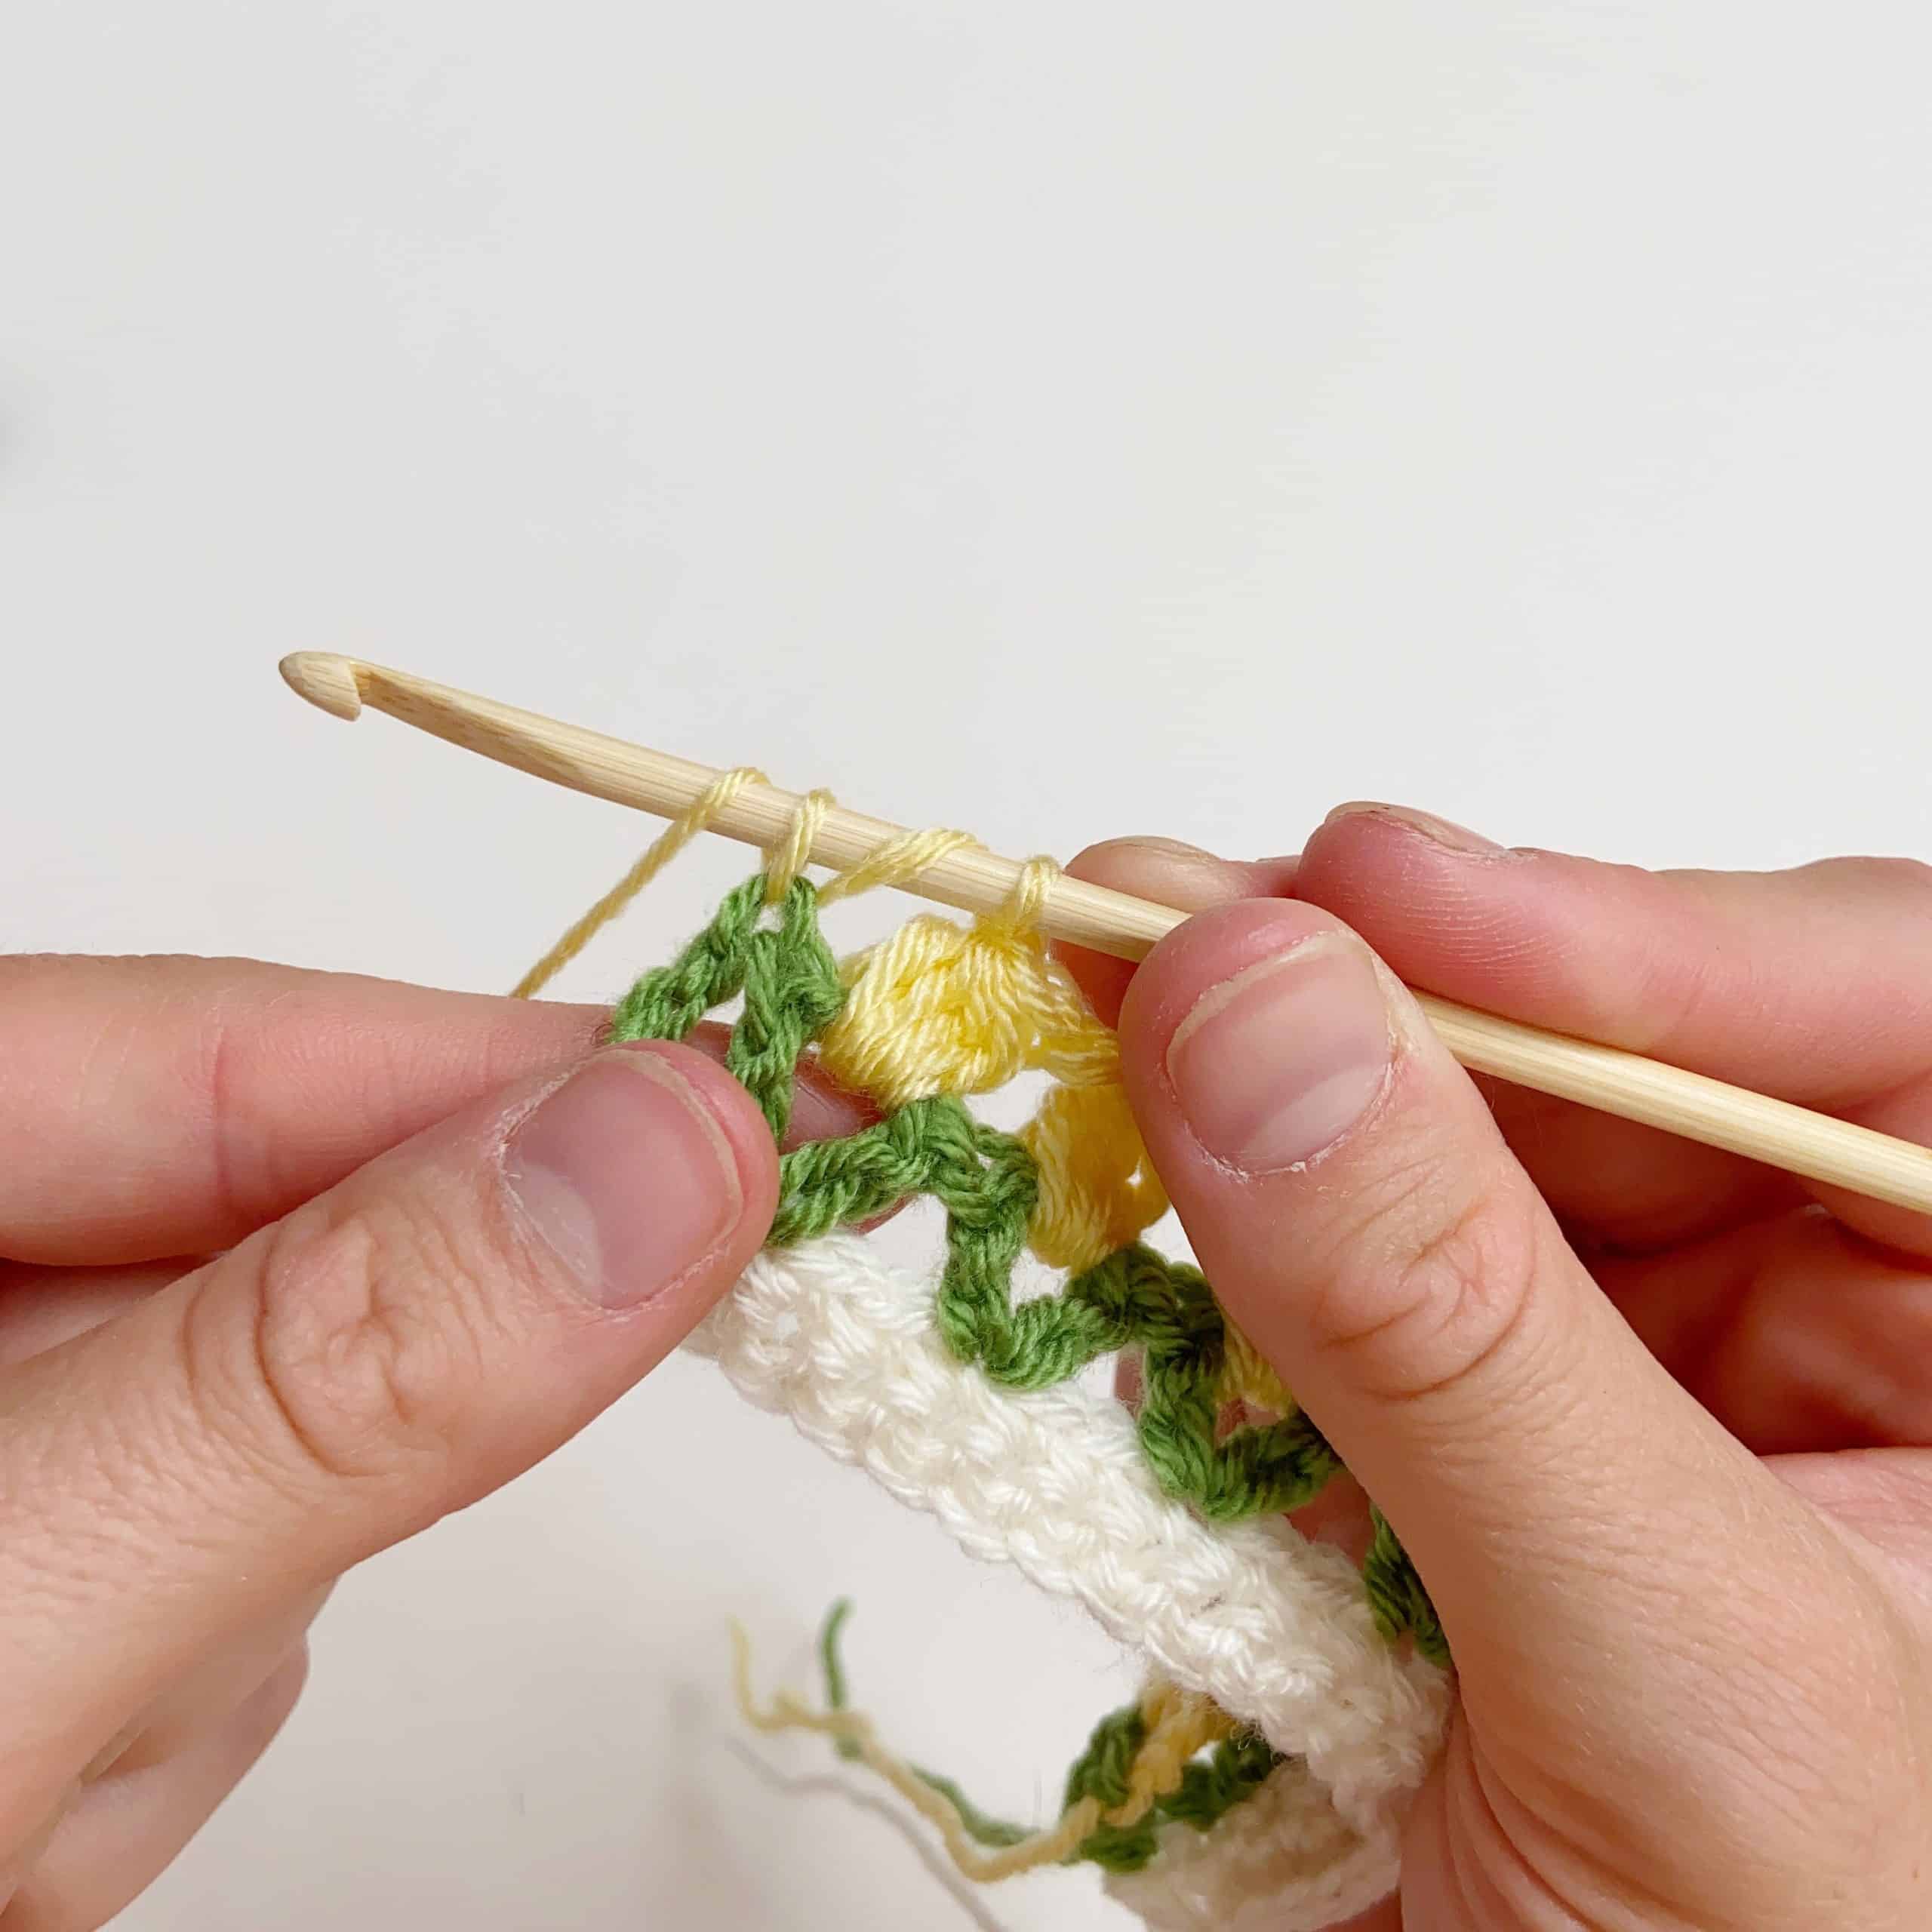
- Cluster stitch and chain 1 completed. Now you need to repeat the following along the row: *chain 1, 4tr-cl/4dc-cl in chsin 1 space, chain 1 until you get to the last stitch.
- Work a treble/double crochet in the last stitch to complete the row. Change to pink now.
- This is how your completed row of cluster stitches will look.
- To start the next row, chain 1 (this doesn't count as a stitch) and work a half treble/half double crochet into the first stitch.
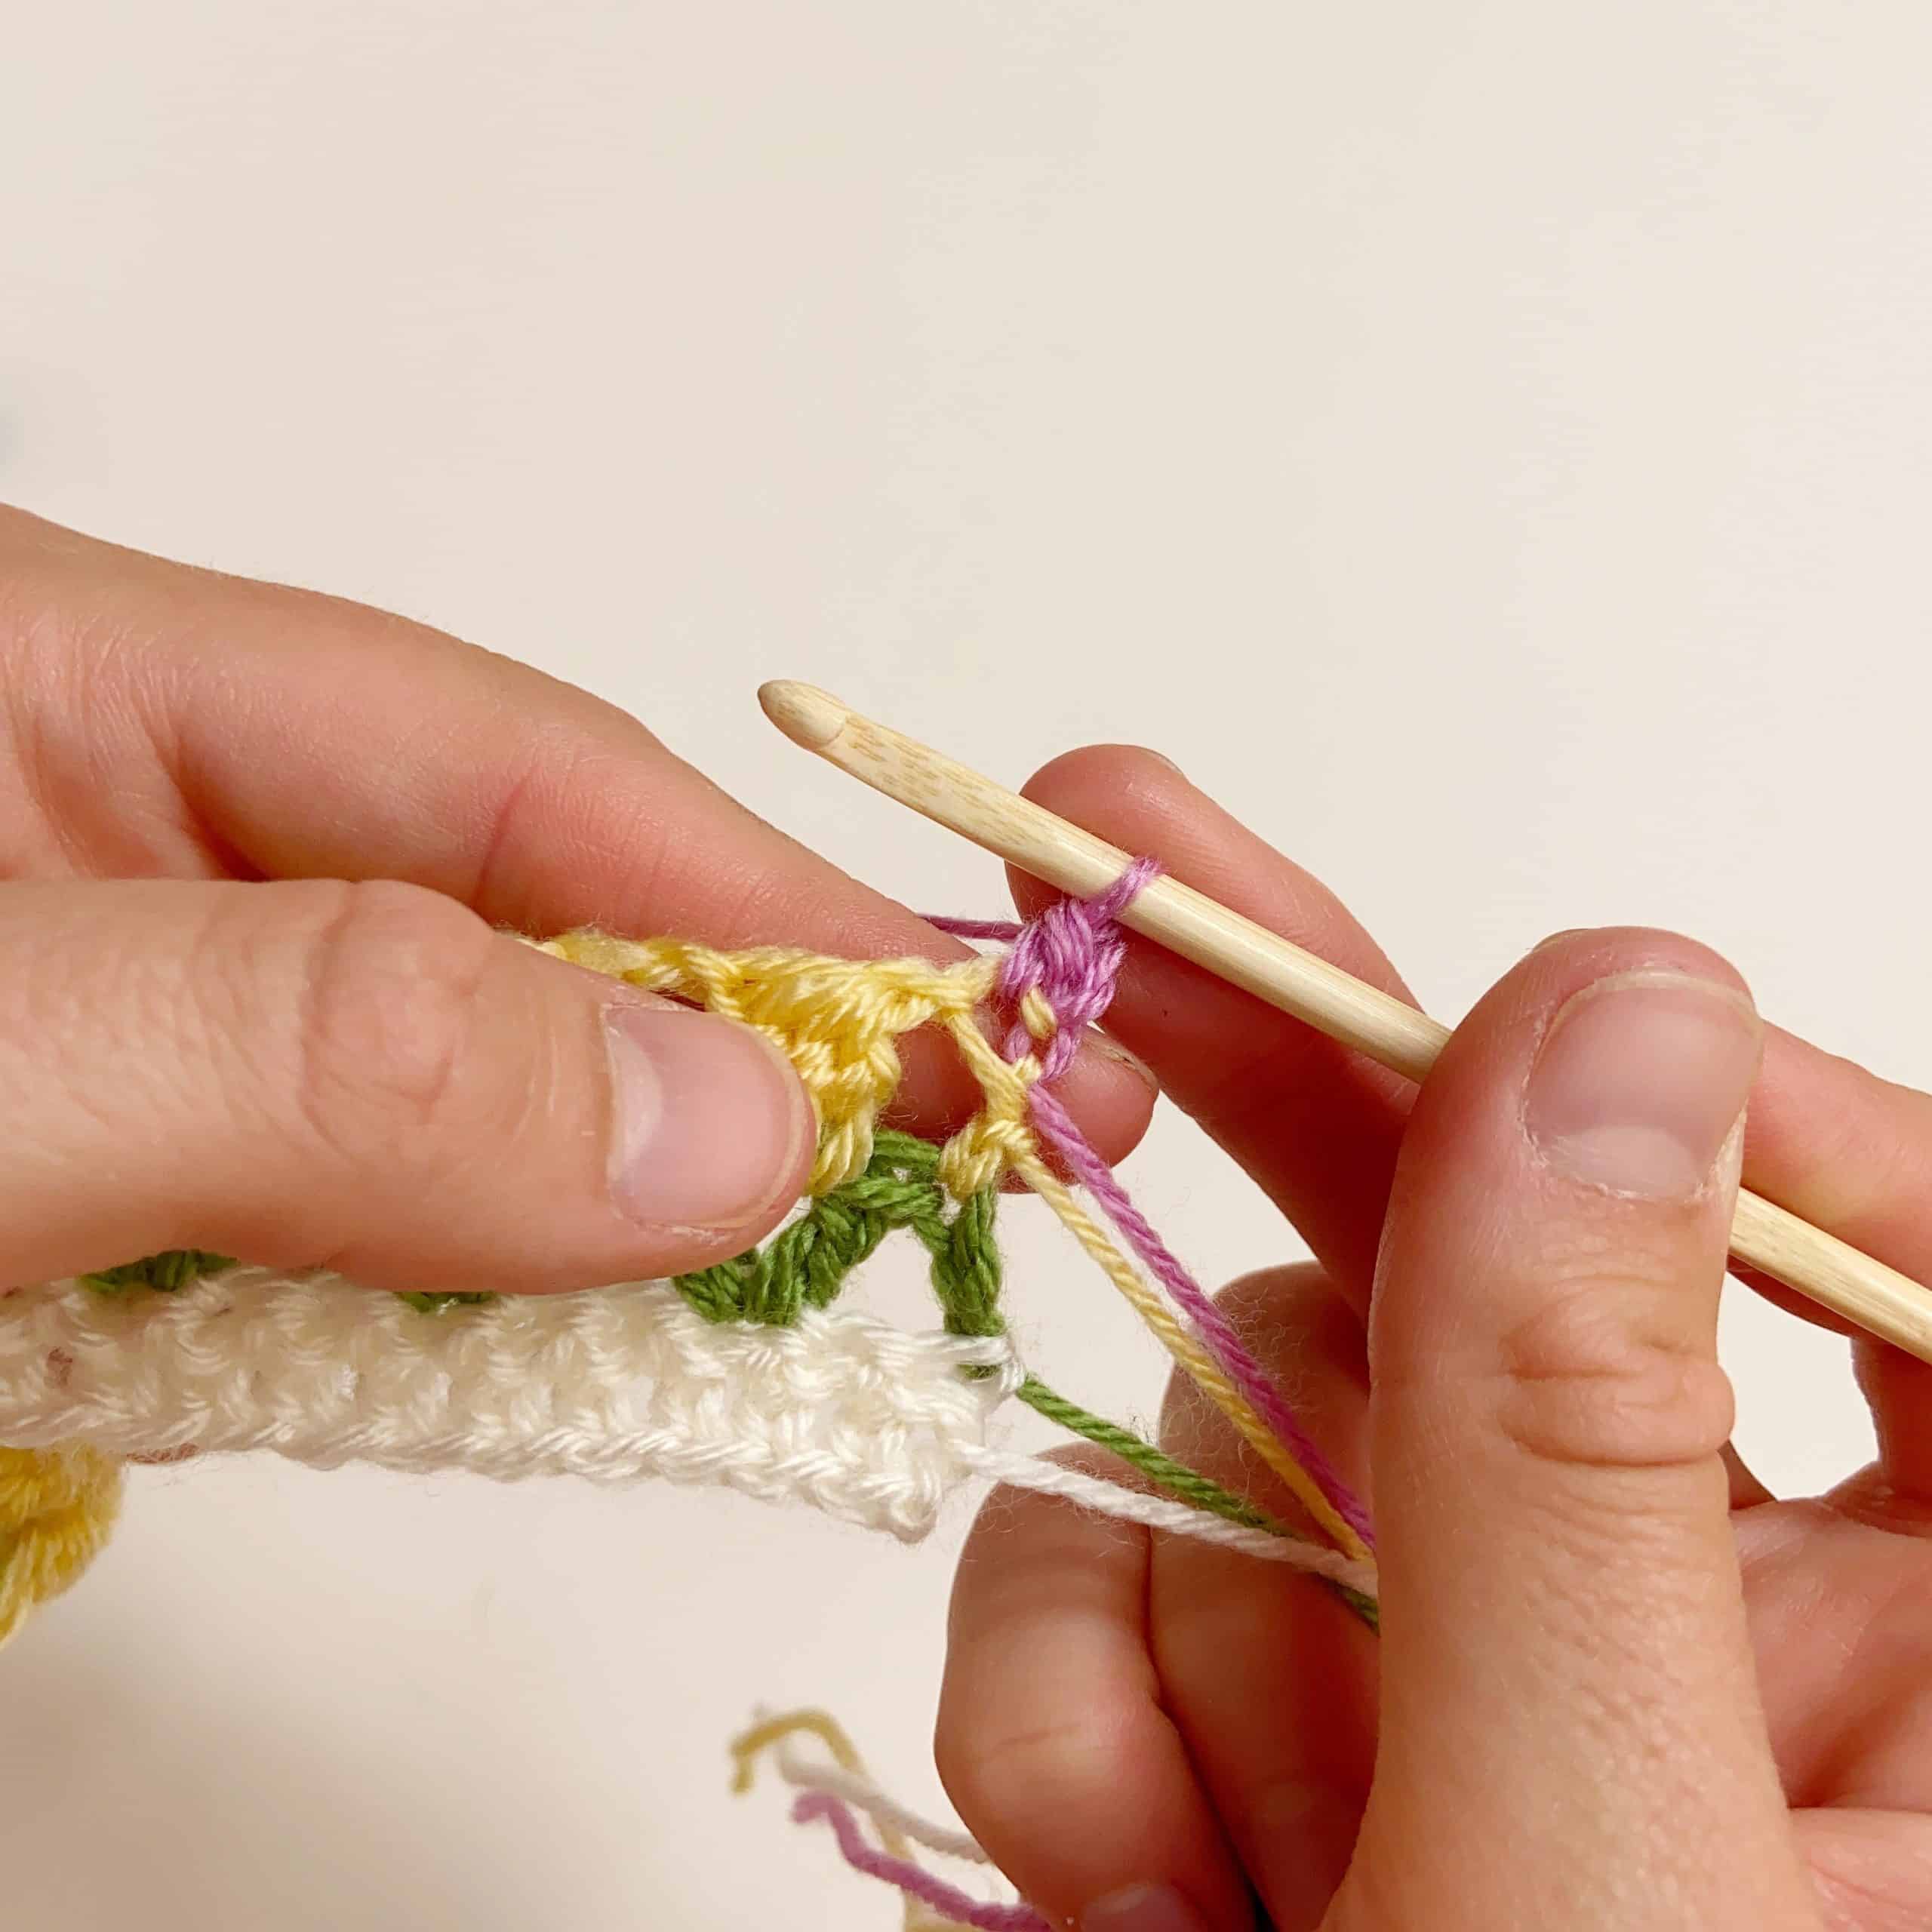
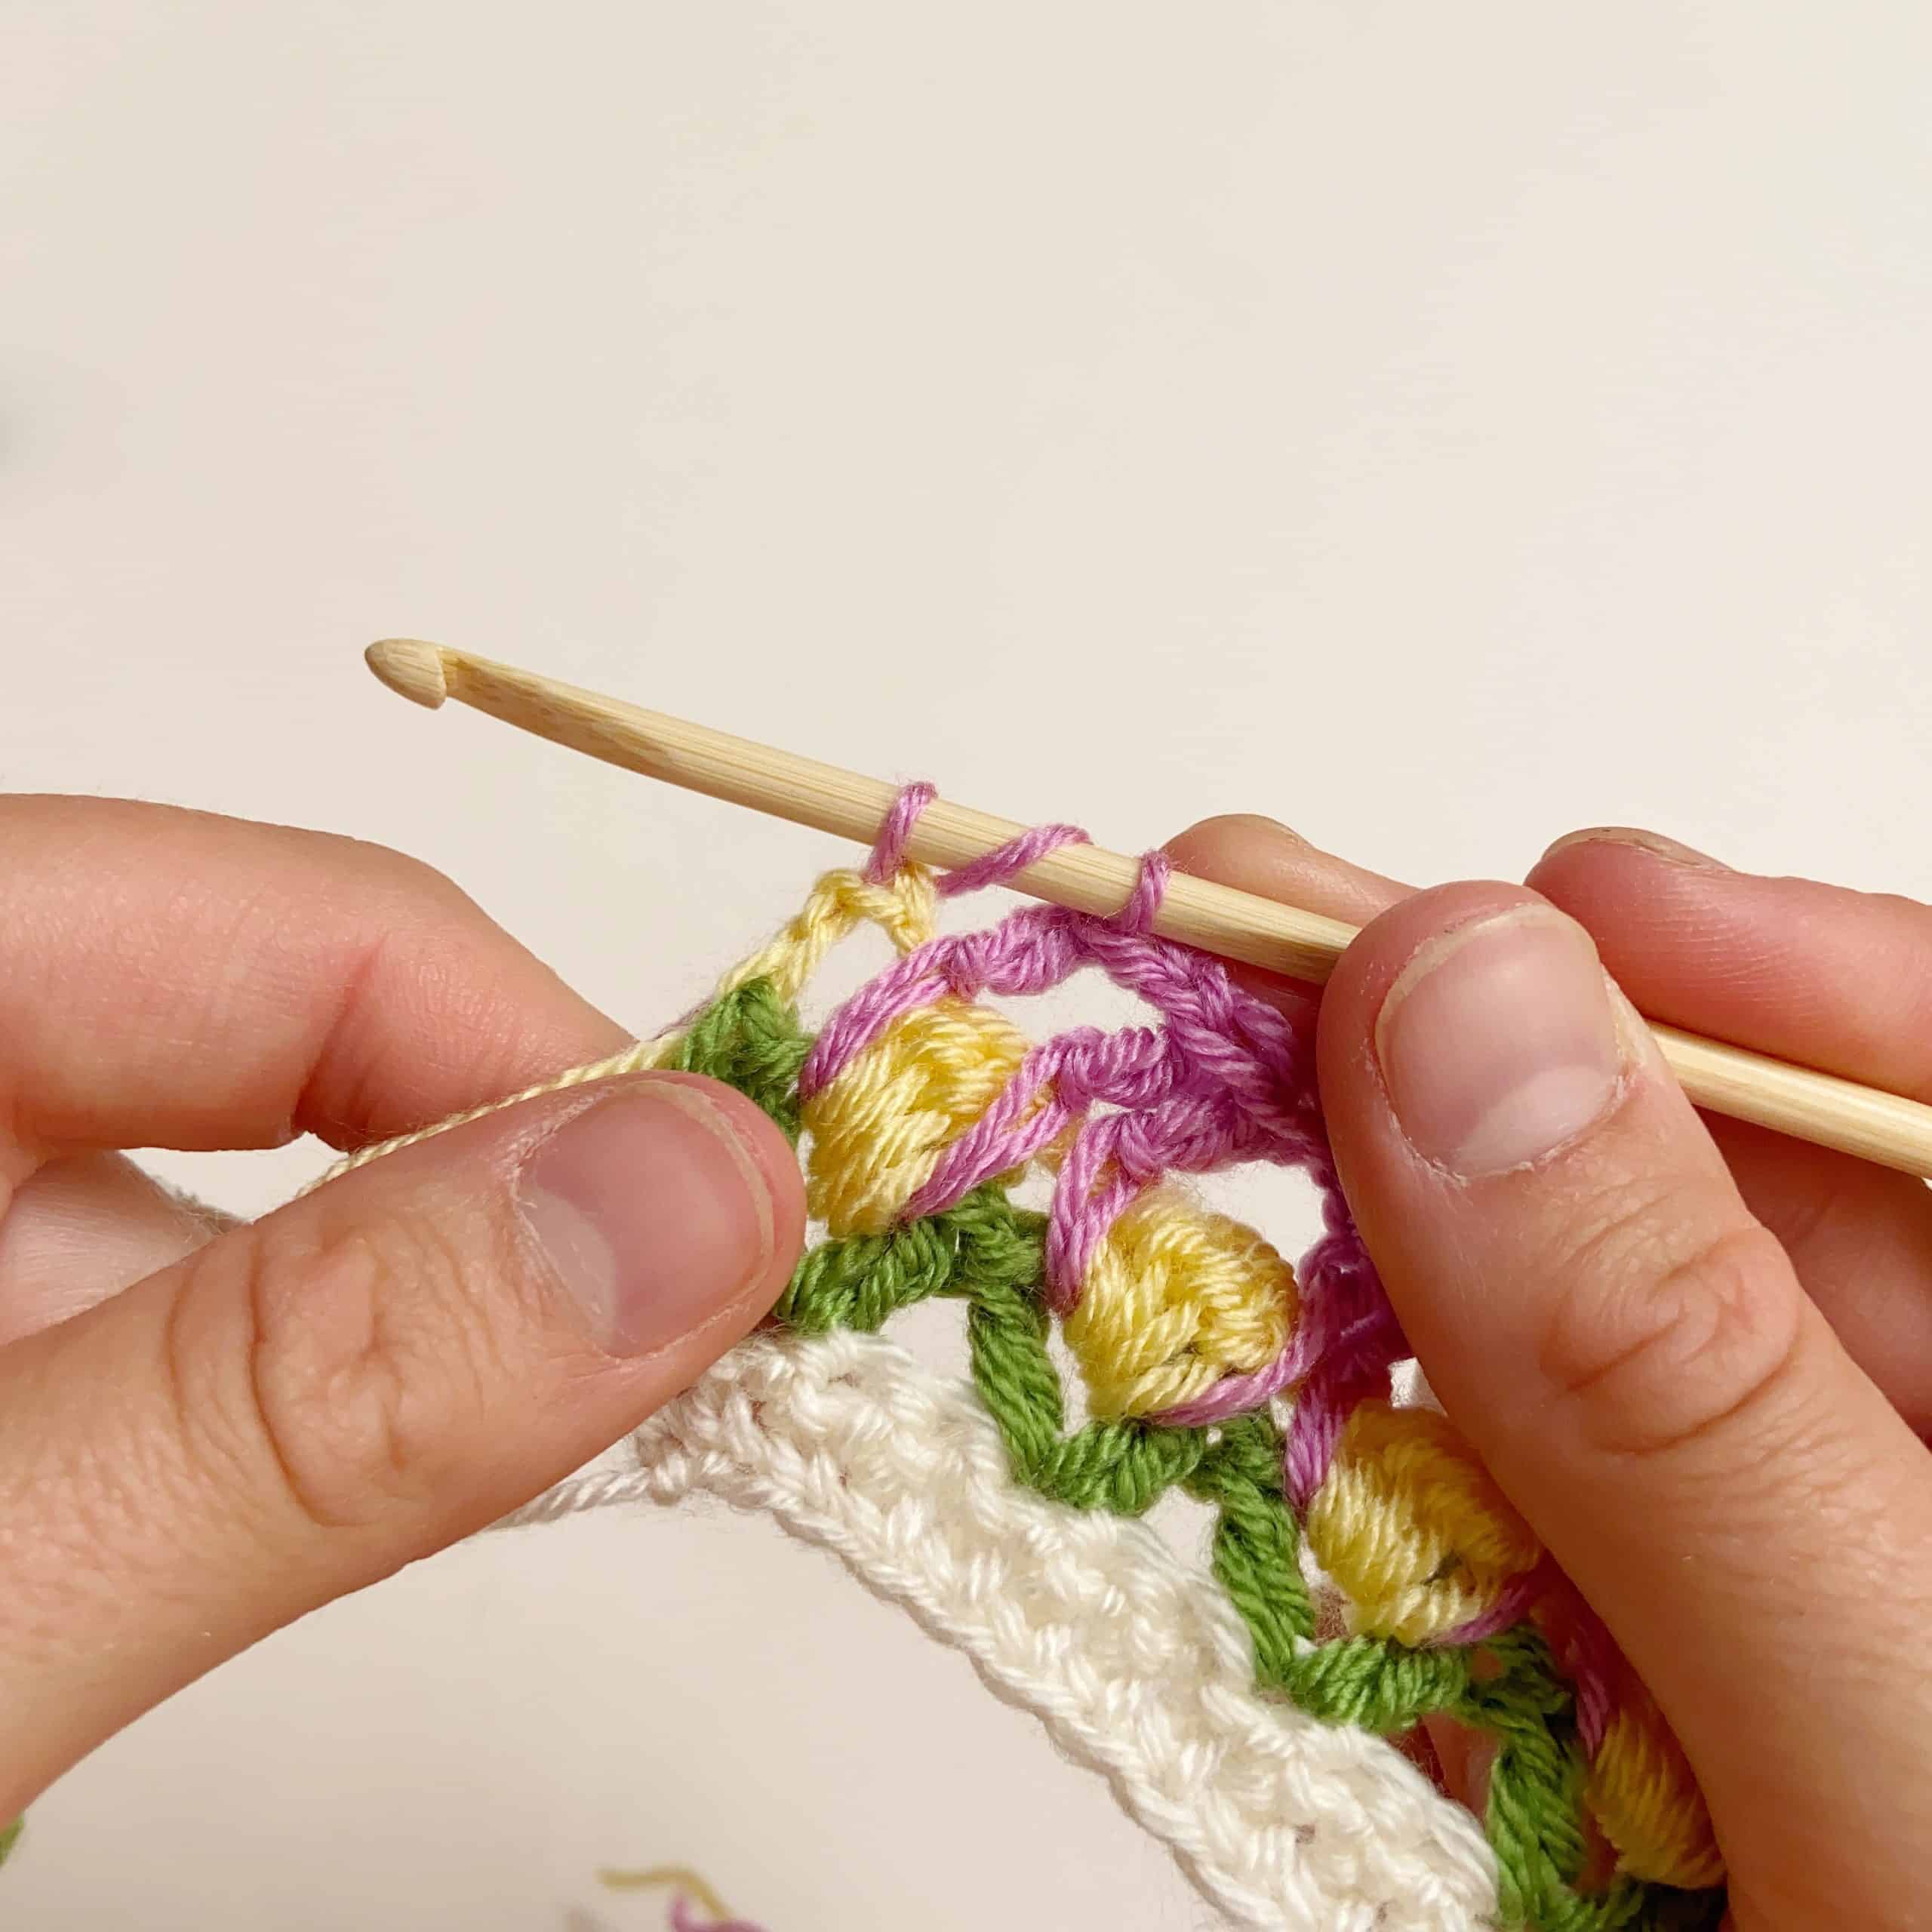
- Working into the (tr, ch1, tr)/(dc, ch1, dc)of 2 rows below - the green stitches, work a double treble/treble stitch.
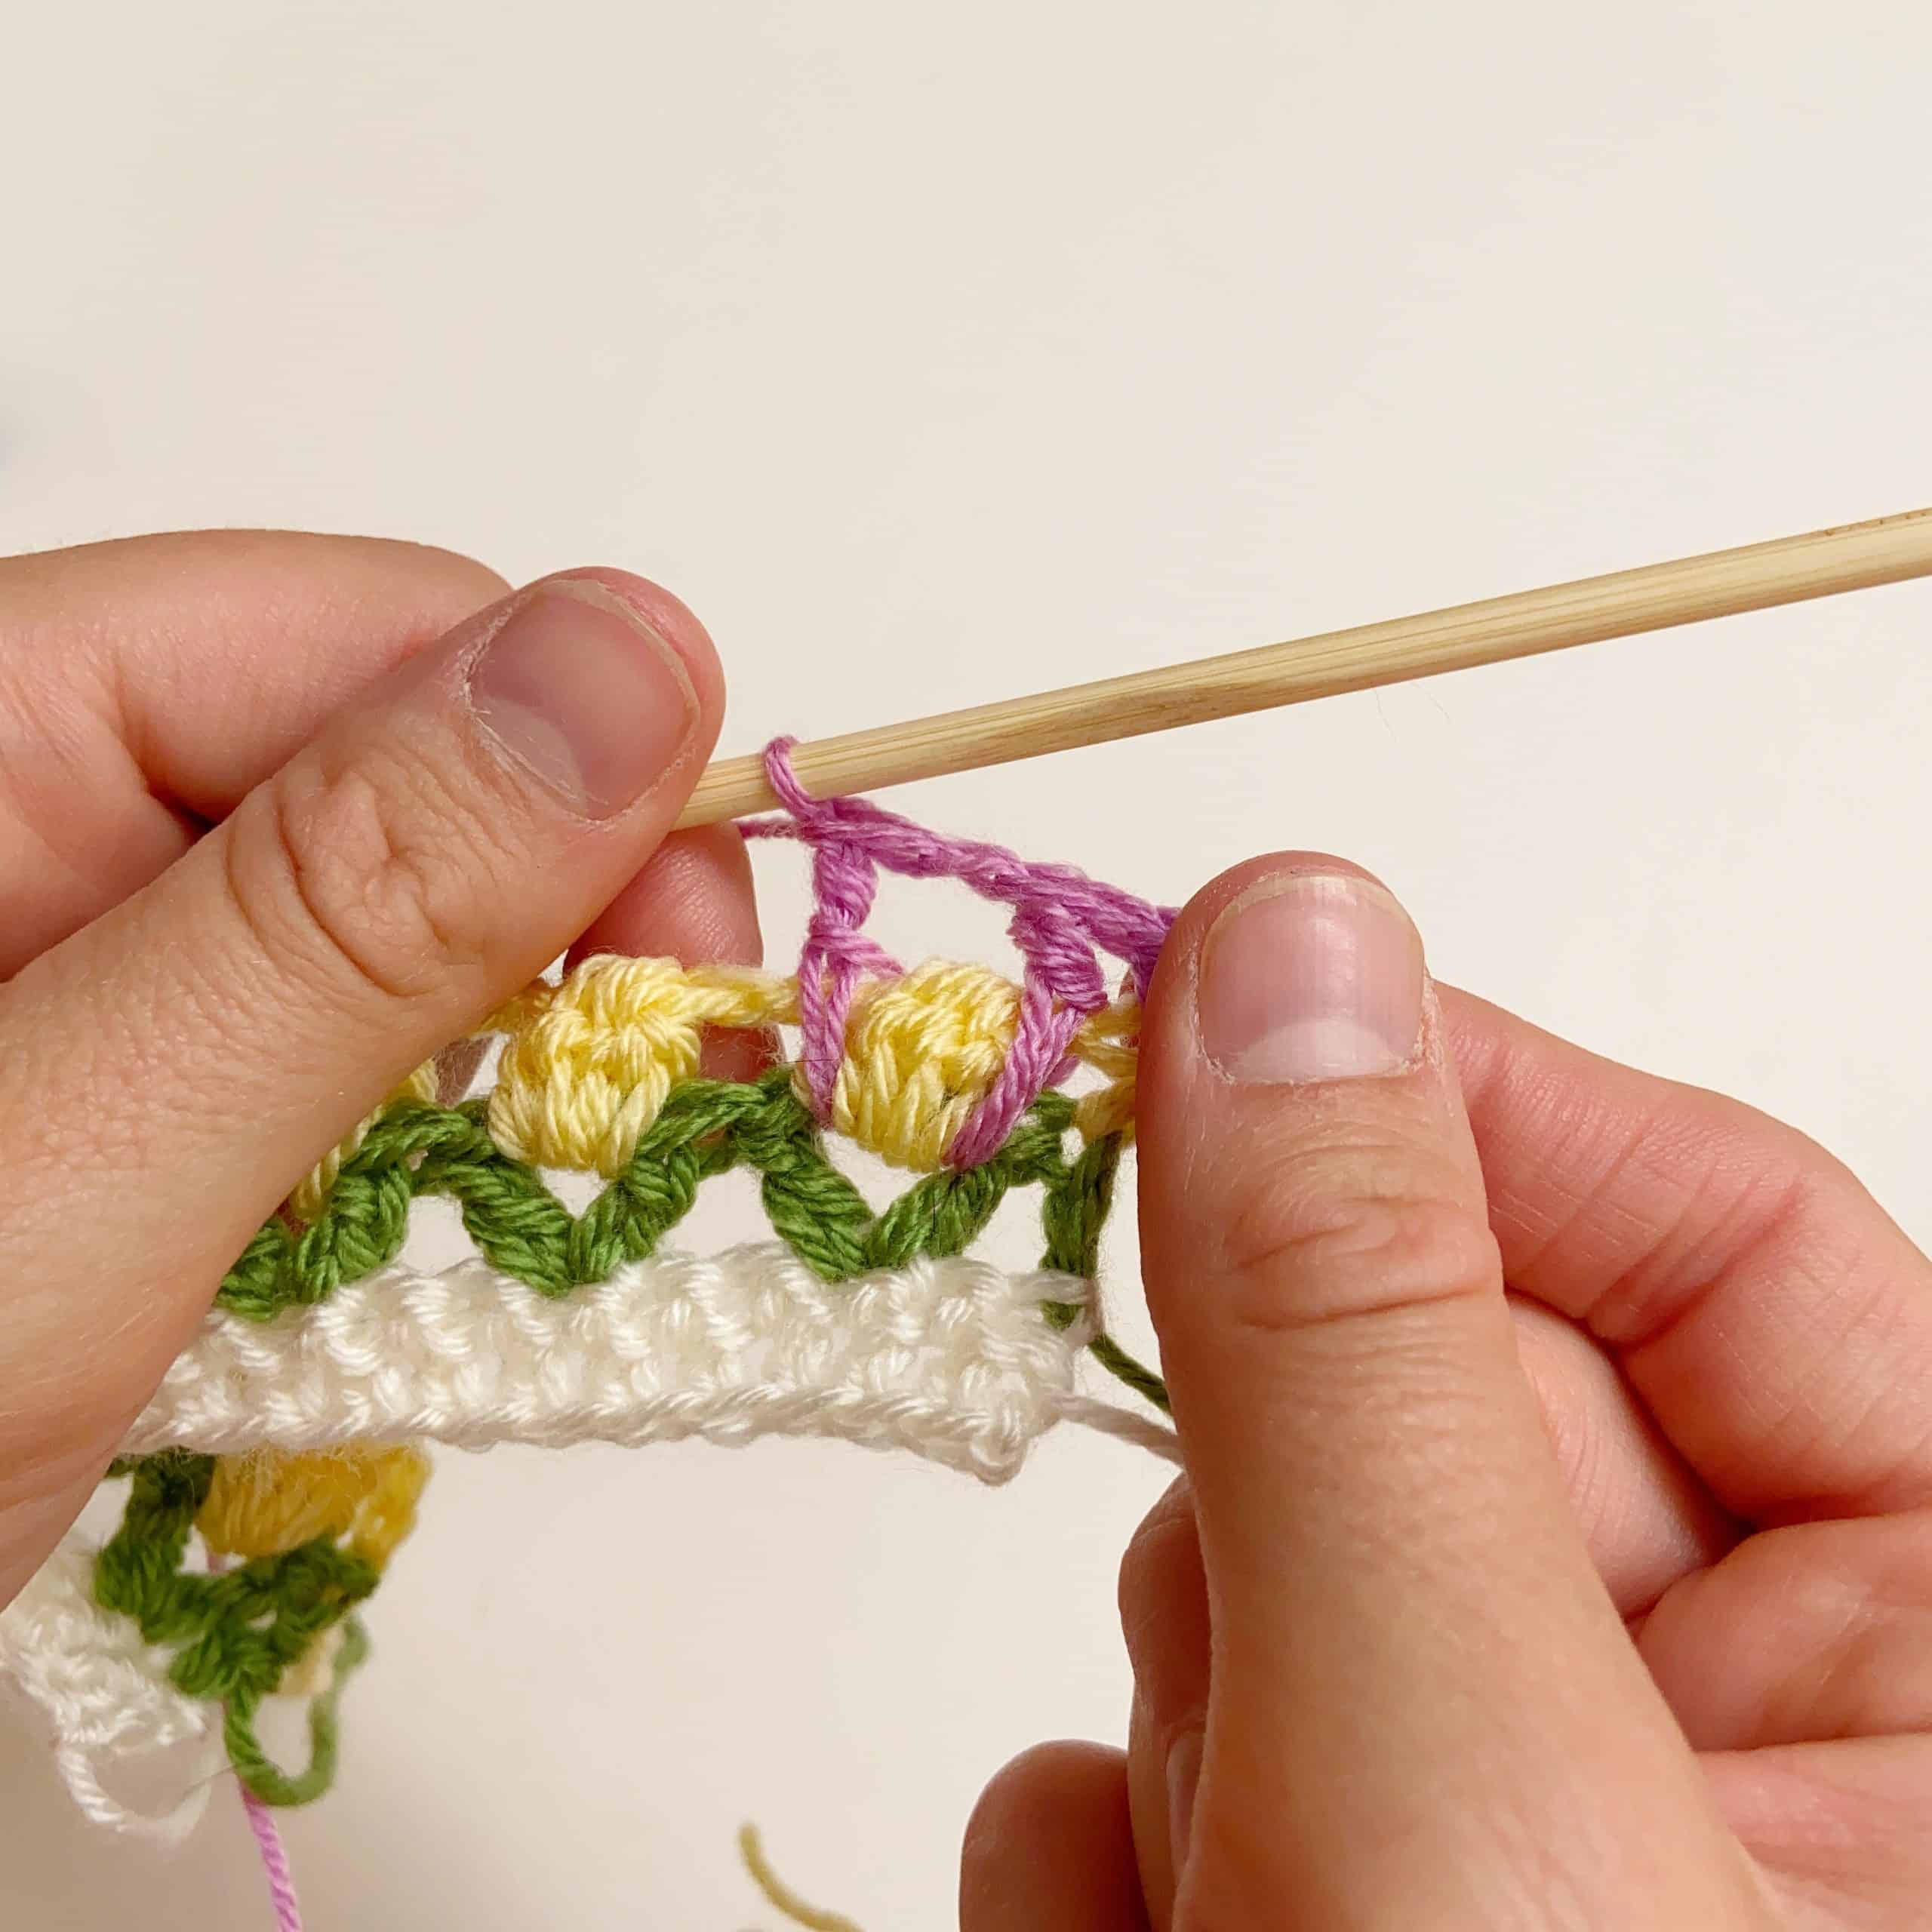
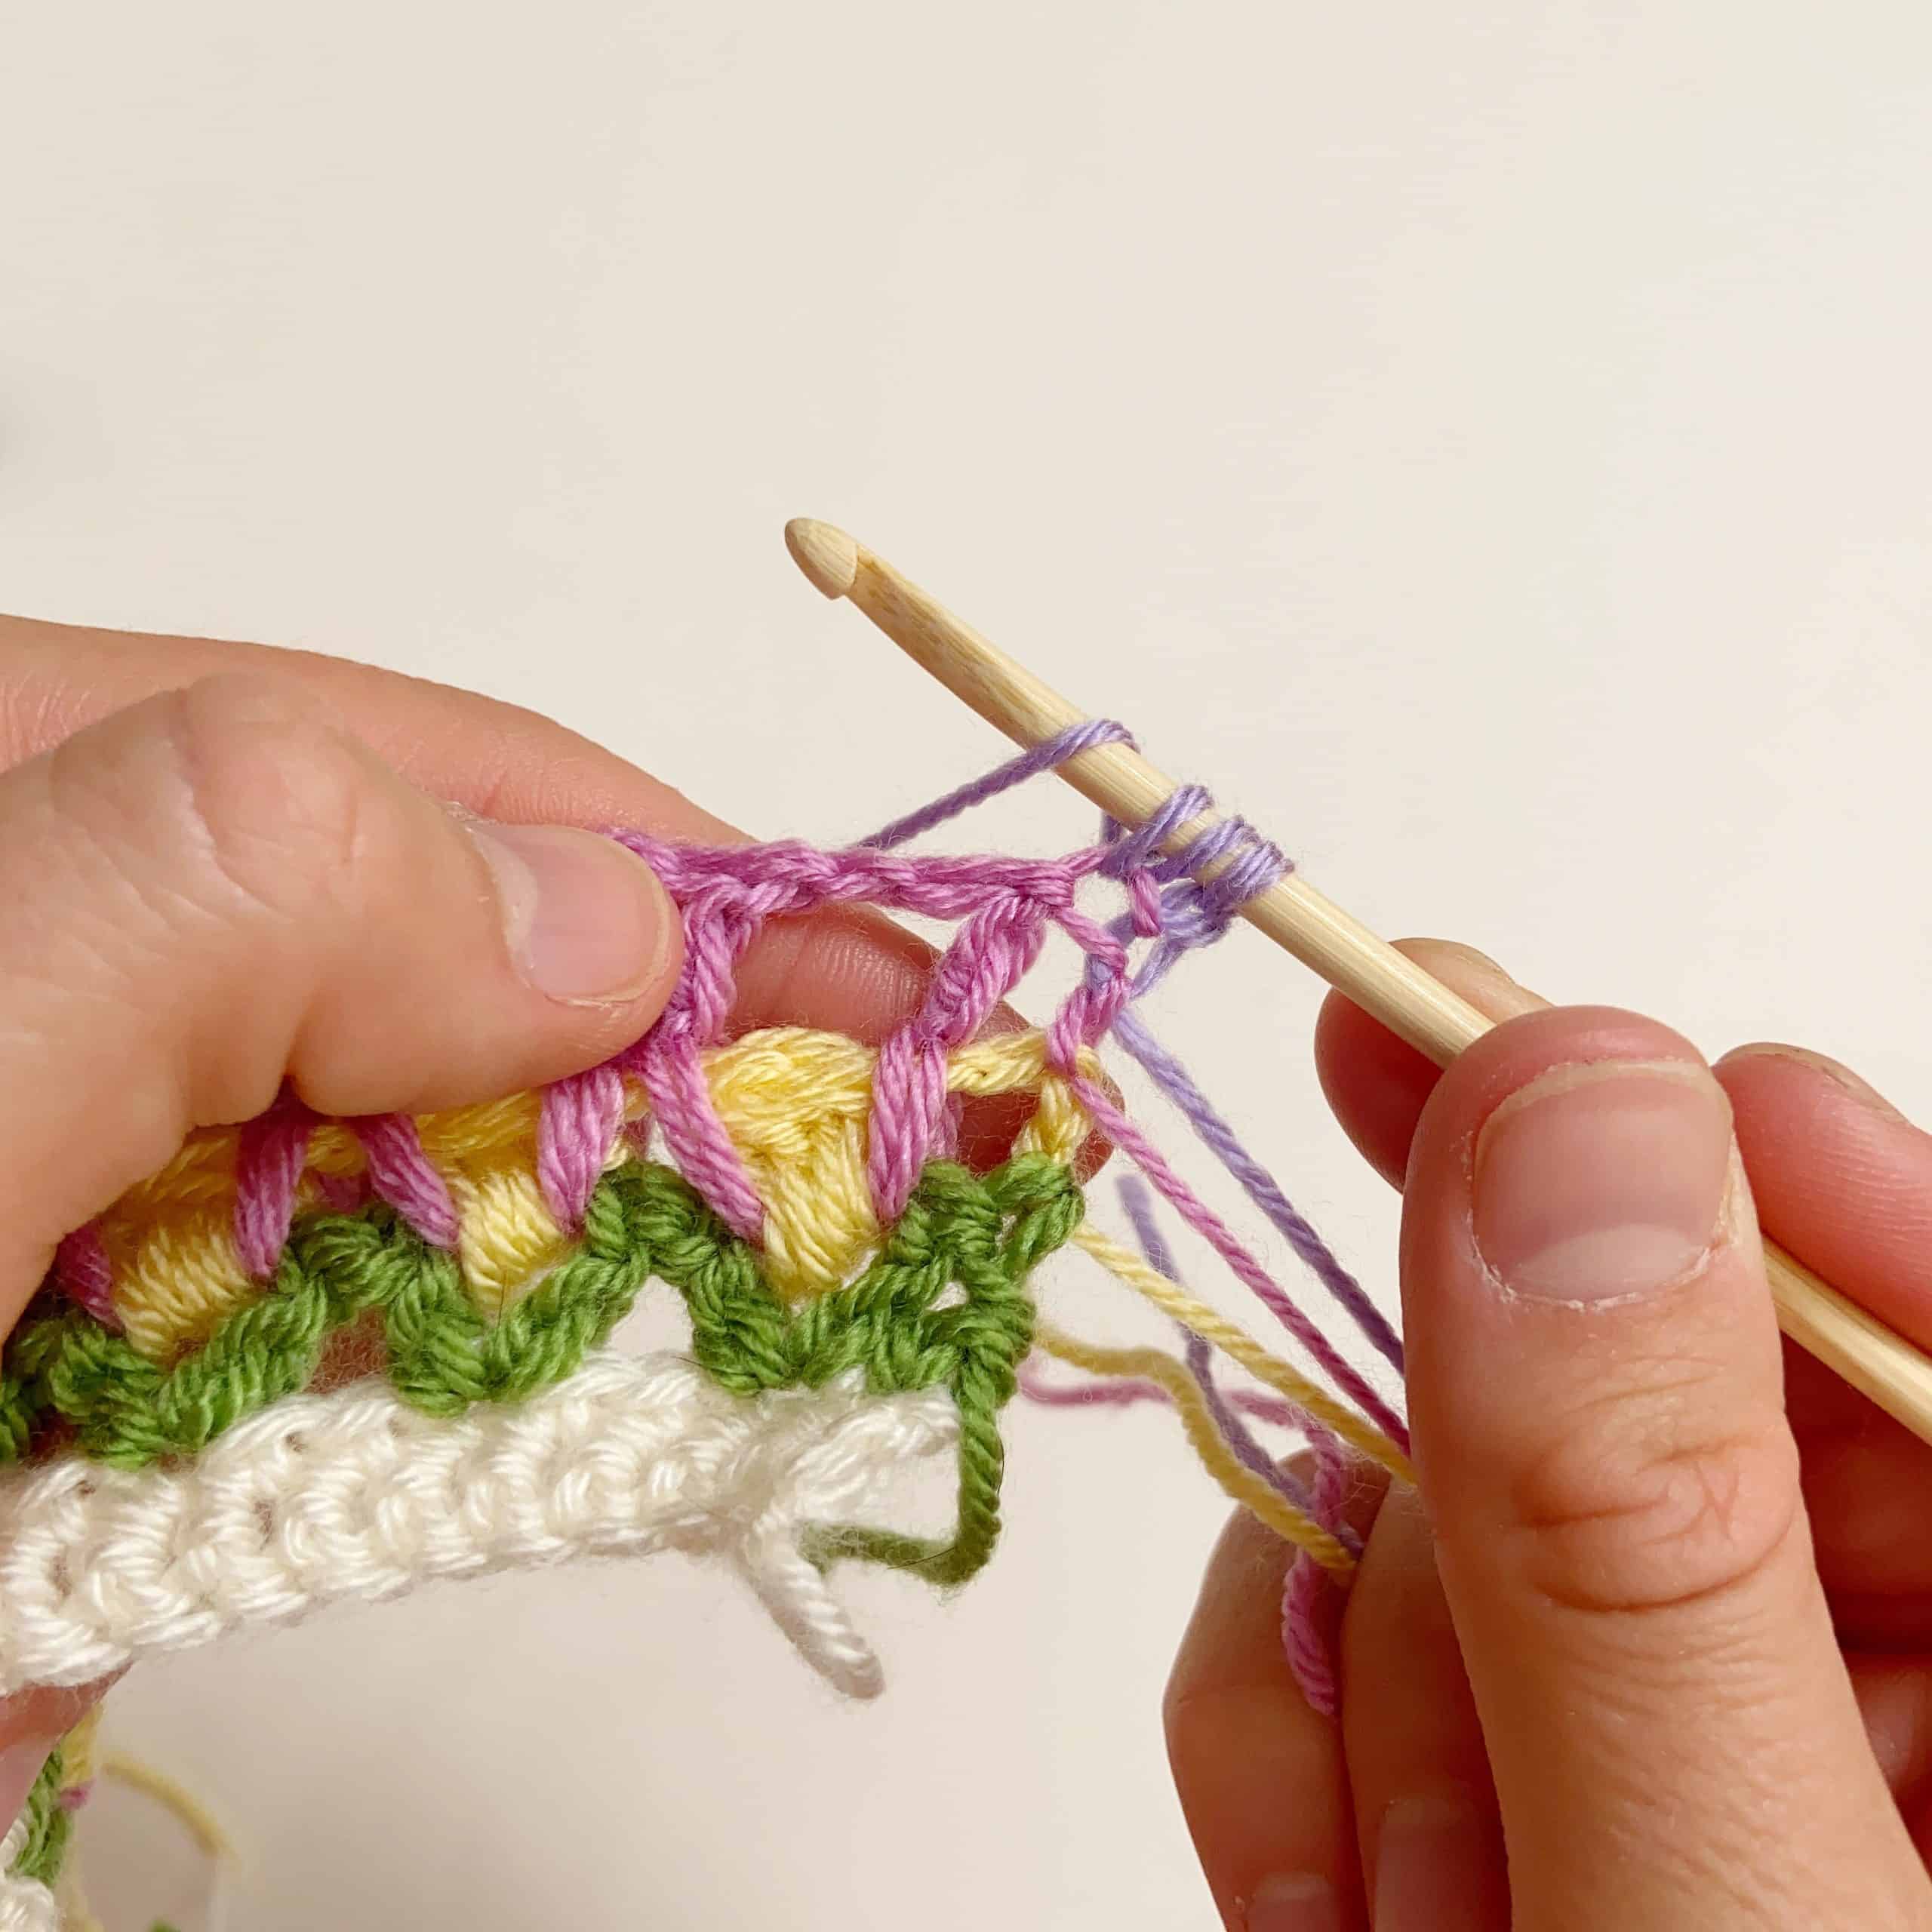
- Chain 1, double treble/treble into (tr, ch1, tr)/(dc, ch1, dc) 2 rows below. For this you need to work over the top of the last row as shown and work one dtr/tr either side of the cluster stitch.
- Continue to work along the row in the same way: (dtr, ch1, dtr)/(tr, ch1, tr) into green stitches 2 rows below, working a stitch either side of the cluster in the row below, half treble/half double crochet in the last stitch to complete the row.
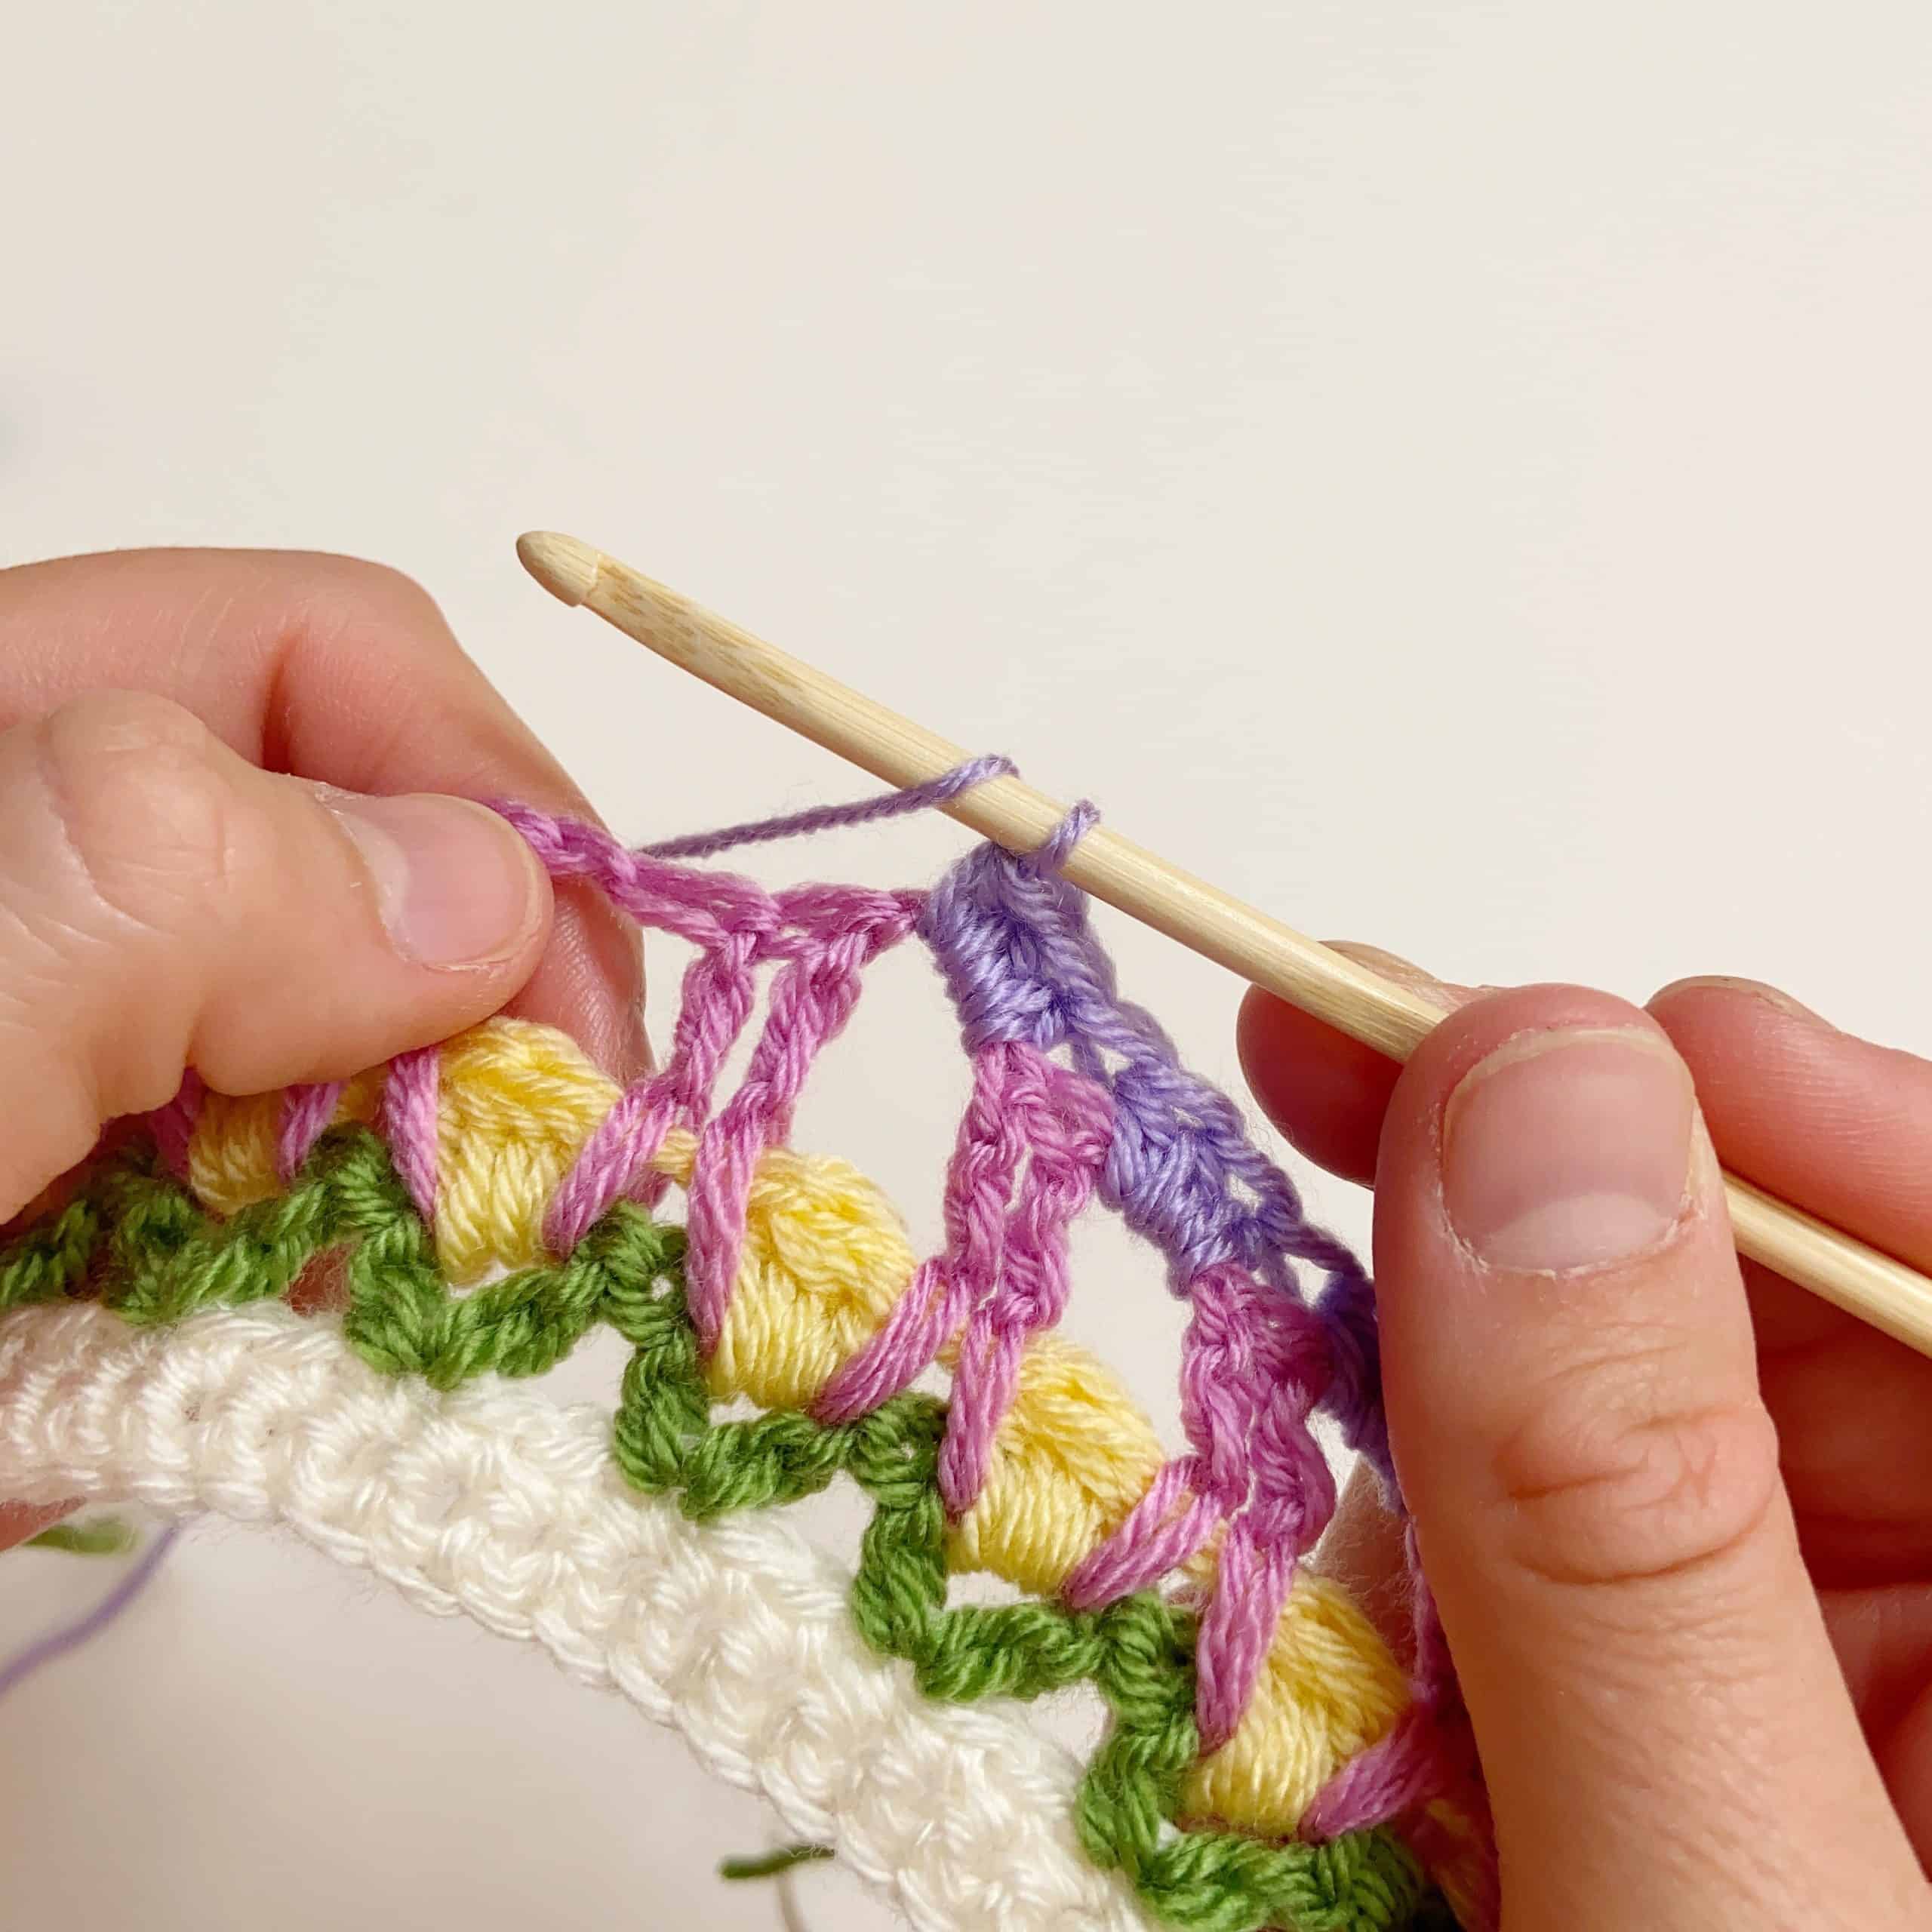
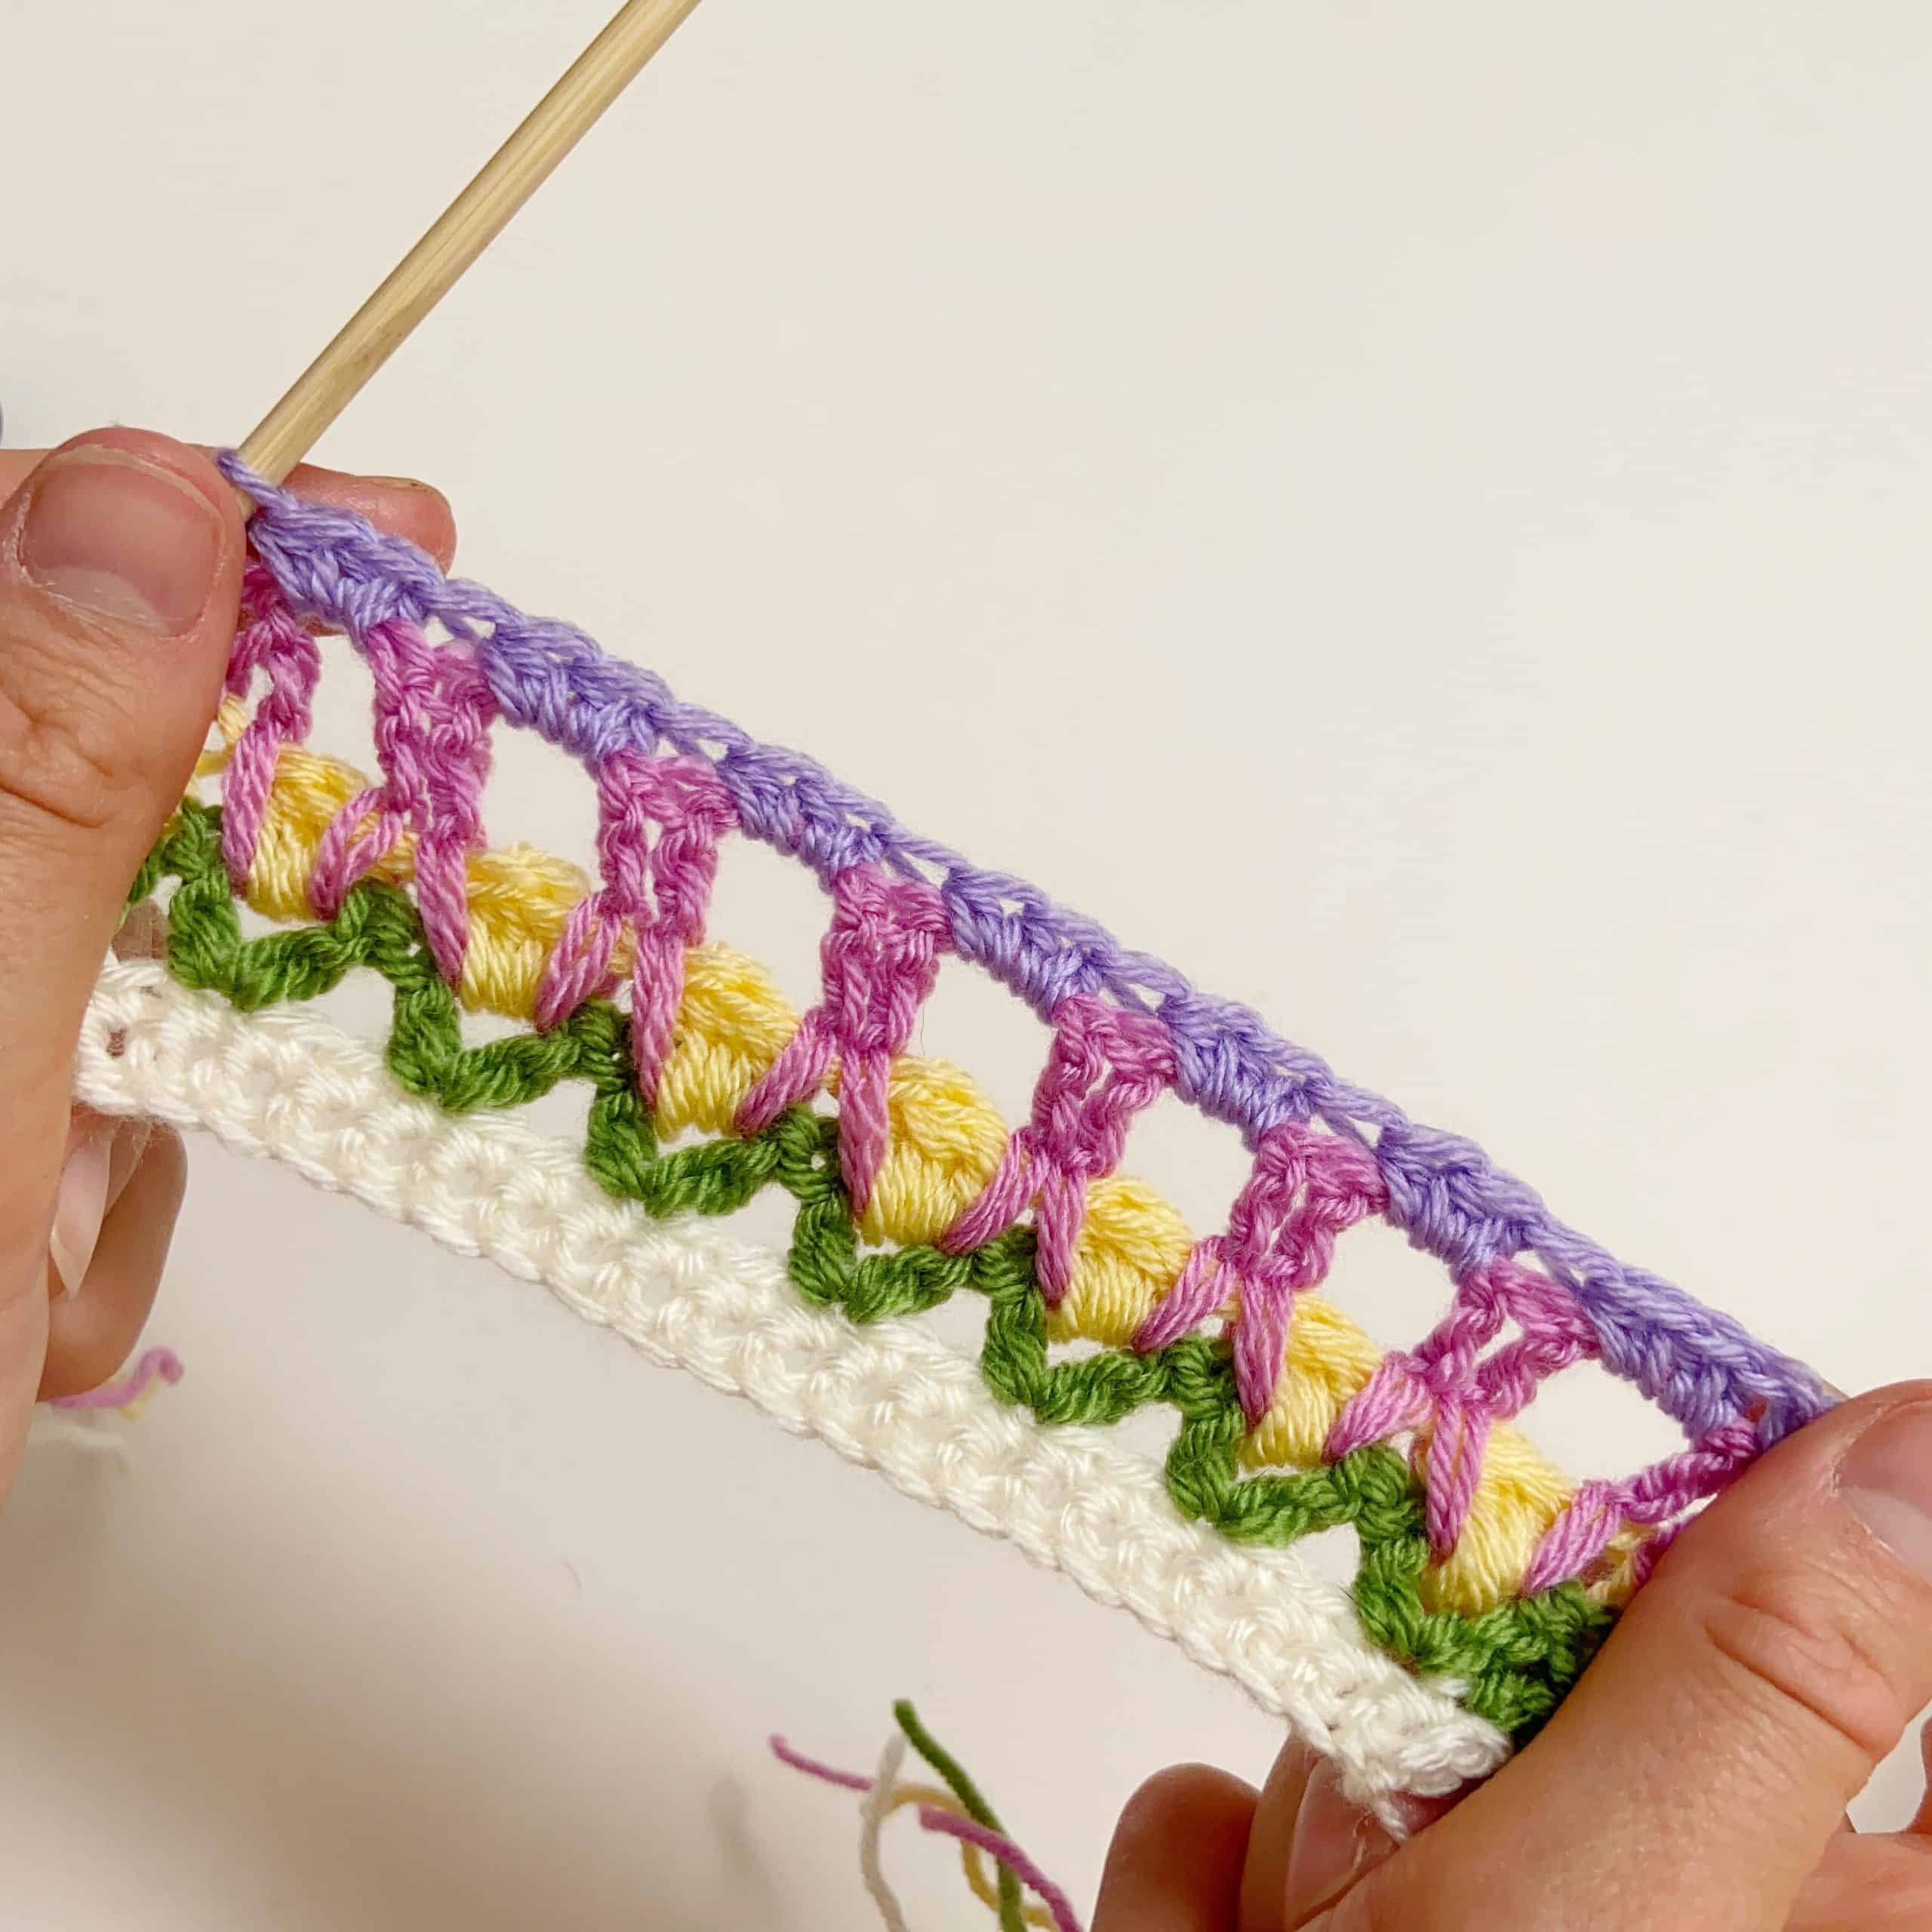
- Your completed row should look like this, change to lilac now.
- To start the next row, chain 1 (this doesn't count as a stitch) and work a half treble/half double crochet into the first stitch.
- For this row, work 3 half treble stitches/ half double crochet into each chain 1 space of the previous row.
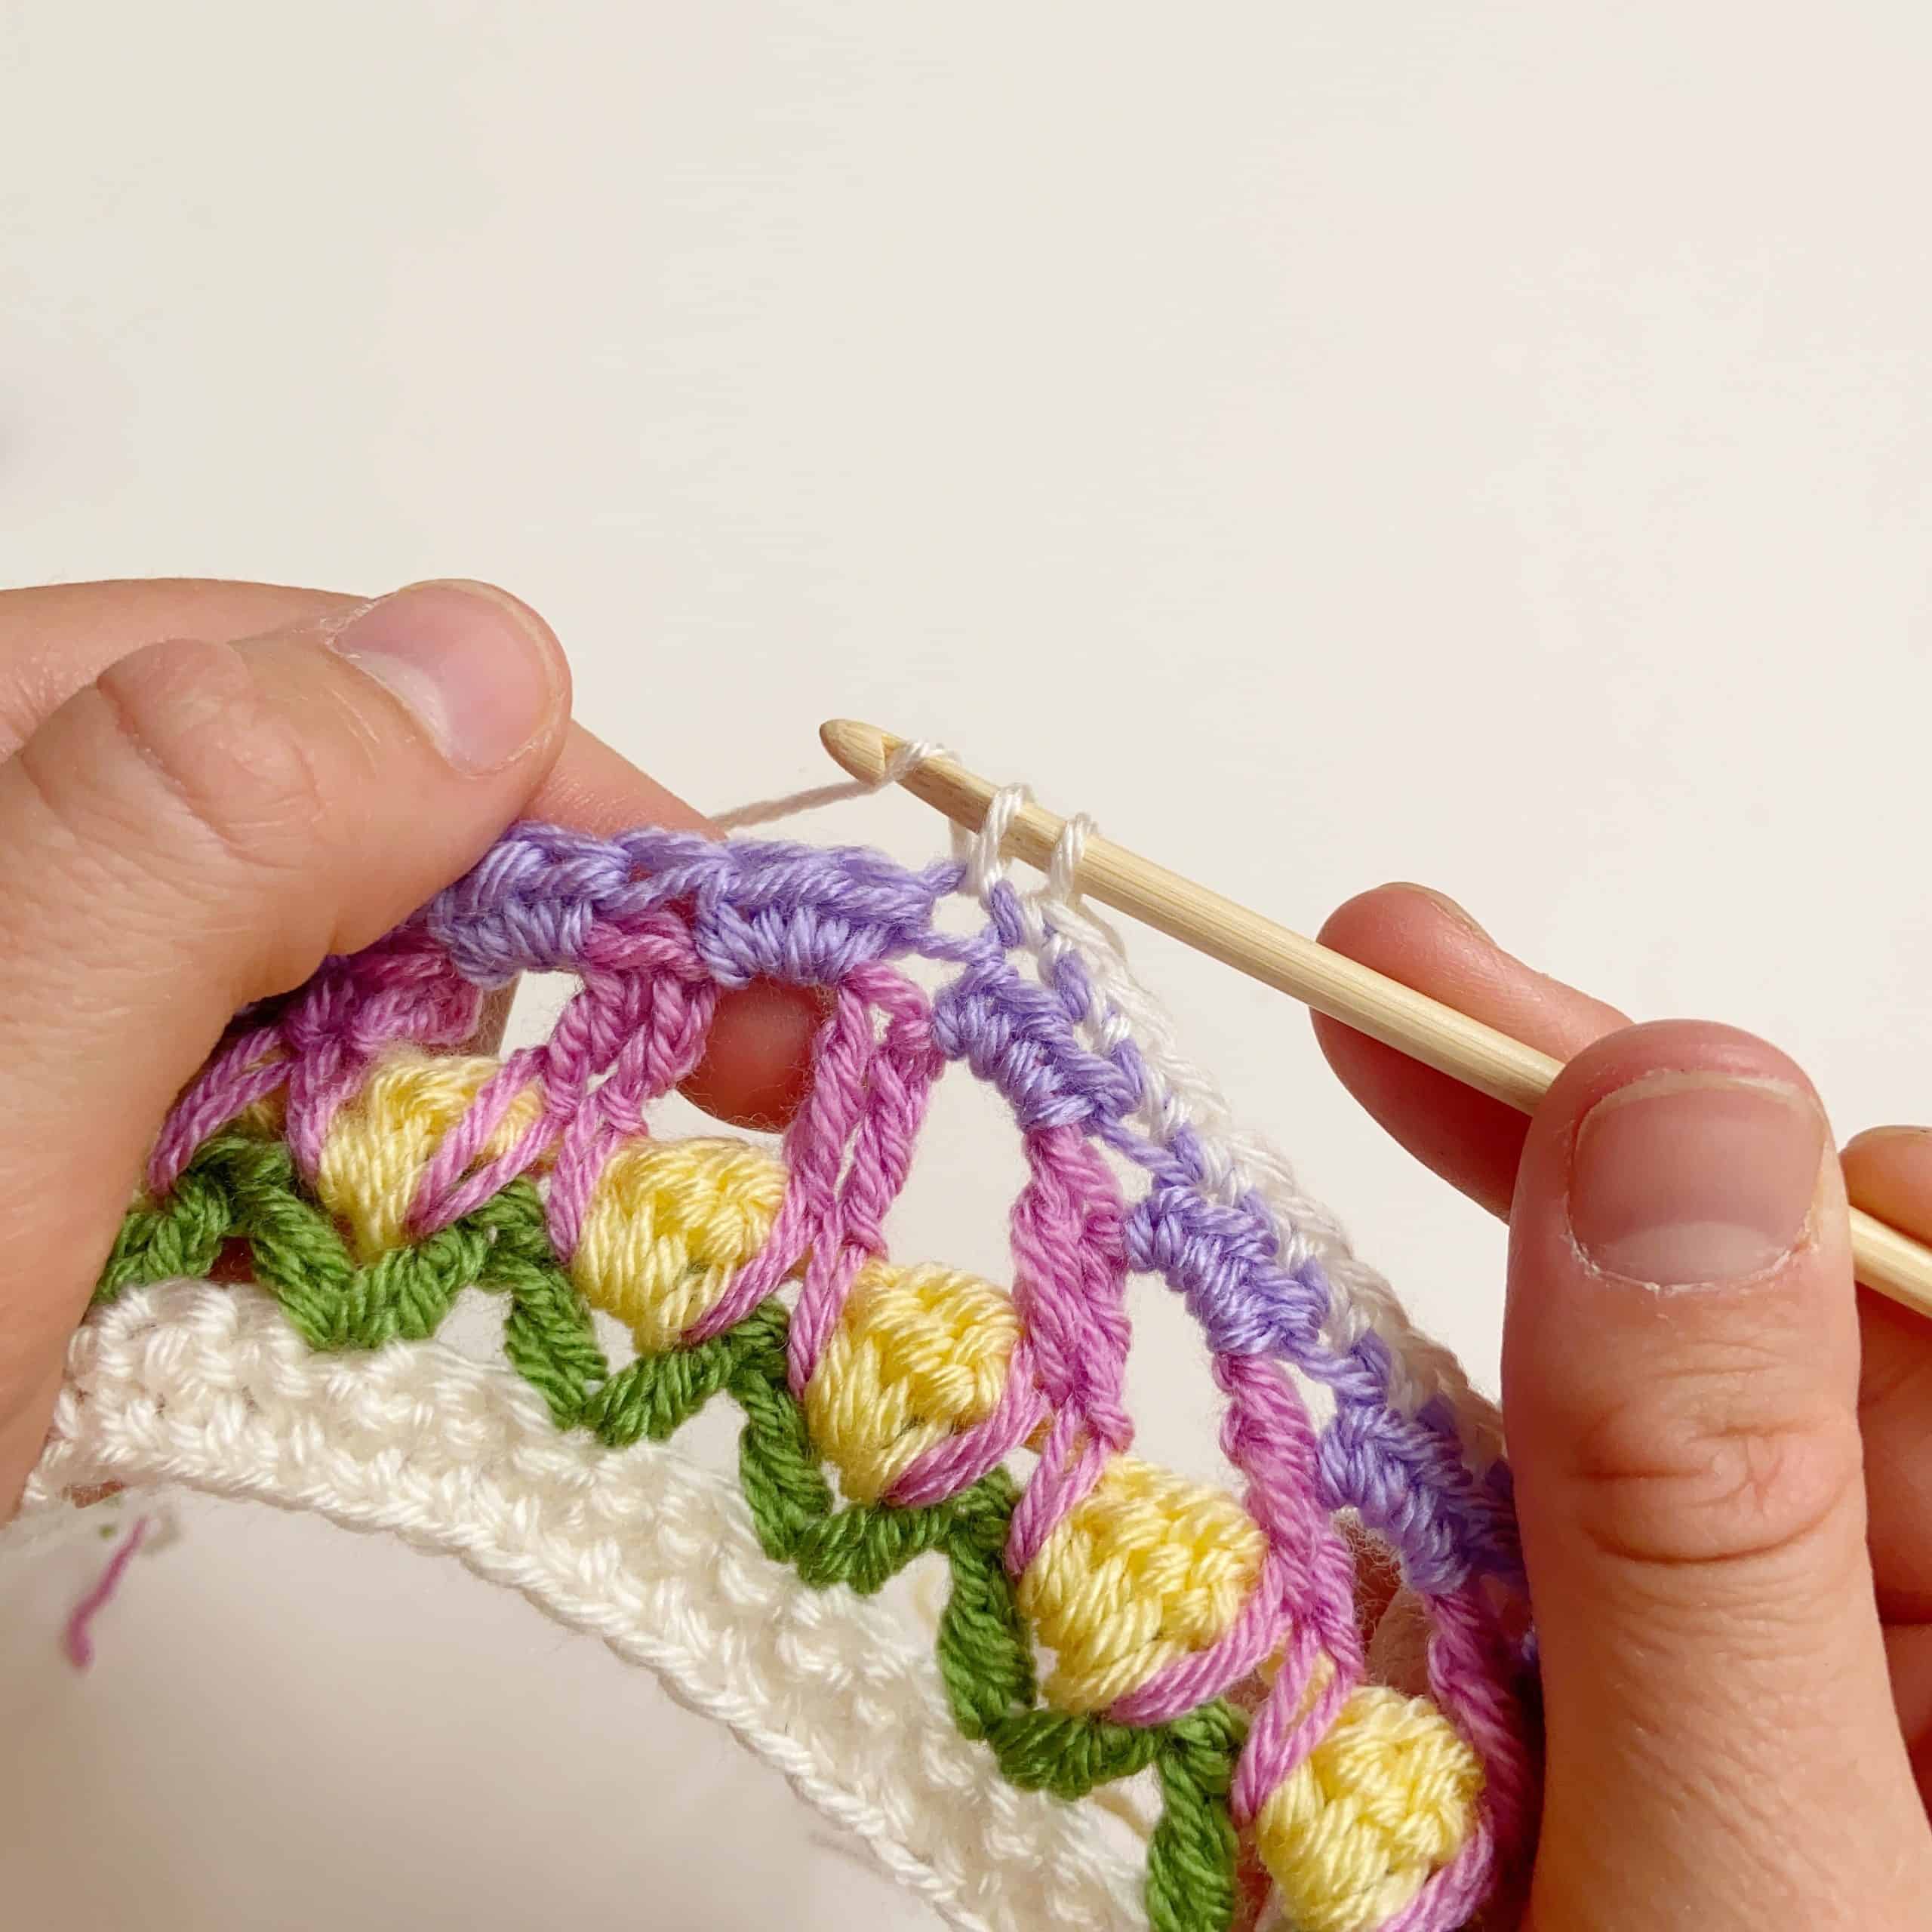
- Work a half treble/half double crochet in the last stitch to complete this row. Change colour to White now.
- For the next row, chain 1 (does not count as a stitch) double crochet/single crochet into each stitch along.
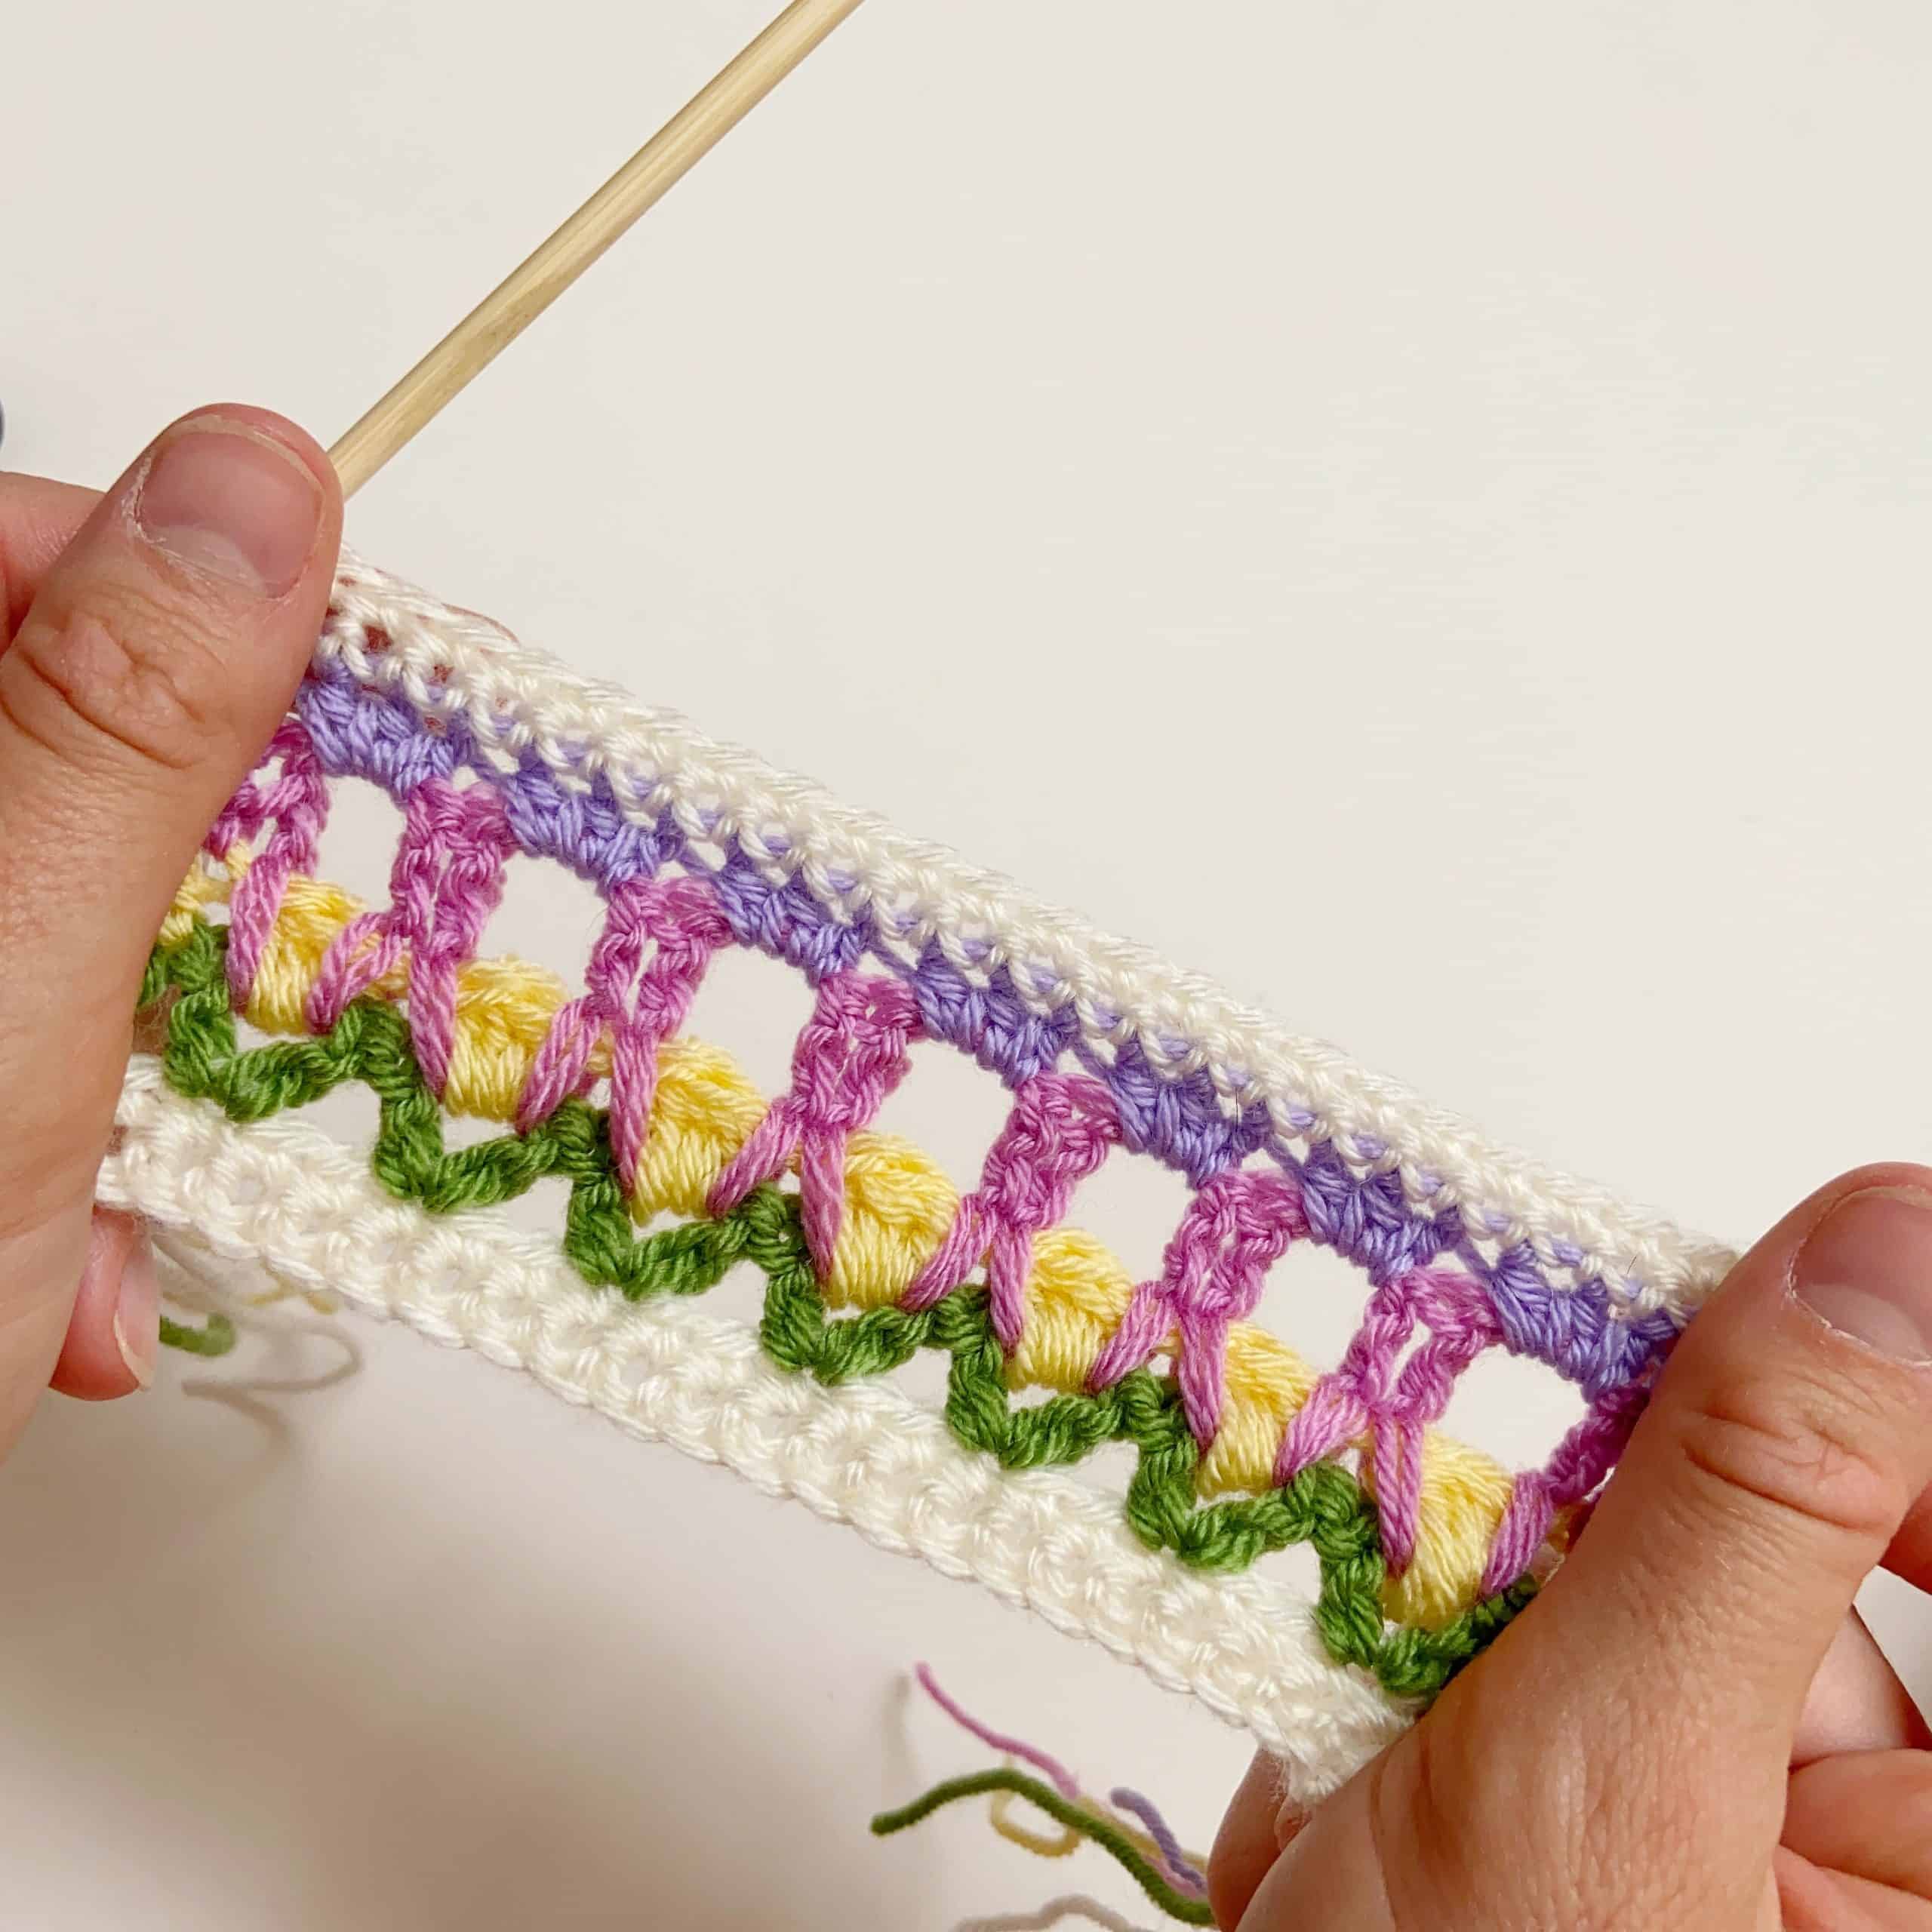
- This is how your completed row will look.
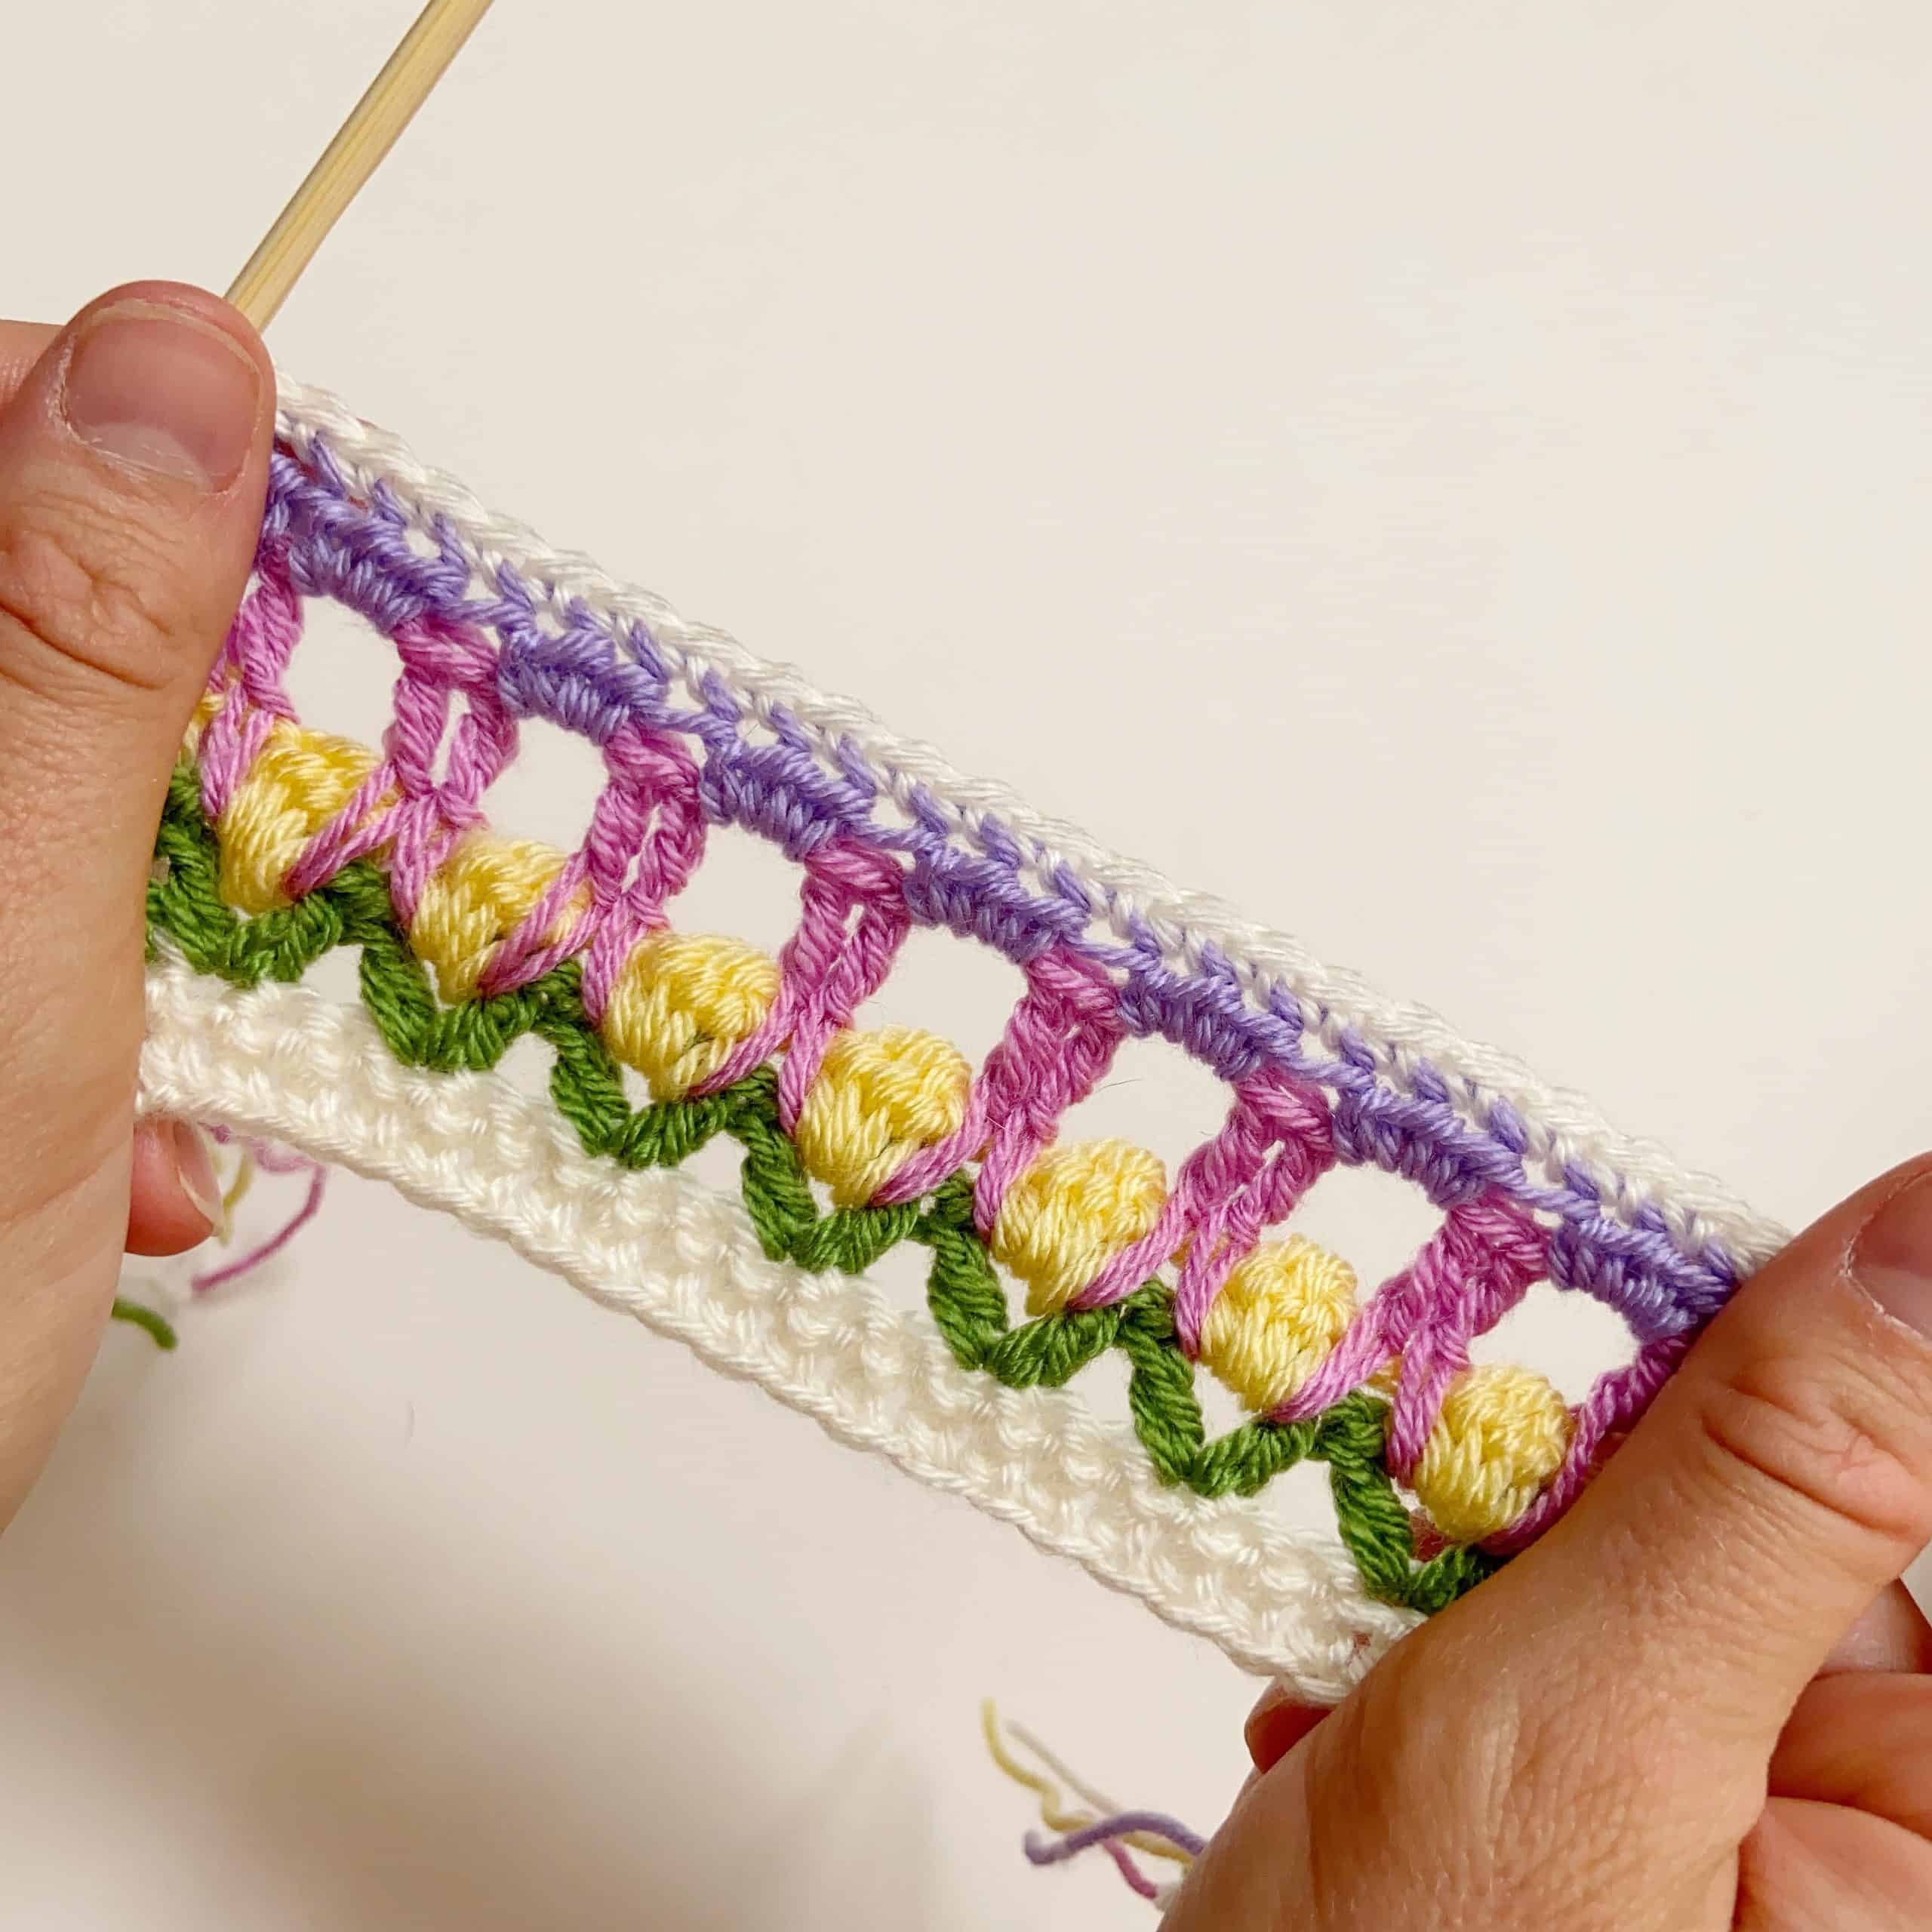
- The next row simply repeats the last, so chain 1 (does not count as stitch), double crochet/ single crochet into each stitch along.
- All you need to do to repeat the pattern is work everything from the green stitches upwards again.
Notes
Watch the video tutorial here:

Written Stitch Pattern
Field of Flower Stitch – UK Terms
Foundation chain: work any multiple of 3 for your foundation chain
Row 1: dc in 2nd stitch from hook and each across [foundation chain -1] turn at the end of each row
Row 2: ch1 (does not count as st), dc in each across
Row 3: ch3 (counts as st), *skip next st, (tr, ch1, tr) in next st, skip next st; rep from * to last st (note that the repeat sequence has a skipped st at beginning and end of each repeat), tr in last st
Row 4: ch3 (counts as st), *ch1, 4tr-cl in ch1-sp, ch1, rep from * to last st, tr in last st
Row 5: ch1 (does not count as st), htr in same st, *working into (tr, ch1, tr) of 2 rows below, (dtr, ch1, dtr) over the top of the last row (work one dtr either side of the 4tr-cl); rep from *to last st, htr in last st
Row 6: ch1 (does not count as st) htr in same st, *3htr in ch1-sp; rep from * to last st, htr in last st
Row 7: ch1, (does not count as st) dc in each to end
Row 8: ch1 (does not count as st) dc in each to end
Rows 3-8 create the pattern repeat. Work the pattern and repeat as many times as you like.
Field of Flowers Stitch – US Terms
Foundation chain: work any multiple of 3 for your foundation chain
Row 1: sc in 2nd stitch from hook and each across [foundation chain -1] turn at the end of each row
Row 2: ch1 (does not count as st), sc in each across
Row 3: ch3 (counts as st), *skip next st, (dc, ch1, dc) in next st, skip next st; rep from * to last st (note that the repeat sequence has a skipped st at beginning and end of each repeat), dc in last st
Row 4: ch3 (counts as st), *ch1, 4dc-cl in ch1-sp, ch1, rep from * to last st, dc in last st
Row 5: ch1 (does not count as st), hdc in same st, *working into (dc, ch1, dc) of 2 rows below, (tr, ch1, tr) over the top of the last row (work one tr either side of the 4dc-cl); rep from *to last st, hdc in last st
Row 6: ch1 (does not count as st) hdc in same st, *3hdc in ch1-sp; rep from * to last st, hdc in last st
Row 7: ch1, (does not count as st) sc in each to end
Row 8: ch1 (does not count as st) sc in each to end
Rows 3-8 create the pattern repeat. Work the pattern and repeat as many times as you like.
Other Blanket Kits
HanJan Crochet Blanket Kits
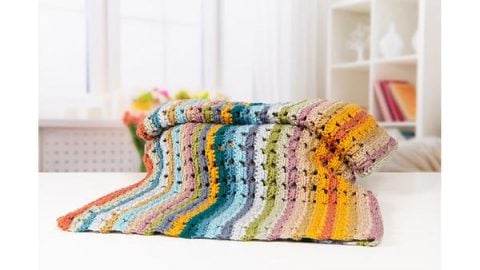
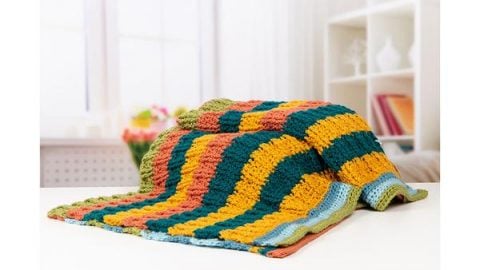
I'm so happy to be able to offer everyone the chance to not only get the patterns for my blankets but to get the yarn kits for them too!
Here are just a few of them you might like (lots of them have free PDFs of the pattern that you can download even if you don't purchase the kit!)
Field of Flowers Stitch Tutorial Video
Join HanJan and Share Your Makes
I’d love to stay connected with you so please do sign up for my subscriber list if you’d like to. Looking forward to hearing from you and sending you your free gift!
Thank you so much for being here to share in my patterns and supporting my blog. It’s such an honour to be able to create and share my craft with you.
I’d love to see your finished crochet projects and so please share them with me in one (or all!) of the following ways –
- Share a picture on Instagram and tag me #hanjancrochet
- Share your projects on Ravelry
- Share a picture in the HanJan Crochet Facebook group
