This post may contain affiliate links. Please see my full disclosure and privacy policy for details.
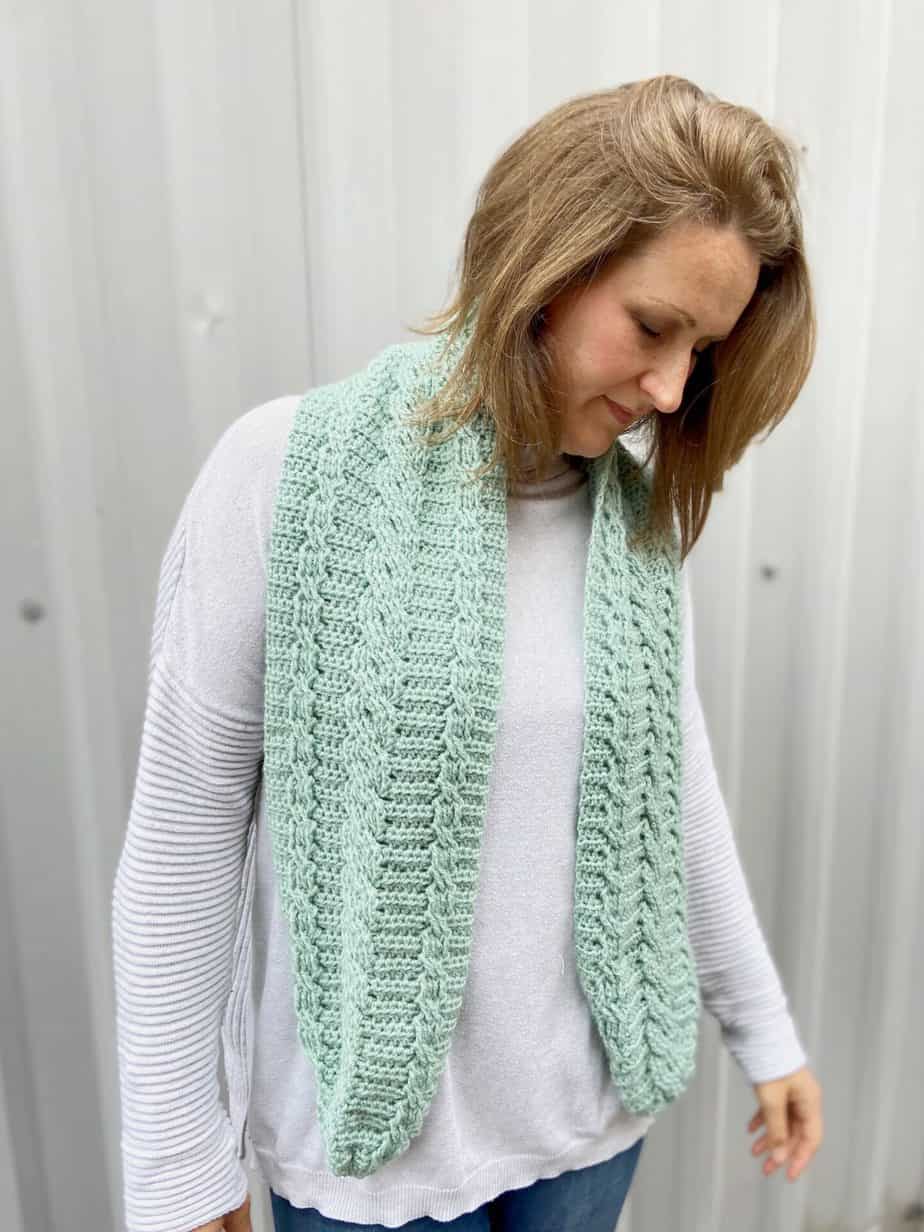
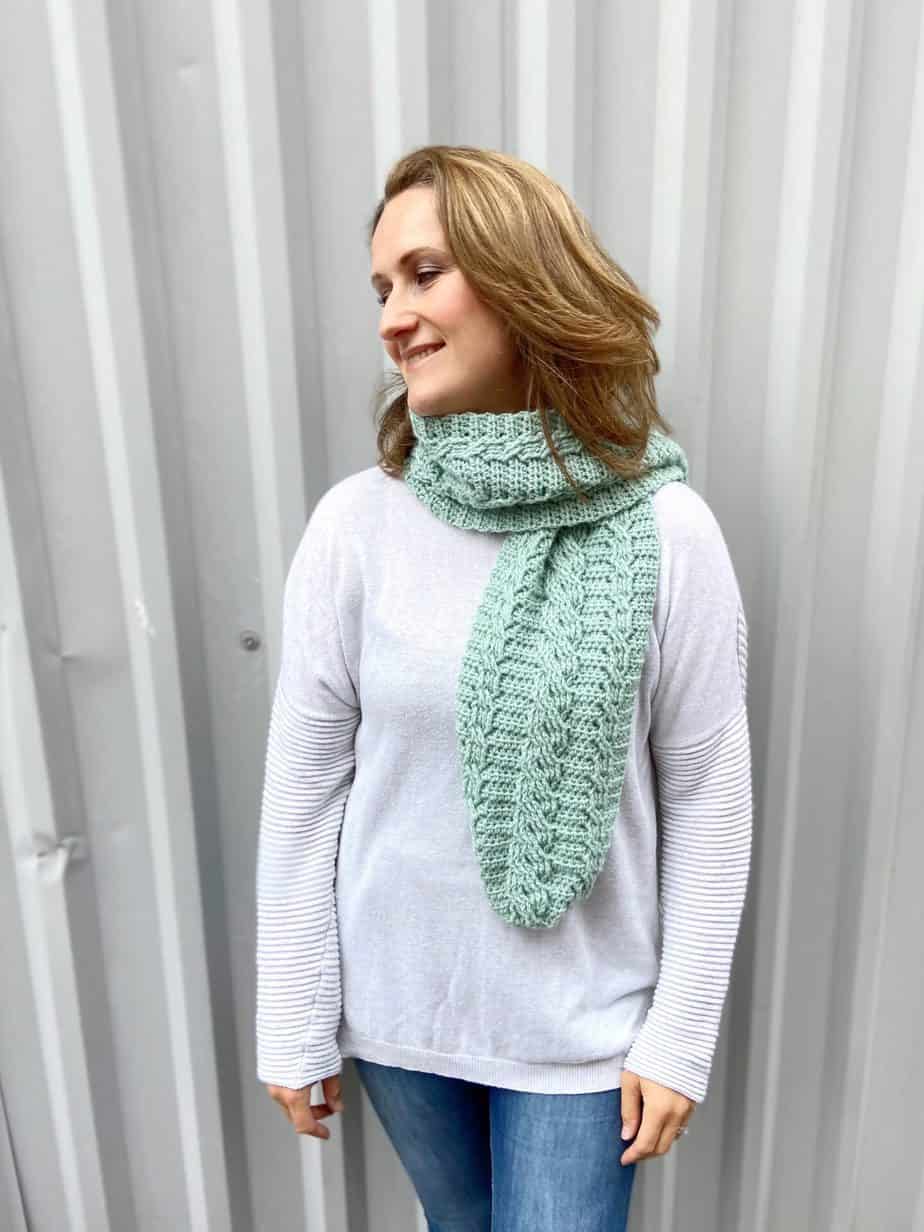
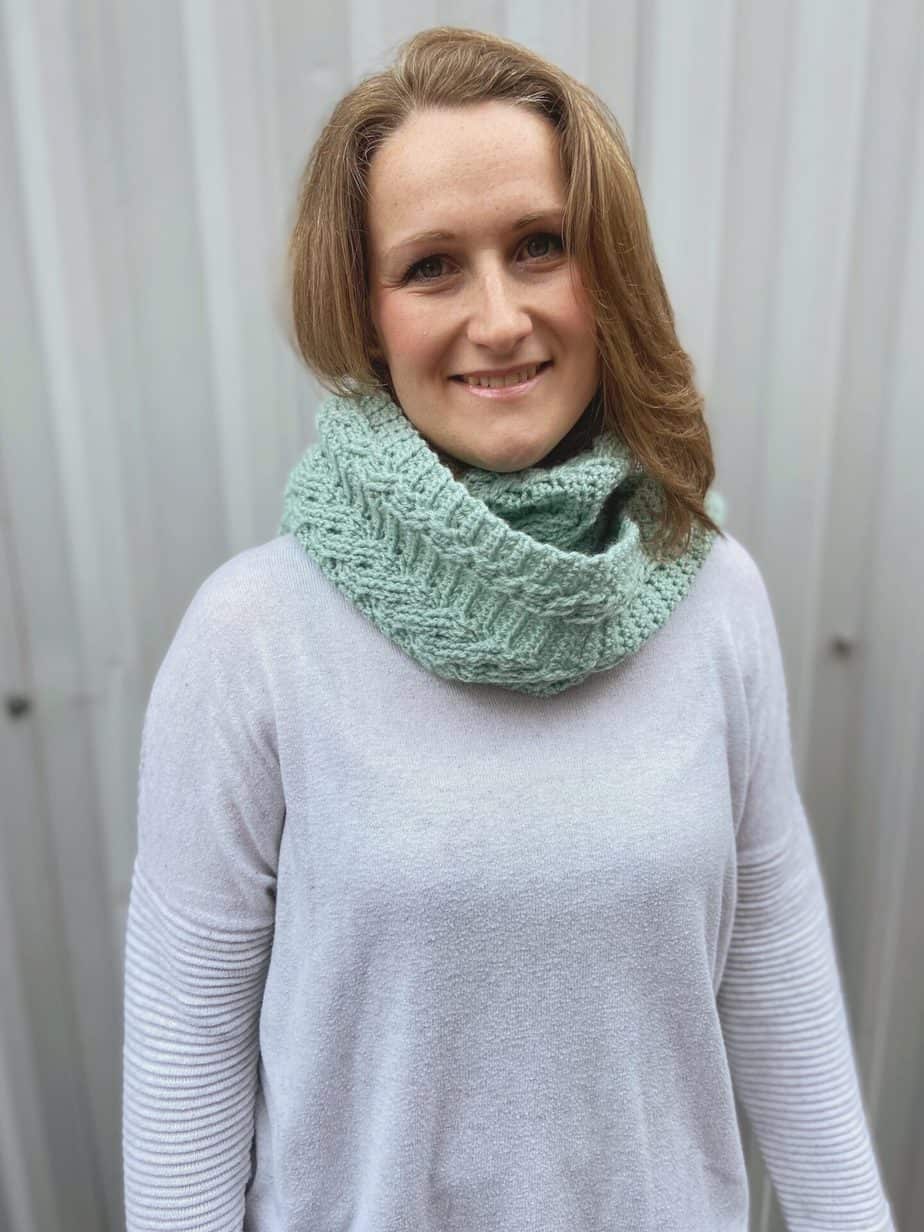
Learn how to create these beautiful crochet cables in the Modern Mint Cable Crochet Scarf pattern. This scarf will become an instant classic! The crochet cable stitches make this scarf look and feel so sophisticated and then half double crochet background adds so much beautiful texture too.
Pick your favourite colour to match with your winter gear to wear this scarf all season long.
You can carry on reading to find the free pattern here in this blogpost or purchase an ad-free, printable PDF version of this intermediate crochet scarf pattern in my stores to download and print:
Table of Contents
This post may contain affiliate links. Please see my full disclosure and privacy policy for details.
About the Crochet Cable Scarf Pattern
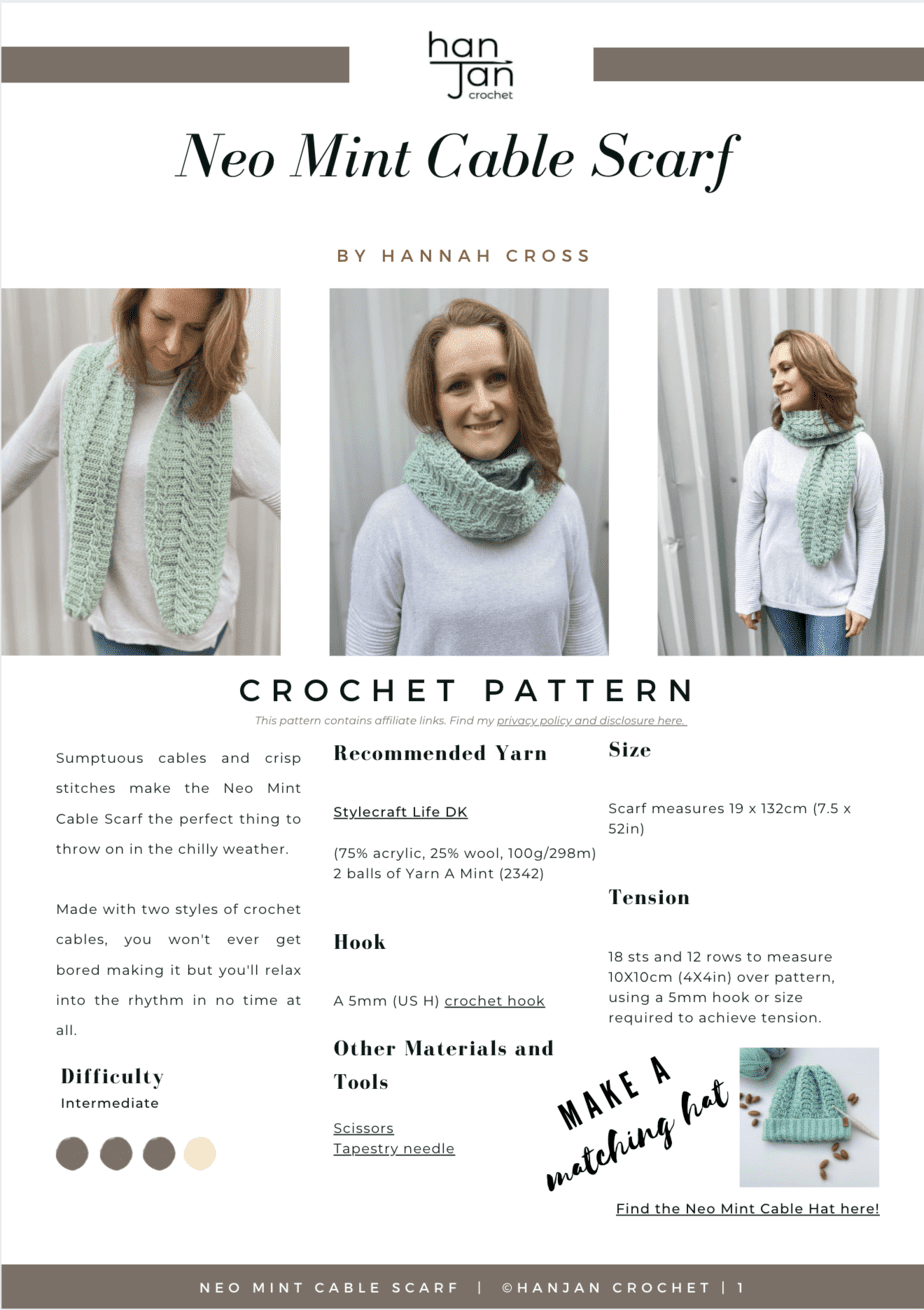
Sumptuous cables and crisp stitches make the Neo Mint Cable Scarf the perfect thing to throw on in the chilly weather.
Made with two styles of crochet cables, you won’t ever get bored making it but you’ll relax into the rhythm in no time at all.
I know that lots of people find crochet cable stitches and patterns really intimidating – I certainly did to start with! Unlike knitted cables there’s no need to add needles and move stitches and so on (I think this is what scared me after watching my Mum knit cables for years!), you just need to know how to work crochet post stitches and then make sure you keep count!
It can be super confusing to start with though and so to accompany my co-ordinating neo mint cable crochet hat pattern, I did a video tutorial that might also help with this scarf too 🙂
Crochet Cable Stitch Patterns
If you’re not quite ready to dive in and work these intermediate crochet cable stitches then I’d have a go at some more simple ones to start with to get the idea of how it all work perhaps.
Crochet cables are essentially a combination of skipping stitches and then returning back to work in those skipped stitches to create the ‘crossed over’ look of the fabric.
Sometimes this is done using crochet post stitches, other times, like in my simple cable stitch pattern tutorial, you just work across the top and into the skipped space you created. It’s great as a beginner cable stitch if you fancy a go.
Another great way of creating crochet cables for perhaps an advanced beginner is to work both ahead and behind over the fabric as I do in my rialto crochet cable stitch square. It’s great fun and works into the actual stitches that you’ve skipped so is nice and easy to keep track of.
I used that same stitch but worked in the round in my rialto crochet cable sock pattern and I know so many people have made and loved them! I know then thought of crochet socks and cables together might sound all sorts of scary but I promise they’re not as tricky as you might think!
If you’re looking for a quick and easy make then my Henrietta cable headband pattern might be just the thing.
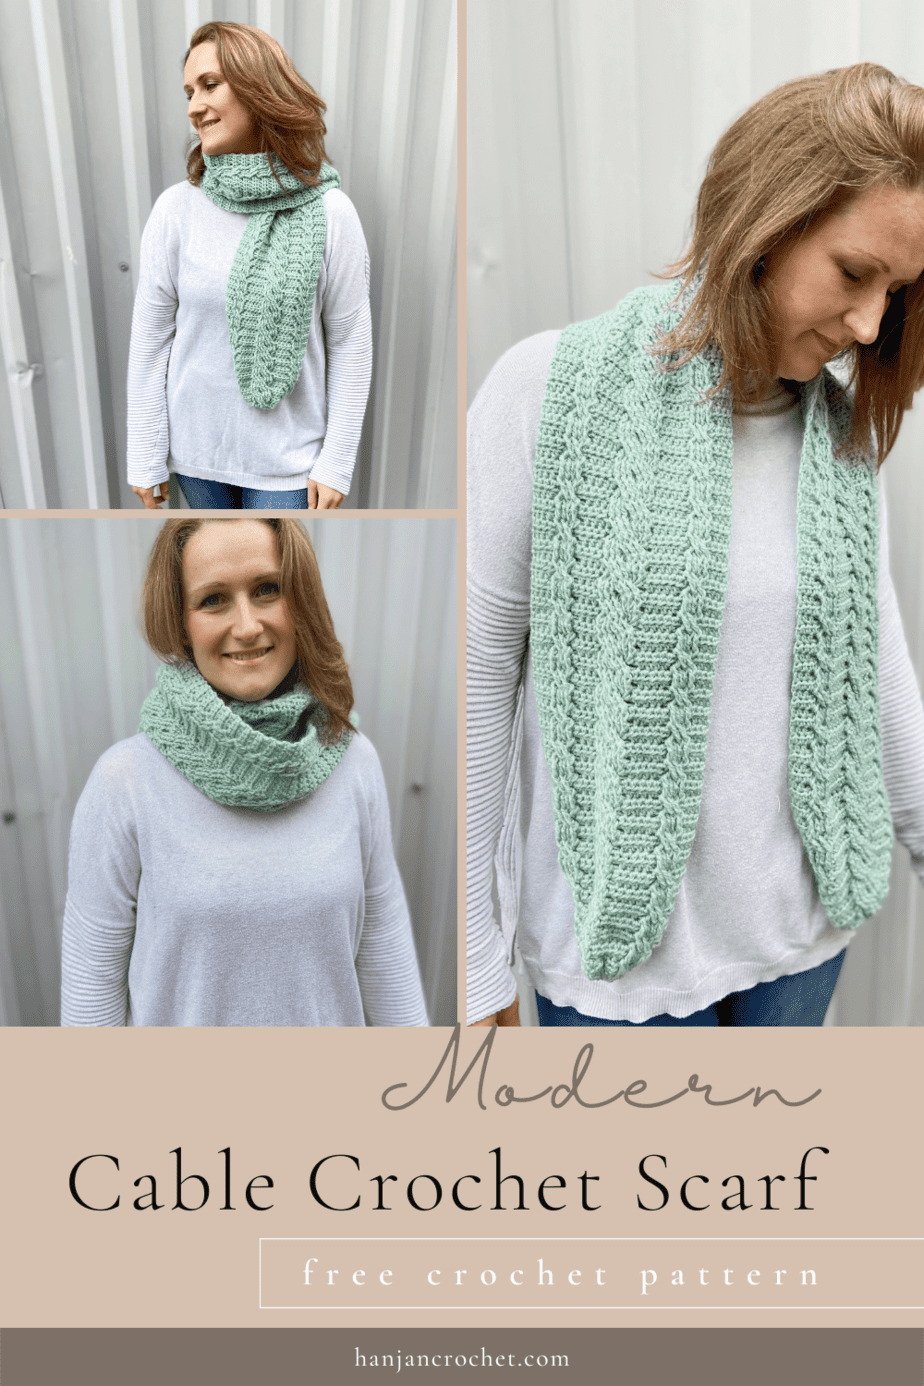
If you don’t have chance to make this right now then don’t worry, just make sure to pin it for later so you don’t lose it using this image:
Tension and Sizing Options
The crochet cable scarf measures approx 19 x 132cm (7.5 x 52in).
Tension (gauge) is 18 sts and 12 rows to measure 10 by 10cm over pattern using a 5mm hook, or size needed to obtain correct tension.
Yarn for this Cable Crochet Scarf
To make this crochet scarf I used Stylecraft Life DK yarn. It’s 75% acrylic, 25% wool, 100g/298m and has a lovely bounce to it, perfect for accessories and garments.
You will need:
2 balls of Mint
A great alternative yarn if you’d like to go for luxury is Swish DK from WeCrochet. It is 100% fine super wash Merino and is one of my favourite yarns to work with. Perfect for a treat!
Other Materials You Will Need
Along with your yarn, you will need the following:
| 5mm (US 8/H) crochet hook – my favourites are Furls Streamline Swirl crochet hooks or Clover Amour crochet hooks. |
| Tapestry needle |
| Scissors |
| Stitch markers if desired |
Crochet Abbreviations and Glossary
ch(s) – chain(s)
ss – slip stitch
st(s) – stitch(es)
RS – right side
tog – together
rep – repeat
FP – front post
BL – back loop
Crochet Stitches used in the Scarf Pattern
The Modern Cable Scarf uses the following crochet stitches.
| Standard UK Crochet Term | Standard US Crochet Term |
| htr – half treble crochet | hdc – half double crochet |
| FPtr – Front Post treble crochet | FPdc – Front Post double crochet |
| FPdtr – Front Post double treble crochet | FPtr – Front Post treble crochet |
| BPhtr – Back Post half treble crochet | BPhdc – Back Post half double crochet |
How to get the Modern Cable Scarf Pattern
This crochet scarf pattern is a free crochet pattern in US and UK terms on the blog for everyone to enjoy, just scroll down to find it.
There are a few ways you can access and enjoy this crochet pattern and help support HanJan Crochet.
- You can find and use the crochet bobble hat pattern here on the blog that is supplemented with ads.
- You can purchase, print and keep the 4 page ad-free pattern PDF in any of my stores below:
Pattern Notes
A ch1 at the beginning of a row or round does not count as a stitch.
When working into a stitch that sits below the working row (for example the FP sts that are 2 rows below), this counts as a stitch and therefore you skip the corresponding stitch that would normally have been used along the working edge.
When working Rows 4 and 6, make sure that when you work the central 9 sts, and don’t miss the crossed stitches, otherwise your stitch count and pattern will be affected.
Cable Scarf Crochet Pattern
Standard UK Terms
To unlock Exclusive Content on the HanJan Crochet Blog, all you need to do is click the box below and the Grow.me app will pop up, allowing you to enter your email and create a password.
Once you’ve created an account, every time you see Exclusive Content on my blog (or any others that use Grow), simply login to your Grow account. Be sure to switch to the login screen to enter your login credentials.
If you forget your password, click the “forgot password” link and follow the prompts. Please note that I’m unable to assist with resetting Grow passwords or accessing your Grow account, so be sure to save your login information in a safe place.
Thank you for subscribing and for joining me at HanJan Crochet! I hope you enjoy the exclusive content available on the site and I can’t wait to see what you create 🙂
Row 6: As Row 4
Rows 7-174: Rep Rows 3-6 a further 42 times.
Fasten off and weave in ends.
To Make Up
Gather each end of the scarf tightly, using matching yarn, and sew to create shape.
Standard US Crochet Terms
Row 6: As Row 4
Rows 7-174: Rep Rows 3-6 a further 42 times.
Fasten off and weave in ends.
To Make Up
Gather each end of the scarf tightly, using matching yarn, and sew to create shape.
Other Crochet Scarf Patterns to Try
If you love making crochet scarfs as much as me then I have plenty more for you to try! They vary in style and construction so go explore these free patterns on the blog and see which one you fancy making next:
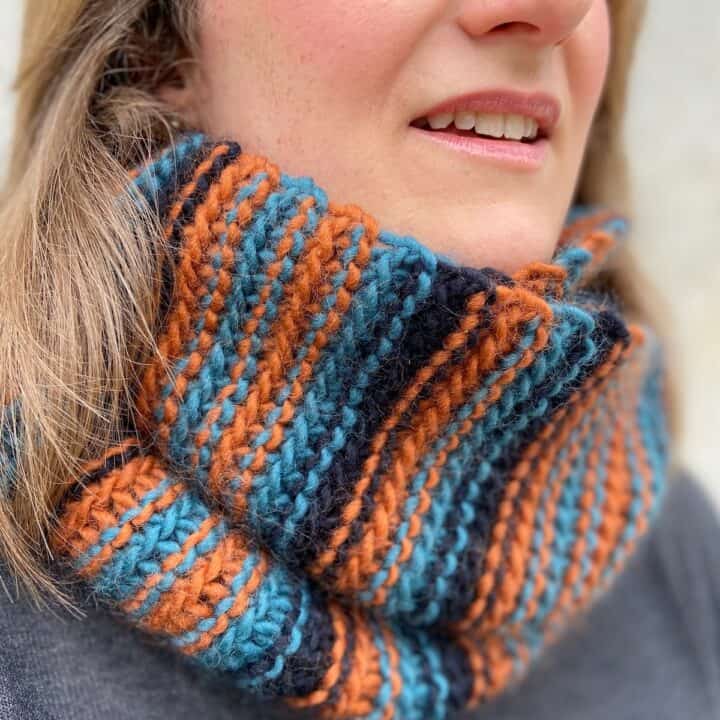
Chunky Crochet Cowl - free beginner pattern
The perfect beginner crochet project, this striped chunky crochet cowl uses the simple slip stitch, chunky yarn and hook and so is super quick to make too!
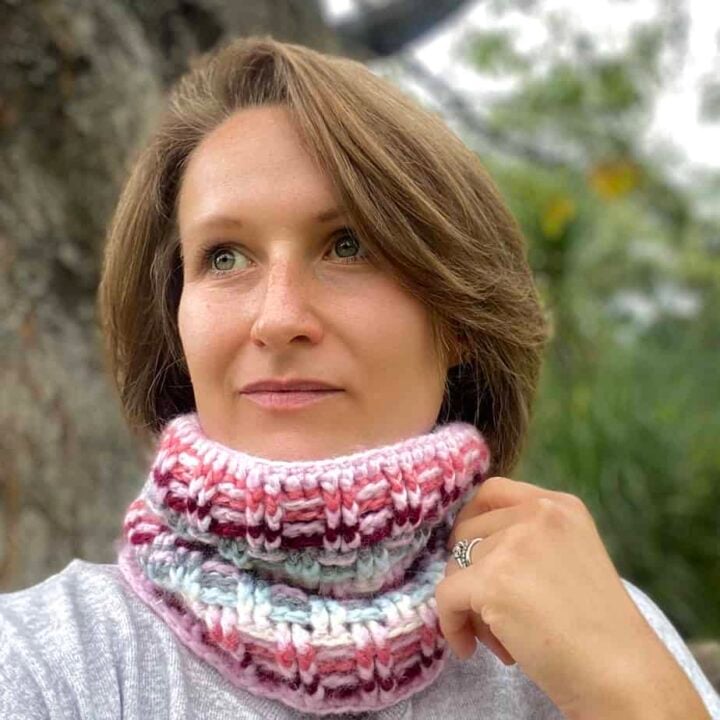
Crochet Cowl - a free cozy crochet rib stitch cowl pattern
Worked in the round with crochet post stitches and chunky yarn, this one is so quick to make!
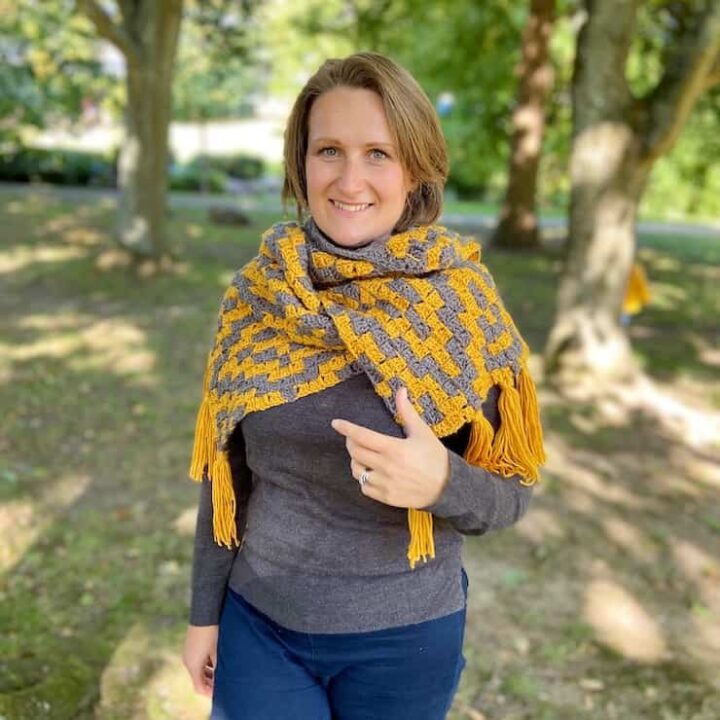
C2C Crochet Scarf Pattern - The Diamond Trees Scarf
A really stunning c2c crochet scarf pattern that has tassels and cosiness for days!
Join HanJan Crochet and Share Your Crochet!
I’d love to stay connected with you so please do sign up for my subscriber list if you’d like to. Looking forward to hearing from you and sending you your free gift!
Thank you so much for being here to share in my free crochet patterns and supporting my blog. It’s such an honour to be able to create and share my craft with you.
I’d love to see your finished crochet projects and so please share them with me in one (or all!) of the following ways:
- Share a picture on Instagram and tag me #hanjancrochet
- Share your projects on Ravelry
- Share a picture in the HanJan Crochet Facebook group
