This post may contain affiliate links. Please see my full disclosure and privacy policy for details.
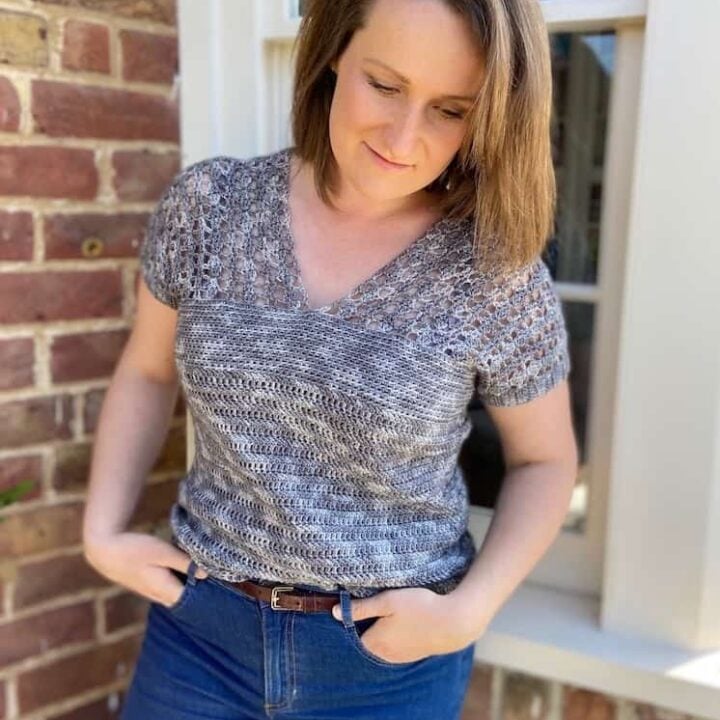
Have you ever wanted to try crochet clothing patterns but don’t know where to start? Making crochet garments is not as hard as it seems and anyone can do it!
Many of us struggle with confidence when it comes to making crochet to wear and so today I’m delighted to introduce my friend and fellow designer Fran Morgan to the blog to share her guide on how to make perfect crochet garments.
Table of Contents
This post may contain affiliate links. Please see my full disclosure and privacy policy for details.
About Fran Morgan and Designing Crochet Garments
It all started when Fran was six or seven and her mother taught her to knit. She made clothes for all of her dolls and teddy bears and eventually learned to crochet and sew. She would make a new outfit every Saturday to wear out that night.
Years later, Fran began knitting for her local wool shop and went on to become a knitwear and crochet designer. Her crochet clothing and other designs are regularly featured in Simply Knitting, Simply Crochet, Inside Crochet, and also in her own online stores.
Fran is going to walk us through how to read a crochet pattern for clothing. Be sure to also check out my post on choosing the best garment pattern for you (which also talks about choosing the right yarn too).
I hope this information will encourage more people to step away from the blankets and start work on a crochet top, jumper, or sweater!
Anyone Can Make Crochet Garments!
The first point I would like to make is that anyone can make crochet clothing, as long as you follow some simple rules. So many people talk themselves out of working on a garment.
It’s too hard.
I can’t do that, it’s so complicated.
I am better at making smaller items.
This is a mindset that expects to fail. If you are thinking these things, stop right there. Flip that thought on its head.
Reading Crochet Clothes Patterns
Every crochet clothing pattern is written by using simple math. I said the bad word, didn’t I? But I did say simple math.
We use maths in our everyday lives without giving it a second thought, when we work out how much food to buy, count the change in our purse or compare the prices in the supermarket. In order to understand a crochet pattern a little better, I think it’s important to spend a little time acquainting yourself with the way it has been written and what it means.
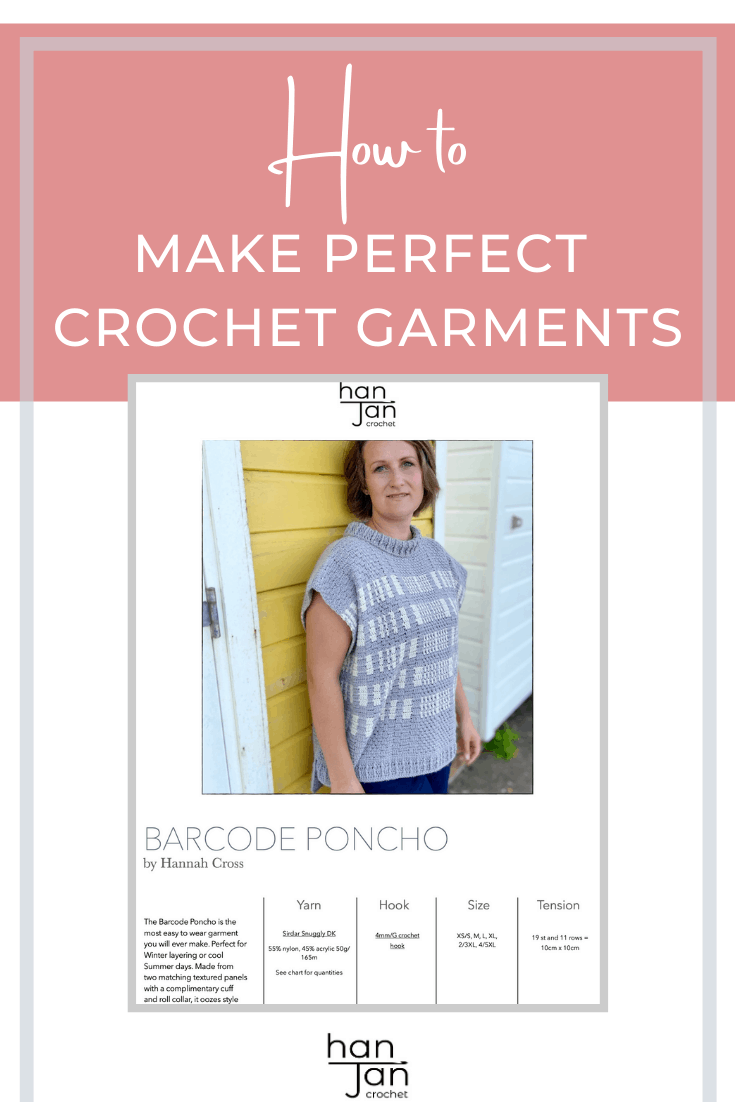
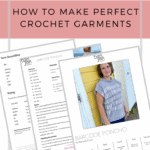
Take a look at the example below. All the important information is there at the beginning in a crochet garment pattern.
| TO FIT BUST (in) | 32/34 | 36/38 | 40/42 | 44/46 |
| TO FIT BUST (cm) | 82/86 | 92/97 | 102/107 | 112/117 |
| ACTUAL SIZE (cm) | 92 | 102 | 112 | 122 |
| LENGTH (cm) | 58 | 59 | 60 | 61 |
| YARN AMOUNTS (50g balls of A) | 4 | 4 | 4 | 5 |
| YARN AMOUNTS (50g balls of B, C, D, E, F) | 1 | 1 | 1 | 1 |
MATERIALS 3.75mm/US10/UK4 crochet hook.Rico Creative Cotton Dk 50g 115m, Shade White 001 (A), Shade Brown 018 (B), Shade 003 Light Yellow (C), Shade 012 Royal Blue (D), Shade Fir Green 017 (E), Shade Orange 007 (F).
ABBREVIATIONS: ch – chain; dc – Double Crochet ; tr – treble crochet
TENSION: 17tr x 8 rows to 10cm over tr patt using 4 mm hook.
SKILL LEVEL: Intermediate
Let’s look at each section at a time, I am sure you are already familiar with some of them.
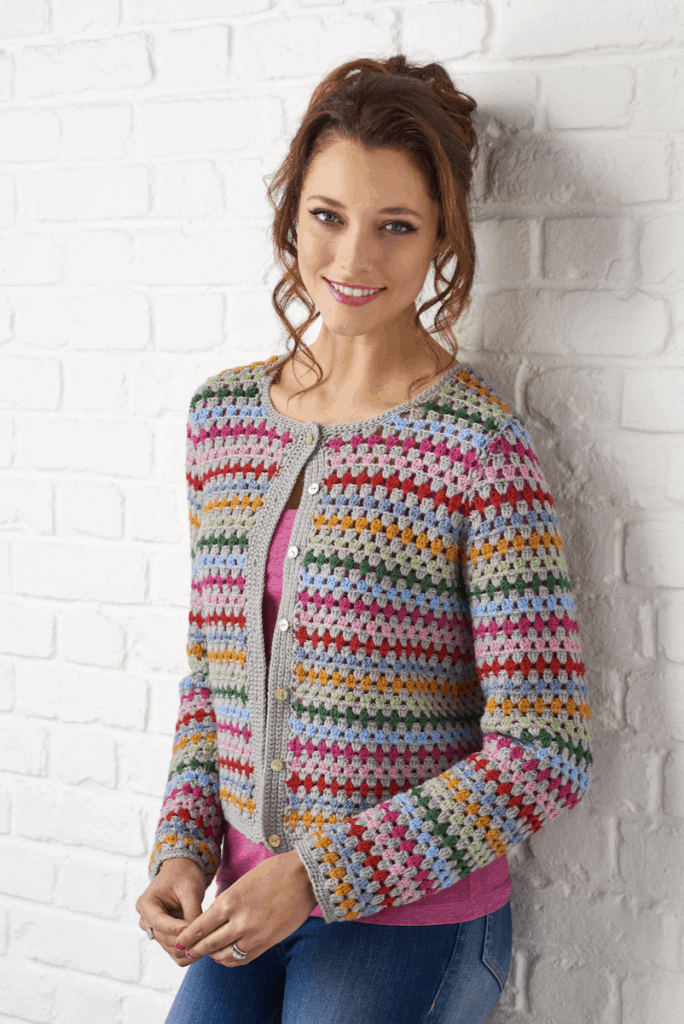
Size
This can be a bit confusing. There are certain conventions that are used in crochet clothes patterns. The first line is a layout of standard sizes; i.e. 32/34, 36/38 etc, these are inches and although this country has been metric since the 70s, we still use these imperial measurements when talking about clothes sizes. Don’t worry, the metric sizes are always included underneath.
The next section gives the finished measurement. The size of the actual garment. The difference between the two sizes is known as ease.
Ease determines the shape of the garment. In this pattern the sizes are grouped together, so 32/34, finished size is 36 has two inches added. This means that the fit is slightly looser than your size.
Some patterns that have a looser fit can have up to 15cm/6in of ease. Always look at the finished measurement to decide what size to make. Some people may prefer to make a larger size, use the photo of the garment as a guide.
Materials
This is the recommended yarn and amount you need for your crochet pattern. If you want to substitute the yarn, use this as a guide.
In this pattern, cotton was used and each ball has approx. 115m. If you choose to substitute the yarn, consider the drape of the garment. Drape is how the fabric feels and hangs, and it’s an important factor when making DIY crochet clothes.
If you were to use mohair for example, the drape and the look of the garment would be different.
The yardage is important here. Don’t be tempted to buy 4 50g balls because the pattern asks for 4 balls. You have to compare the yardage/meterage.
Here is the maths, each ball has 115, so it’s a simple sum. 4 x 115m = 460m. 460m of a similar yarn is the amount you need.
All the information is one the ball band, so look at the ball band to work out how much you need. If the yarn you decide on has 125m you will still need 4. To work this out, reverse the sum, 460/125=3.68.
Abbreviations
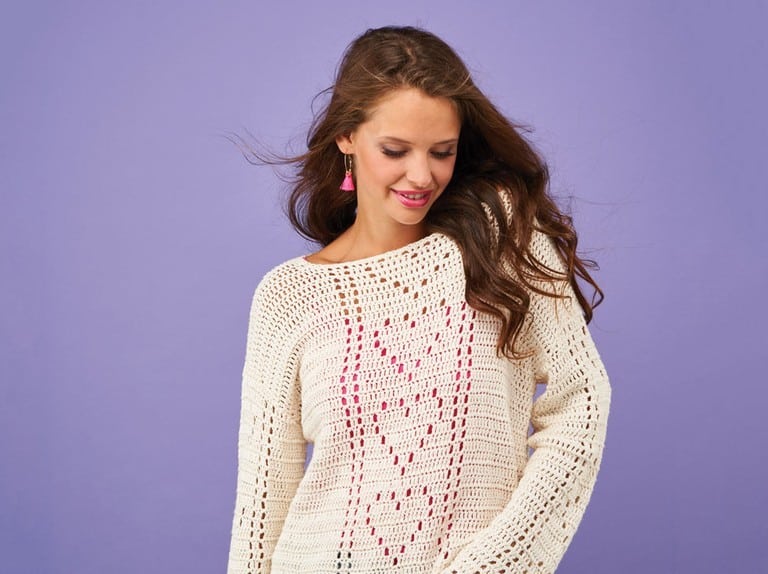
This section details all the stitches used in the crochet pattern and gives the appropriate abbreviation. In this pattern the abbreviations are in UK terms. If you use US terms, then you can convert them using this handy crochet stitch conversion chart.
The next section is the one you really need to understand if you want to know how to make crochet clothes.
Gauge (Tension)
I am not sure why, but this section is liable to give some people a sense of dread. It is also the section that is most ignored.
I cannot say it loud enough crochet gauge is very, very important, especially for crochet garments.
The reason that the tension is so important is that all the math that goes into writing this pattern is based on those numbers in the tension guide. Every stitch count, every row length, the pattern repeats, everything.
If you want to be a better garment maker, then take five minutes to understand this fact.
Let’s break it down in stages.
- In this pattern the stated tension is 17tr x 8 rows to 10cm square over tr patt using 4mm hook.
- Every row was worked in trebles.
- The designer used a 4mm hook and measured how many tr sts were worked across 10cm and how many rows for 10cm.
- Taking those numbers, the stitch count was calculated.
The width of the back piece of this garment would be half the finished bust measurement – for the 36in/92cm size, it would be 18in/46cm.
Working in cms, we know that 17tr equals 10cm, so 1.7st would equal 1cm. If we multiply 46 x 1.7 =78.2. Drop the decimal point and look that’s the exactly the same as the ch in the first row.
It’s that simple. The reason the tension is so important is if you don’t match those numbers, your crochet garment size will be off.
For example if you use a 4mm hook and get 16tr to 10cm then, 1.6 = 1cm. Using that number, if we divide 78ch for the first size by 1.6, 78/1.6= 48.75. It’s bigger, so your jumper would be bigger.
The same is true if you get more sts using a 4mm hook, let’s say you get 18. 78/1.8=4cm, meaning your jumper would be smaller.
Hook Size
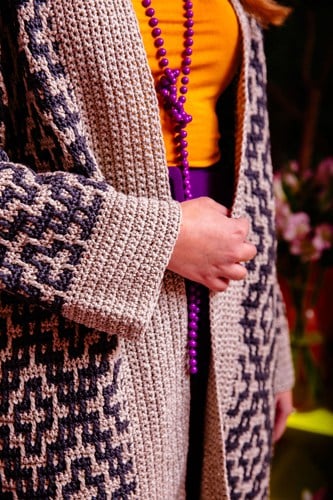
A really important point to make is that the hook size is a guide. There are so many ways crocheters hold a hook or how they tension the yarn. There is no right and wrong way. It doesn’t make you a better crocheter if you can match the hook size. It makes you a better crocheter if you can match the tension.
I am a very loose crocheter and this means I may use a larger hook than you. I recently had the privilege of working with five great designers on a blanket CAL. We each did a tension square, using a 4mm hook and DK wool. The results were amazing. They ranged from 12st to 17sts.
If you can’t match the tension stated, then try different hook sizes until you can.
Don’t worry too much about the row gauge, that is easily overcome by working less rows. Do this one thing and you can be sure you are on the way to making perfectly easy crochet clothes.
You can find Hannah’s favourite Furls crochet hooks here if you need more for your collection.
Skill Level
This is a suggested skill level, don’t let it put you off. This is a standard convention to make it easier for some people to choose a pattern.
Be adventurous, try to stretch yourself. If in any doubt, take the time to read the pattern through and familiarise yourself with the stitches. Practise those stitches on some spare yarn until you perfect them.
Get Crocheting!
You may need to read this again and again to understand how it works and that’s fine! I hope this gives you the confidence to try to make a crochet garment. There are lots of free crochet clothing patterns available online, so maybe start out with something that has an easy shape and stitch pattern.
You can do this. Good luck!
Thank you so much Fran! It’s been a pleasure to have you on the blog. Read more about Fran and her fabulous crochet designs here.
Join HanJan and Share Your Crochet With Us!
I’d love to hear from you and see your HanJan Crochet project! Here’s where you can do that:
📌 PIN THIS POST – save it to your Pinterest crochet board so you can come back to it again and make more!
↗️ SHARE – Share your yarn choices, progress pics, and finished projects on Facebook or Instagram (make sure to use the hashtag) #hanjancrochet
🧶 JOIN – Join thousands of amazing crafters in the HanJan Crochet Community Group on Facebook ready to cheer you on!
✉️📩📬 SUBSCRIBE – It’s an honour to be able to create and share my free crochet patterns with you. I’d love to stay connected and send you regular discount codes and free patterns! Please sign up for my subscriber list to get a free gift right now!
Easy Crochet Clothing Patterns You Can Try
So it’s all very well knowing on paper how to make crochet garments but the thing you need to do now is go and make some!
I have lots of designs but if you’re looking for a great big list to start with then you’ll love this collection of easy crochet cardigan patterns for beginners!
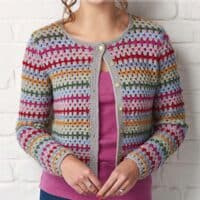
A Good Vintage Cardigan
by Fran Morgan
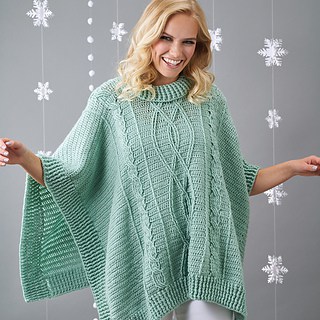
Cabled Poncho Pattern
by Fran Morgan
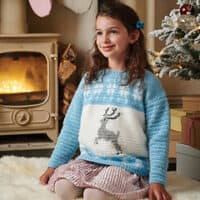
Reindeer Jumper Pattern
by Fran Morgan
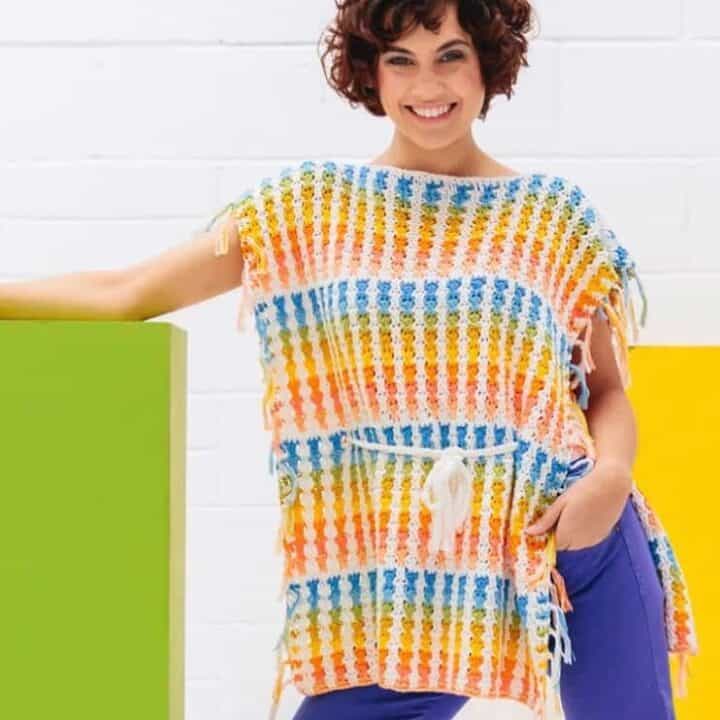
Skittles Summer Crochet Poncho
Free pattern by HanJan Crochet
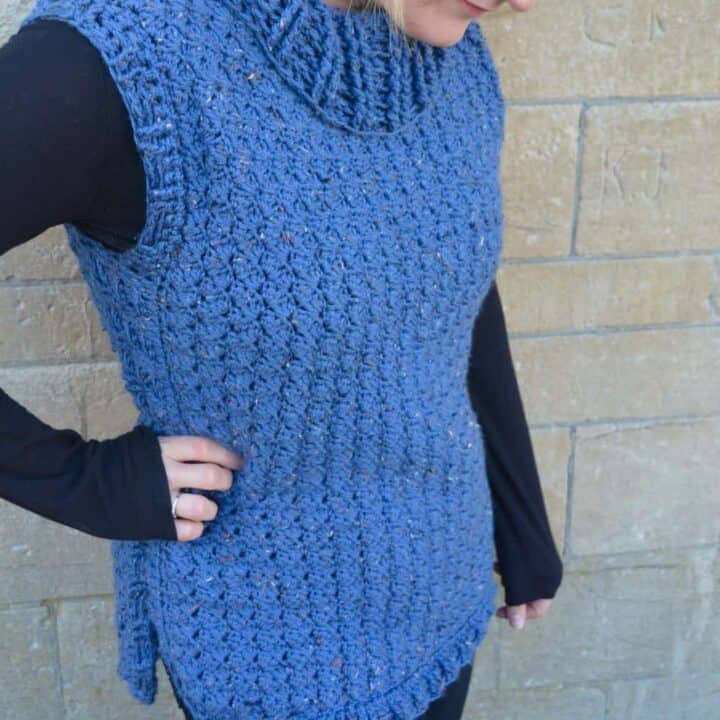
Tweed Crochet Pullover
Free pattern by HanJan Crochet
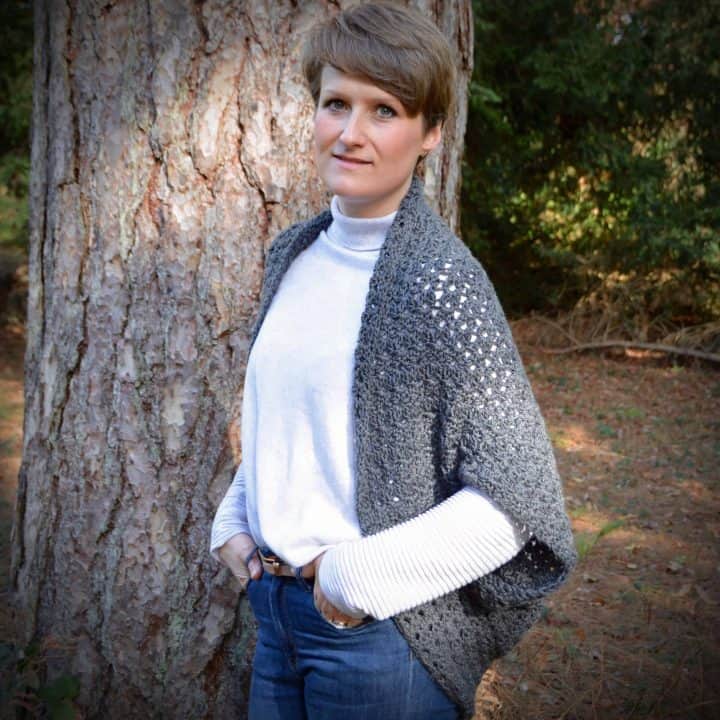
The Autumn Cluster Cardigan
Free pattern by HanJan Crochet
