This post may contain affiliate links. Please see my full disclosure and privacy policy for details.
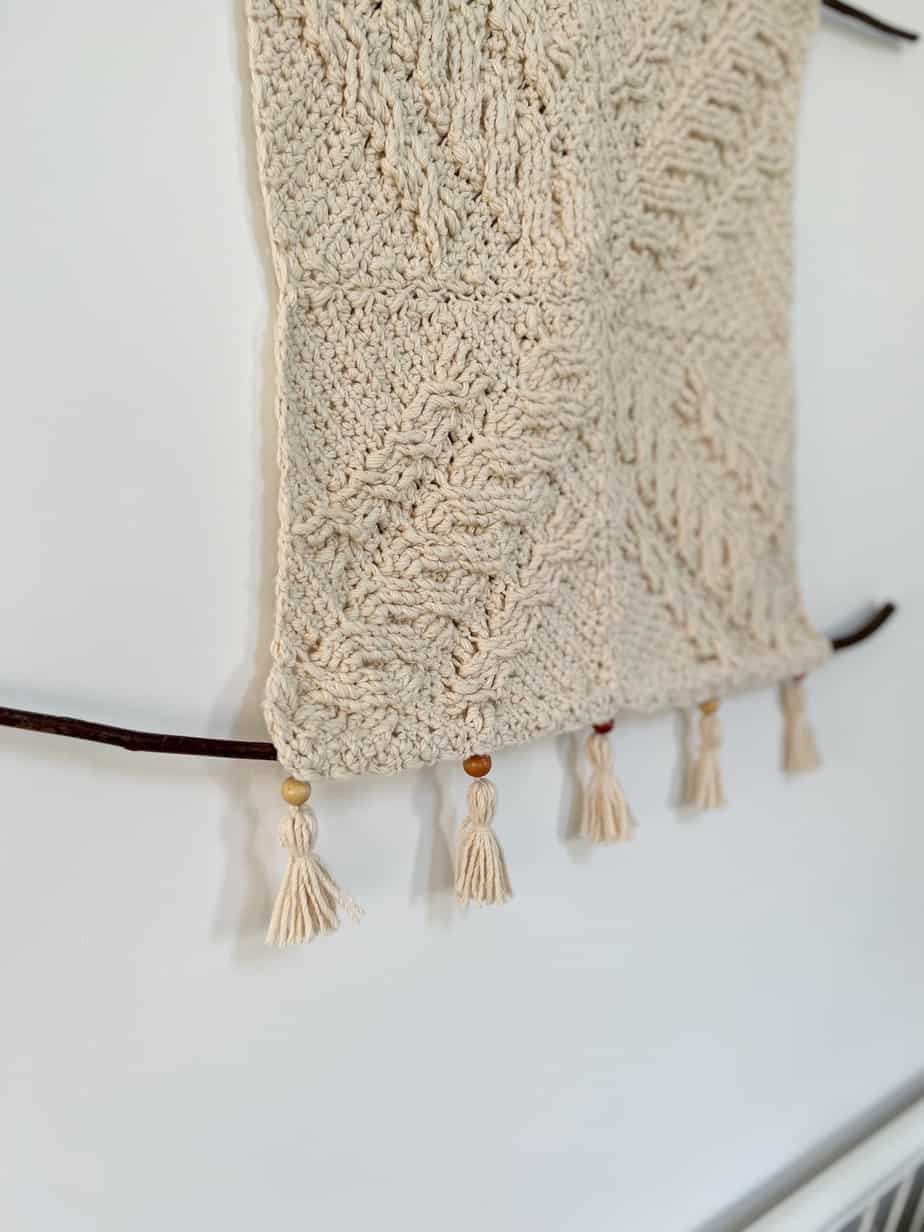
I just adore crochet patterns that are versatile and so I had great fun creating this modern crochet wall hanging from my cable crochet square design. With a boho yet modern feel, you simply crochet 4 matching crochet squares and sew them together to form a stunning piece of crochet wall art.
How you decide to style your wall hanging is completely up to you of course but I wanted a rustic, boho feel to mine so I added tassels, beads and some wooden branches from when we pruned our tree last year!
Everything that I used to make the hanging was already in our house or garden and so I’d encourage you to try and do the same if you can – it’s an awesome crochet up-cycling project!
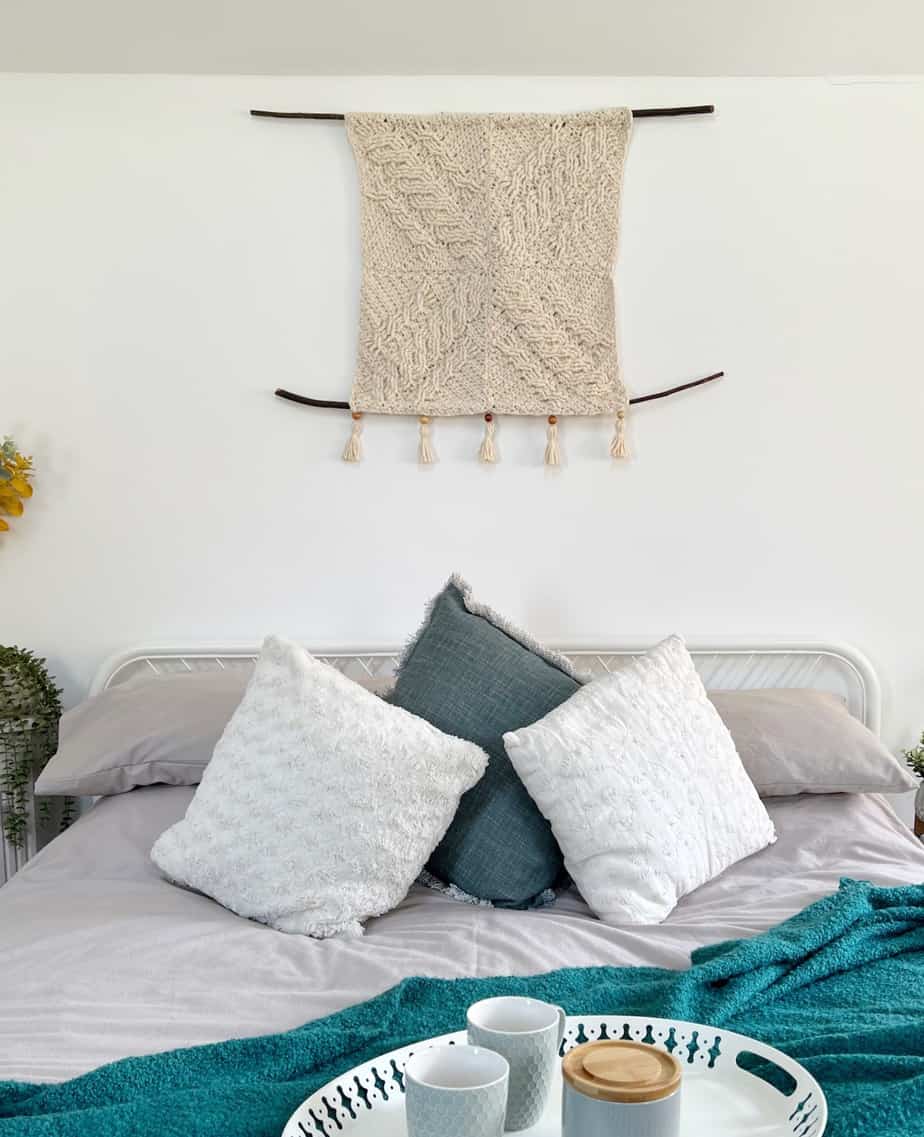
Table of Contents
This post may contain affiliate links. Please see my full disclosure and privacy policy for details.
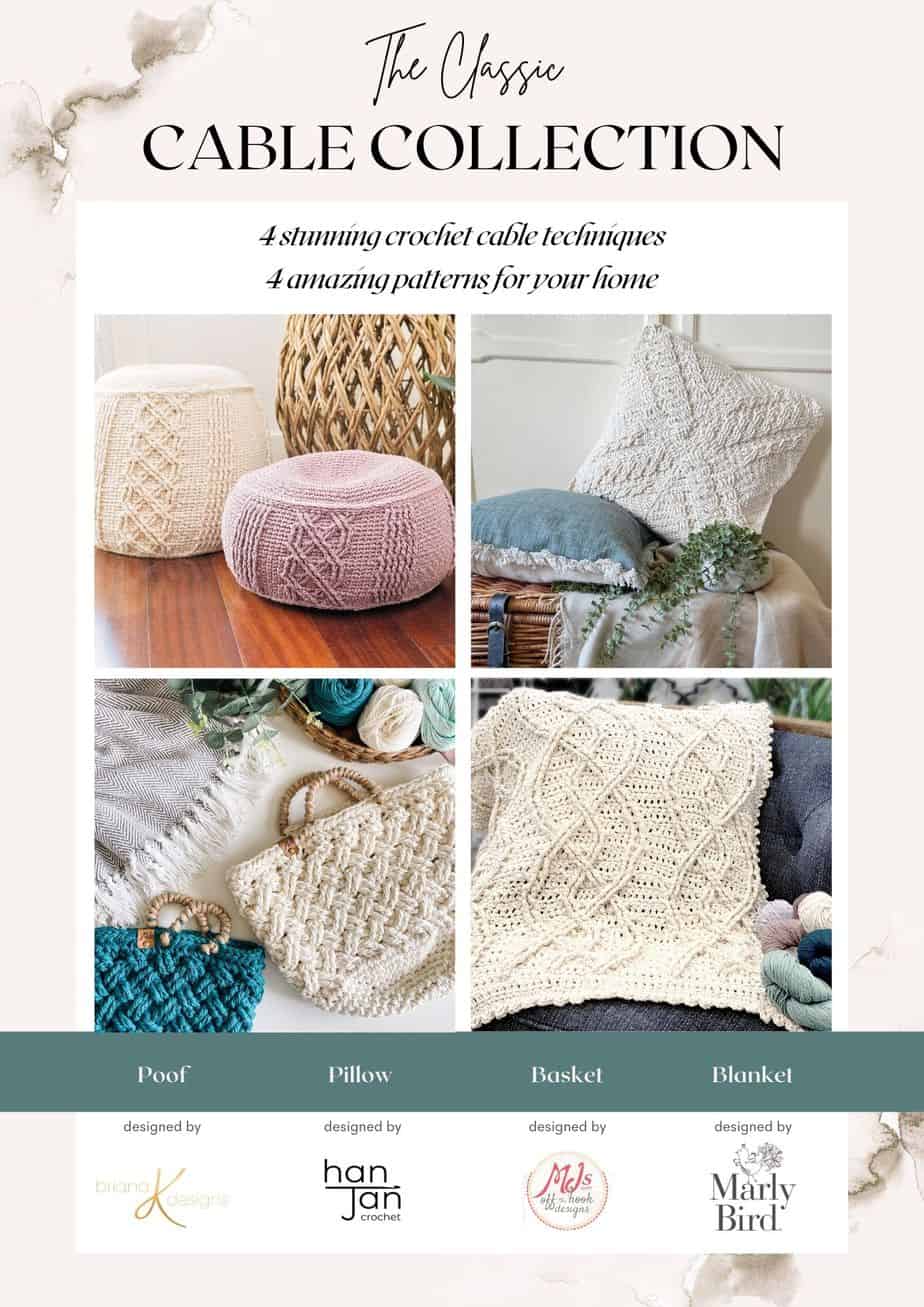
I don’t often use crochet cable stitches but my designer friends Briana K, MJs off the Hook and Marly Bird and I have come up with an entire collection of cable crochet patterns for your home that we hope you will love!
We are hosting a crochet along from 2nd May 2022 for 4 weeks to work on any of the patterns that you would like – there’s my cross cable pillow pattern, a floor pouf, a set of nesting baskets and a blanket. So much to choose from! You can find out all about it here – sign up for the cable crochet along event.
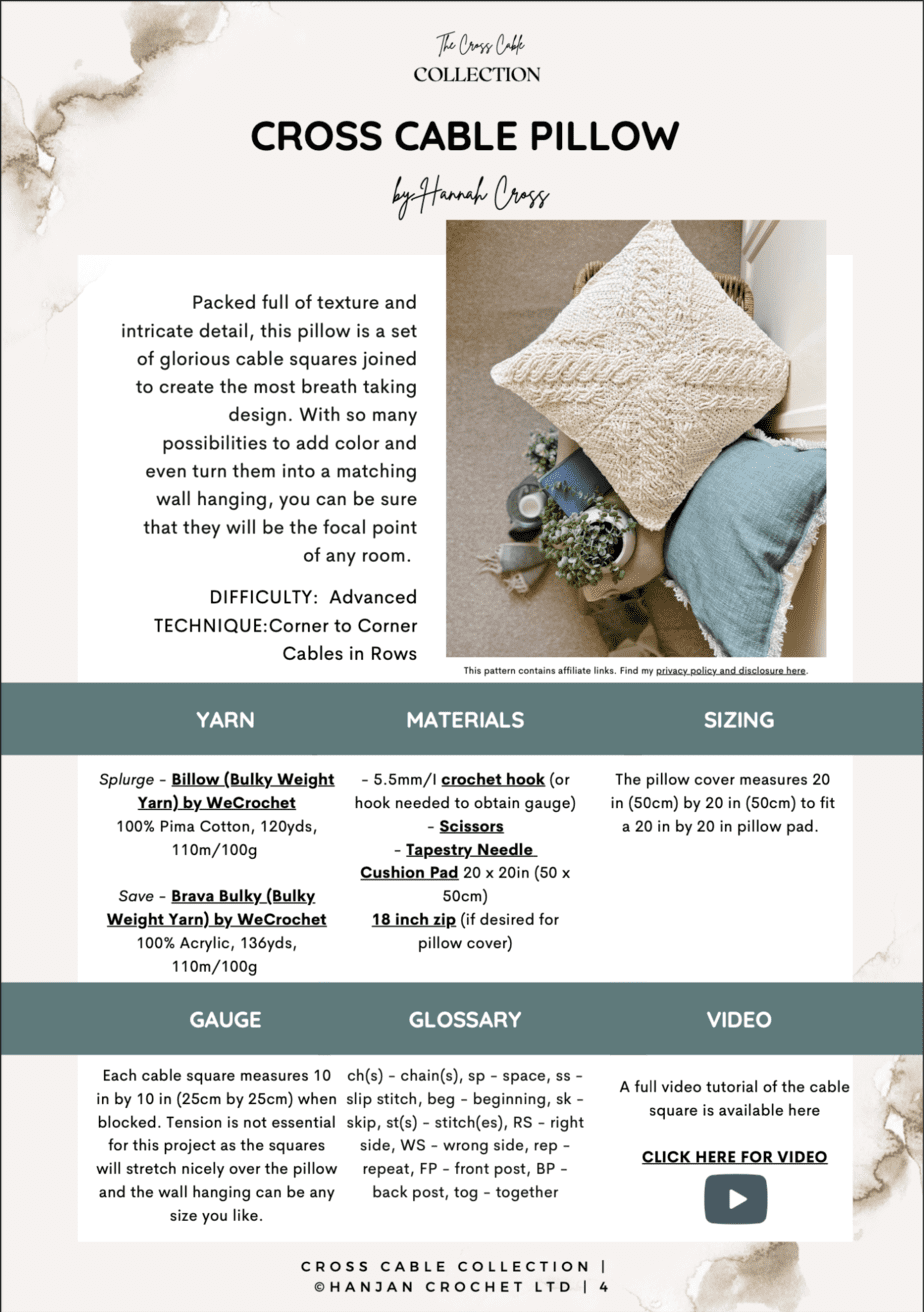
You can carry on reading to find the free instructions for the wall hanging here in this blogpost or purchase an ad-free, printable PDF version of the Cross Cable crochet pillow and wall hanging pattern in my stores to download and print.
About the Cross Cable Crochet Wall Hanging
This piece of crochet wall art happened by mistake really if I’m honest!
I started off designing a corner to corner cable square motif for my Cross cable pillow pattern and when I’d made the four squares for the front and seamed them together I realised that it would make an amazing wall hanging to pop above a bed or as a real statement piece for a room.
So, being someone who gets easily distracted, I set about searching the house for bits and bobs that I could use to create it with and spent a fabulous afternoon putting it all together!
As I said, I went for a rustic and boho feel for it but the design would be so easy to customise to suit your own decor. It would look amazing stretched across a canvas for a more subtle look or using metal bars to hang it from to make it super modern.
The wonderful thing about the design is that it’s also customisable in terms of colours – you can work your crochet cables in different colours and/or your background which I’ll explain later. You can also use the cable square motif to create a pillow, blanket, bag, basket, anything you like really!
I’ve made a video tutorial of the cable square pattern itself and also one on how I constructed the wall hanging too.
Come and Join the Crochet Cable Collection CAL
We would love to welcome you to the exclusive crochet along beginning 2nd May 2022!
Find out about the Cable Collection CAL and sign up here
You can also get your copy of the Ebook that we have put together for the event and the Expand Your Cable Collection patterns too –
Get your Ebook today!
The beautifully created Ebook has all the patterns, tips and tricks, cable inspiration and crochet along details for you to download and keep.
We’ll send you:
- a stunning downloadable 43 page crochet cable Ebook
- an exclusive discount code for each of our stores

Gauge and Sizing
The crochet wall hanging measures 20 in (50cm) by 20 in (50cm) without tassels.
Each cable square measures 10 in by 10 in (25cm by 25cm) when blocked. Tension is not essential for this project but try to be consistent throughout your squares so that your hanging has a nice and even shape.
Recommended Yarn
To make the wall hanging I used Billow (Bulky Weight Yarn) by WeCrochet, 100% Pima Cotton, 120yds, 110m/100g , approx 9 hanks/1000yds for each pillow cover.
Each cable square uses approximately 100g, 120 yds of yarn
For the plain wall hanging you will need approximately 600yds (5 skeins) to allow for seaming and whatever embellishments you’d like to add.
For a coloured wall hanging you will need 3 skeins of Color A and 1 skein each of Colors B, C, D and E. (There will be enough left over to make something lovely to coordinate!)
| Colors Shown | Skeins/ YDS for Option 1 | Skeins/ YDS for Option 2 |
| Color B: Natural | 5/580 | 3/320 |
| Color A: Ice Lily | – | 1/80 |
| Color A: Comfrey | – | 1/80 |
| Color A: Cadet | – | 1/80 |
| Color A: Sagebrush | – | 1/80 |
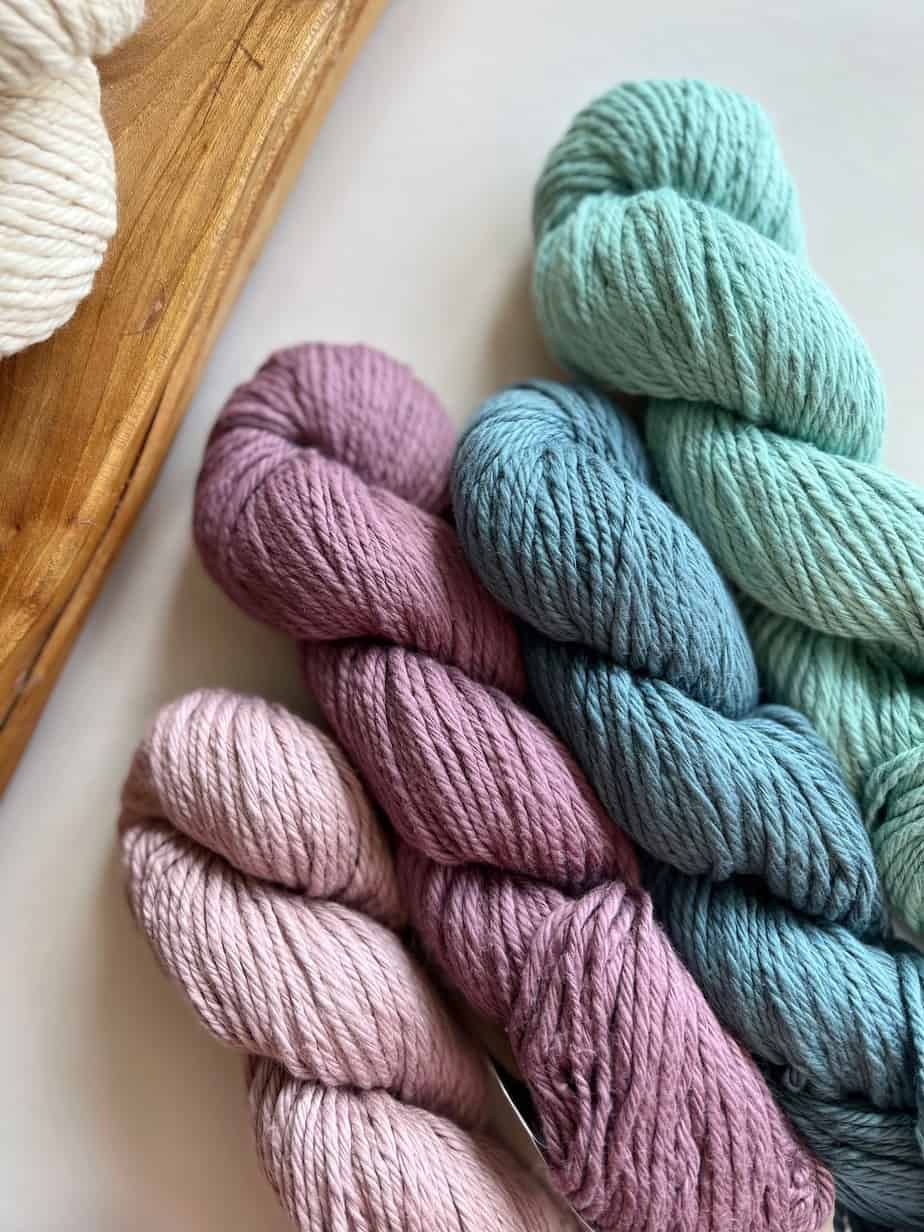
These are the beautiful colours that I chose to work with –
What Alternative Yarn Could You Use?
If you’re looking for an acrylic option then I’d go with Brava Bulky by WeCrochet as it has so many colours to choose from and is at a great price point.
Other Materials You Will Need
Along with your yarn, you will need the following:
| 5.5mm (US I) crochet hook or size needed to obtain gauge – my favourites are Furls Streamline Swirl crochet hooks or Caspian Regular crochet hook |
| Tapestry needle |
| Scissors |
| 2 wooden poles, approx 32inches or 12in longer than your wall hanging (I used a small branches from a tree in our garden). |
| A handful of wooden beads for embellishment. |
| A tassel maker, hardback book or card to make tassels around |
Crochet Abbreviations and Glossary
ch(s)- chain(s)
sp- space
ss- slip stitch
beg- beginning
sk- skip
st(s)- stitch(es)
RS- right side
WS- wrong side
rep- repeat
FP- front post
BP-back post
tog- together
Crochet Stitches used in the Pattern
The pattern uses the following crochet stitches.
| Standard US Crochet Term |
| hdc – half double crochet |
| dc – double crochet |
| tr – treble crochet |
Special Stitches
These are all explained in full on the pillow pattern post –
BACK POST HALF DOUBLE CROCHET : BPhdc
FRONT POST DOUBLE CROCHET : FPdc
FRONT POST TREBLE CROCHET : FPtr
HALF DOUBLE CROCHET 2 TOGETHER : hdc2tog
HALF DOUBLE CROCHET 3 TOGETHER : hdc3tog
How to get the Crochet Pattern
This crochet wall hanging comes in 2 parts – you can find the free pattern for the corner to corner cable square on the Cross Cable Pillow Pattern post (you’ll need to make 4 of them) and then carry on reading here for a step by step guide of how to make a crochet wall hanging.
There are a few ways you can access and enjoy this crochet pattern and help support HanJan Crochet.
- You can find and use the crochet pattern on the blog that is supplemented with ads.
- You can purchase, print and keep the 15 page ad-free pattern PDF (that includes the pillow too!) in any of my stores below.
Purchase and Print
Get the ad-free, printable PDF with added extras in my pattern stores:
Construction of the c2c Cable Square
The cable square is constructed corner-to-corner (c2c) by increasing the number of stitches at each side until a certain point then decreasing the number of stitches at each side until you are left with just one.
You will always be either increasing or decreasing at the beginning and end of a row.
- Increase Section – Rows 1-20: where we will increase either side of the work to make the panel the height it needs to be.
- Decrease Section – Rows 21-40: where we will decrease both sides of the panel to complete the square and end with just 1 stitch on the last row.
Cable Crochet Wall Hanging Video Tutorial
Planning your Color Sequence
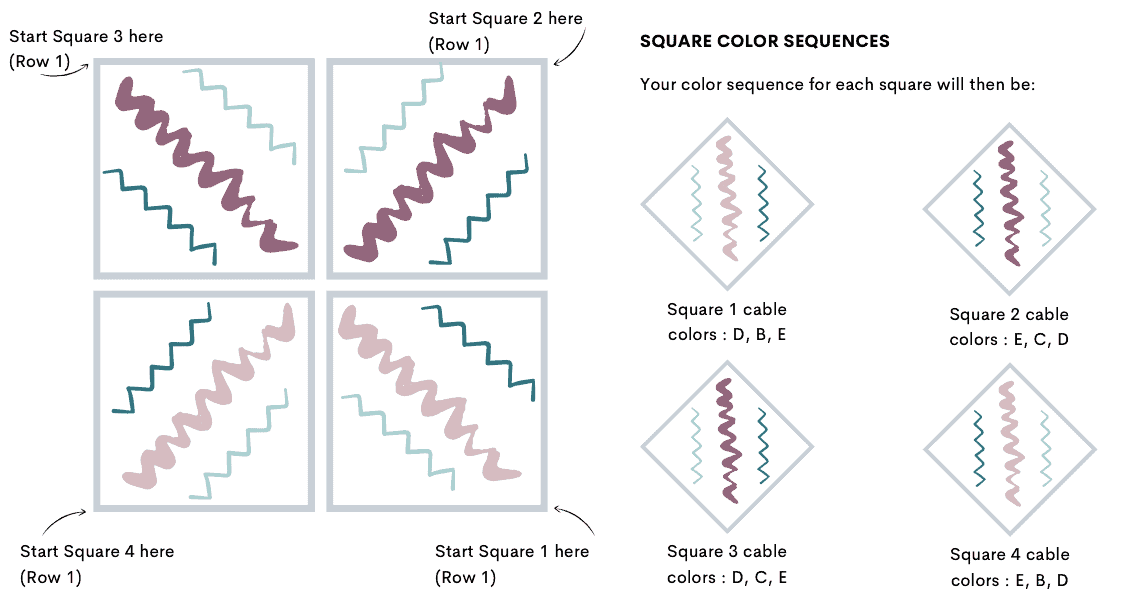
If you’d like to create your own colour sequence I’d recommend sketching it out first to make sure that you use them in the right order for your squares.
When joining your squares you will lay them so that the final stitch (Row 40) will be in the centre. This will mean you need to work out which color to use for which cable as per the example below:
How to Make A Modern Crochet Wall Hanging
Blocking and Joining Your Crochet Squares
- Make 4 squares for the wall hanging as per the pattern in the Cross Cable Pillow Pattern.
- Block each square individually before joining.
- Lay out as per diagram above.
- Join the squares with a whipstitch seam.
- Weave in ends.
- Block again if needed.
Attaching the Wooden Poles
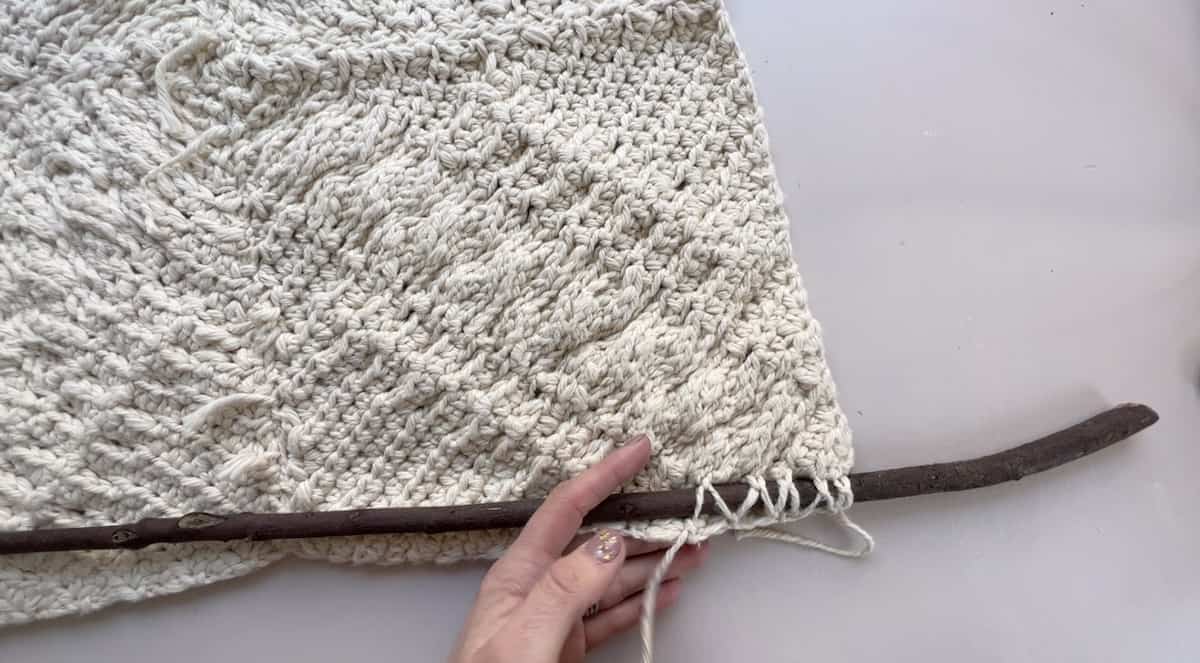
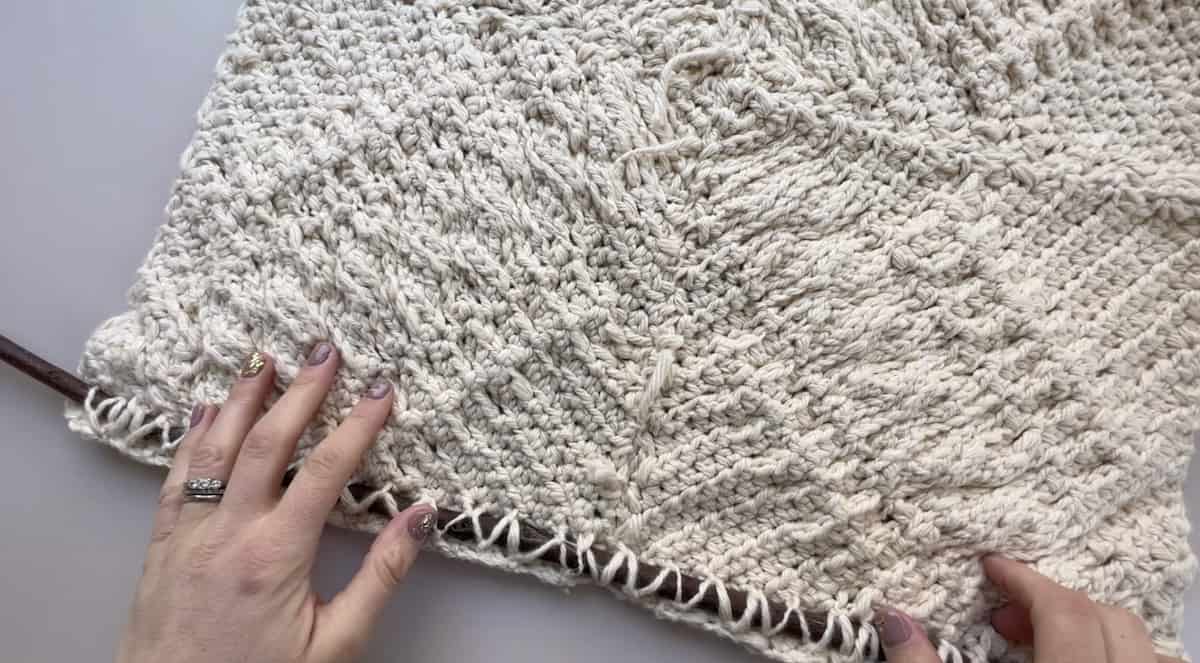
- With the WS facing you, lay one of the poles along the bottom edge of the wall hanging. Sew the pole in place stitching just above and below the pole to secure it.
- Repeat the last step for the pole at the top of the wall hanging.
Add Beads and Tassels to the Bottom of the Wall Hanging
- Add any number of tassels and fringe and beads that you like using the images as inspiration.
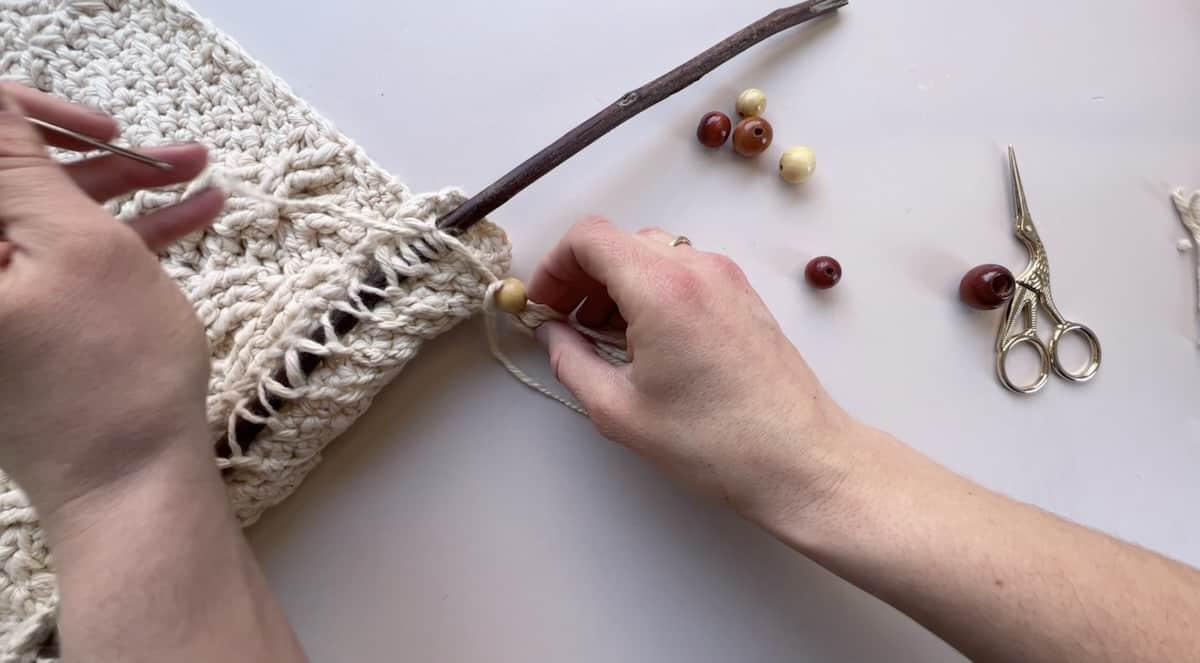
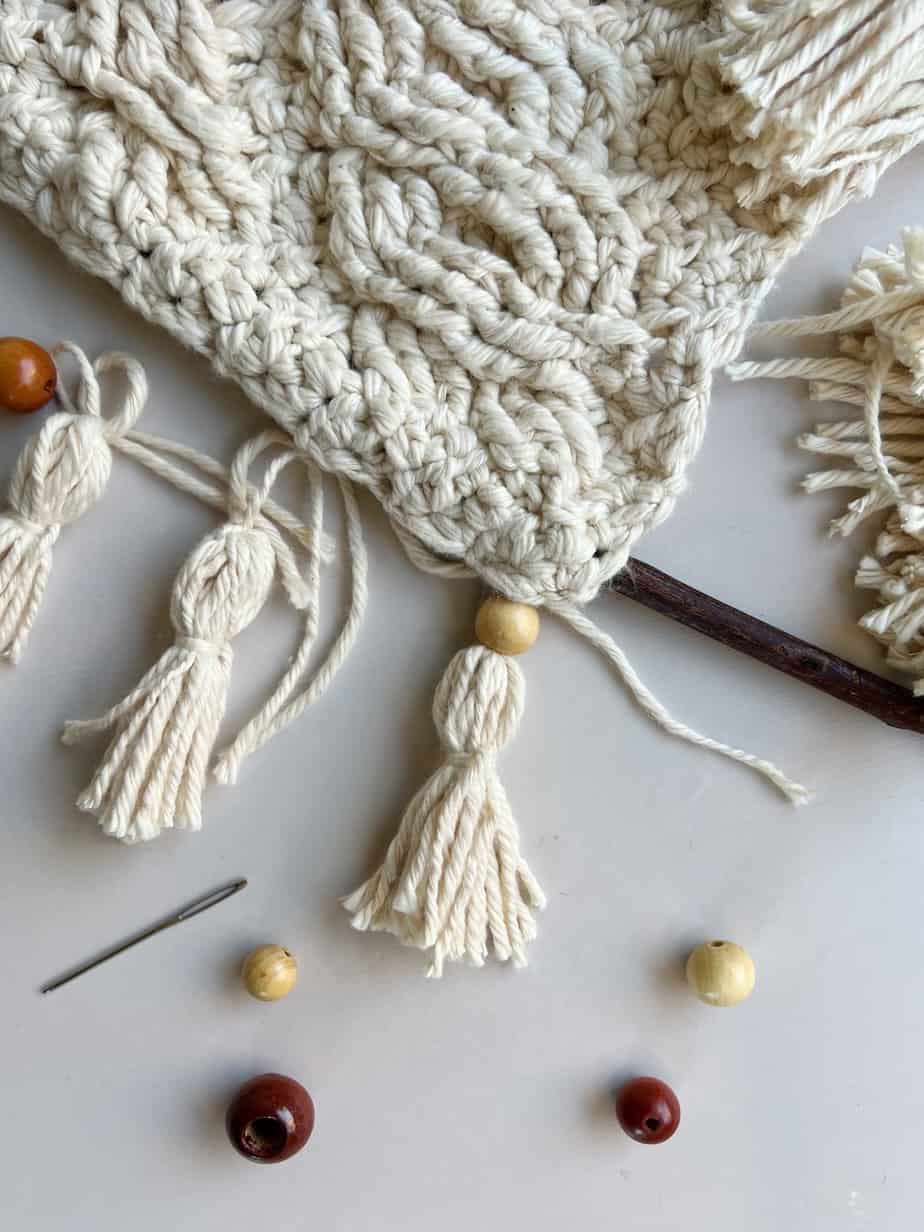
I’d really recommend watching the video tutorial as it’s much easier to show you in real life than in pictures but hopefully this gives you a bit of inspiration to create something of your own!

More Cable Crochet Patterns
I’m so glad I made this wall hanging as the only other hanging type design that I have is my Rainbow Mandala Hanging that I made a few years ago!
If you love crochet cable patterns then you might like my Neo Mint crochet cable scarf and cable hat pattern too!
Join HanJan Crochet and Share Your Crochet!
I’d love to stay connected with you so please do sign up for my subscriber list if you’d like to. Looking forward to hearing from you and sending you your free gift!
Thank you so much for being here to share in my crochet patterns and supporting my blog. It’s such an honour to be able to create and share my craft with you.
I’d love to see your finished crochet projects and so please share them with me in one (or all!) of the following ways:
- Share a picture on Instagram and tag me #hanjancrochet
- Share your projects on Ravelry
- Share a picture in the HanJan Crochet Facebook group
