This post may contain affiliate links. Please see my full disclosure and privacy policy for details.
It’s time for Part Three of the Kaleidoscope Mandala Throw! Can you believe how quickly it’s going? There has been such a fabulous response to Part One and Two and I’m loving seeing how everyone if getting on with it. If you’d like to share yours with me then please tag me @hanjancrochet #hanjancrochet or join in our Facebook Group here.
Find Part One of the free pattern here.
Find Part Two of the free pattern here.
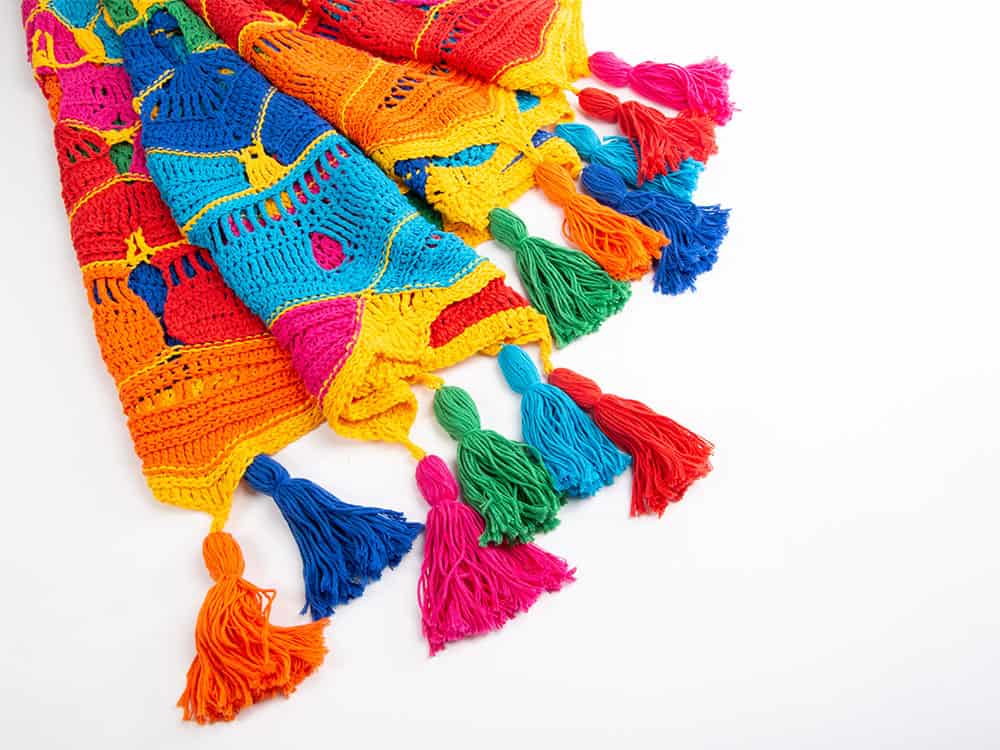
Table of Contents
About the Kaleidoscope Mandala Throw
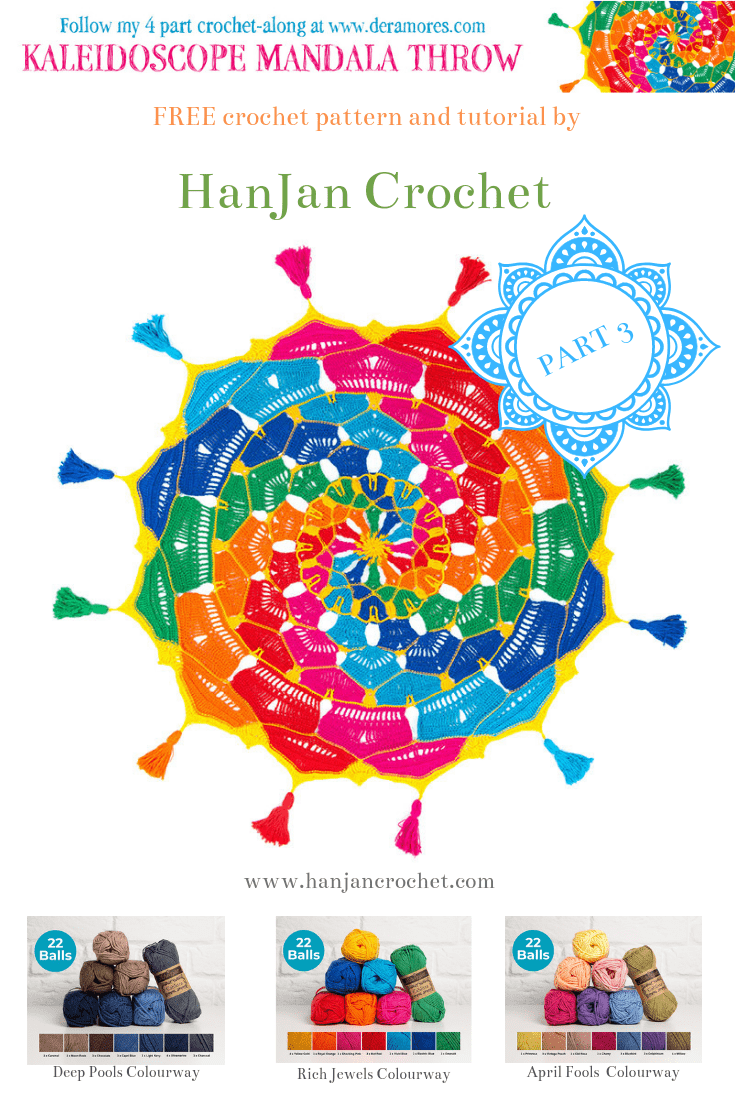
The Kaleidoscope Mandala Throw is an explosion of colour and fun designed to challenge and excite the crocheter and to look absolutely stunning too. Whether used to drape on a sofa or armchair or spread on a bed in all it’s glory, the 135cm round throw is a beautiful addition to any home or garden.
The construction comes from a central round section that has twelve motifs worked onto it in rows which are then joined by a section edging to create the basis for the next set of twelve motifs and so on. Great big chunky tassels finish off the design and add more weight to enhance the glorious drape and shape of the throw.
The pattern is here free for everyone to enjoy in both UK and US terms (which makes it a very long post even when you break the pattern into smaller parts I’m afraid!). The post contains affiliate links that help me to keep bringing free and exciting new crochet patterns to you.
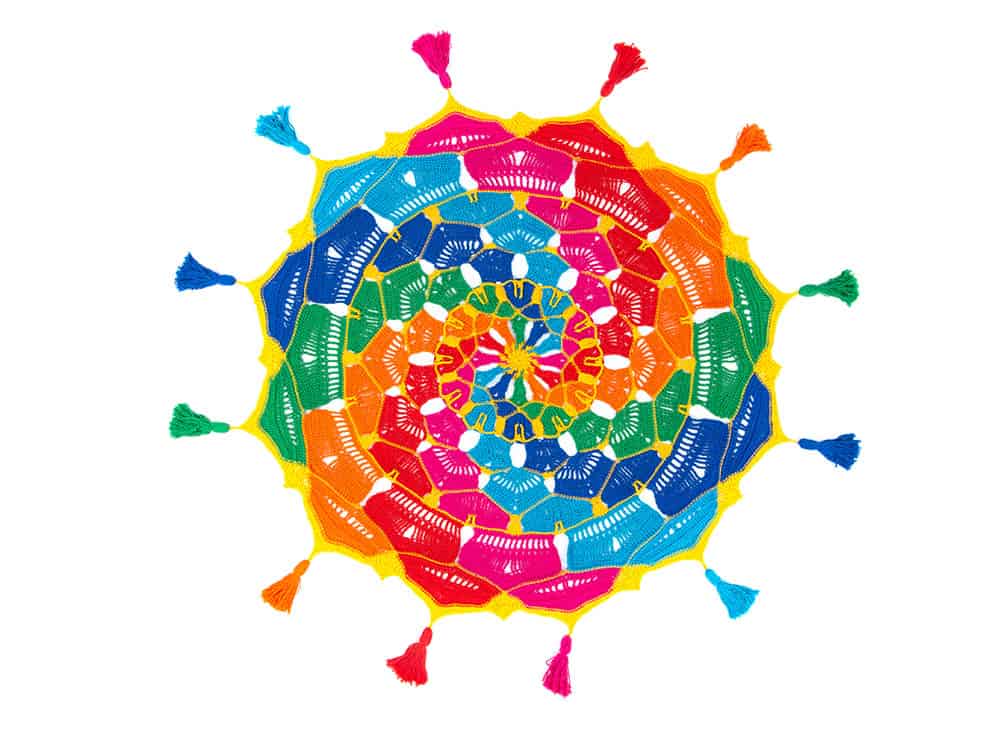
To start the post I’ll detail the yarn, materials, size, tension, glossary, notes and special stitches. Then comes the UK versions of the pattern followed by the US version. I’ll try and make it as clear as possible by adding a full size picture like the one below between sections to make things easier to find when you’re scrolling. At the end of Part One I added some step by step pictures of the first part of the throw to help show exactly how it all comes together as it’s quite an unusual construction but one that I hope you’ll enjoy! Find the construction pictures here.
There are lots of long and special stitches in the pattern that you will need throughout the coming weeks so I’ll add them all to each post so you can look through them ahead of time if you can. If anyone needs any help with anything at all then please just let me know either on Instagram, Facebook or here on the post and I’m happy to help.
The Yarn
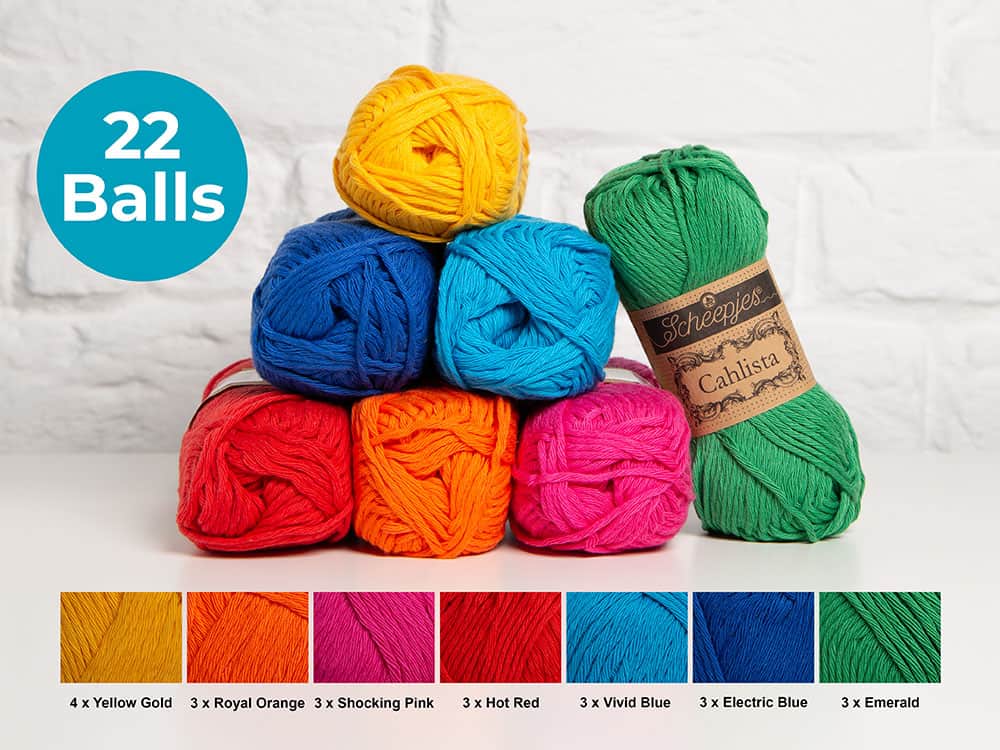
I designed the mandala using the glorious shades of Scheepjes Cahlista and have partnered with Deramores to offer you a choice of three different colourways at a reduced price if you would like them.
Rich Jewels Yarn Pack
April Fools Yarn Pack
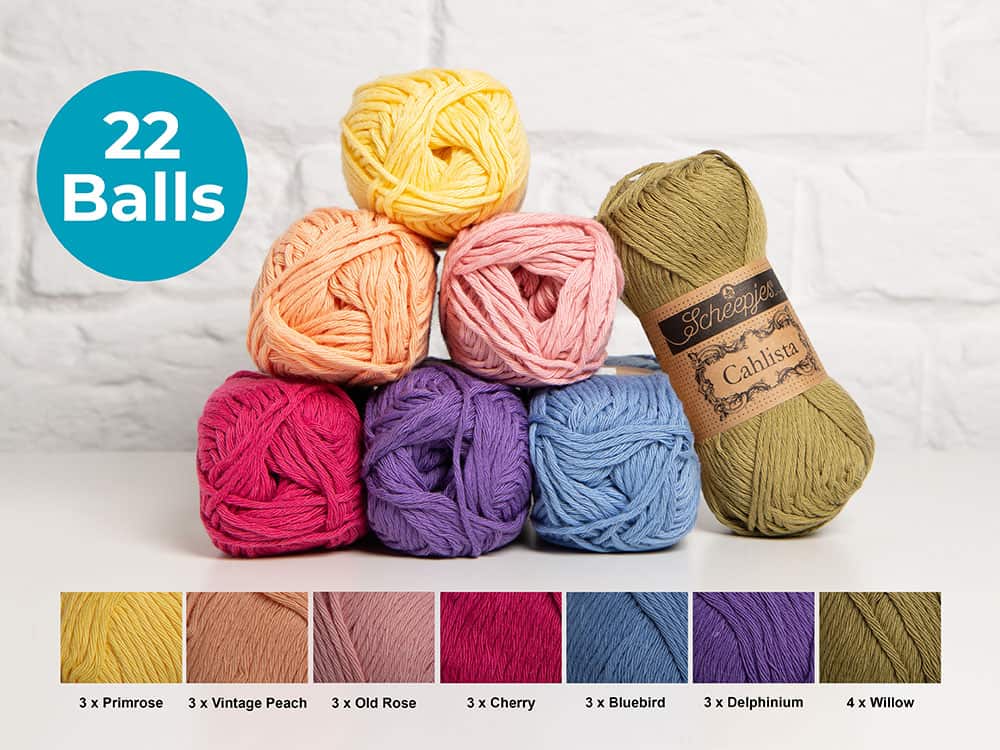
Deep Pools Yarn Pack
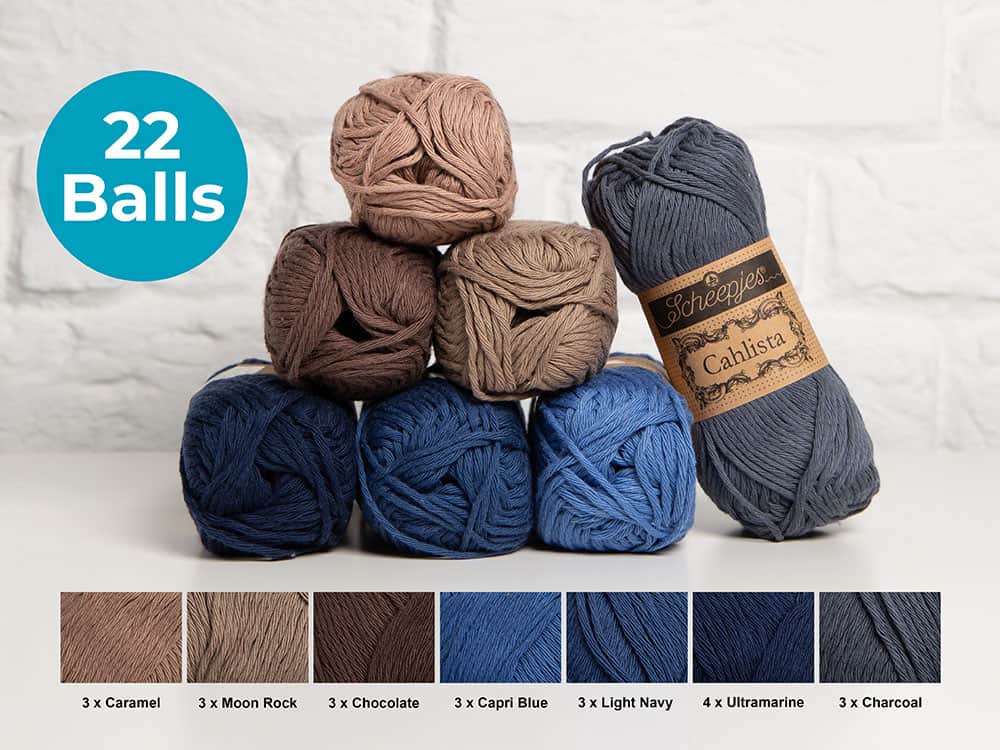
Tension and Sizing
The finished throw measures 135cm (53in) in diameter without the tassels and the first centre three rounds = 10cm. Tension isn’t really important in this project though, as long as you remain consistent throughout the throw will look fabulous.
Materials
Along with the yarn, you will need:
A 5.5mm crochet hook
Scissors
Needle
Glossary
ch -chain,
ss – slip stitch,
FP-front post,
beg-beginning,
st-stitch,
FL-front loop,
BL-back loop,
inc-including,
RS-right side,
WS-wrong side,
tog-together,
sp-space,
yrh – yarn round hook
Notes
The ch1 at the beginning of a round/row does not count as a st; the ch3 at the beginning of round/row does count as a st.
The Mandala has a centre piece worked in the round. 12 segments are each worked separately in rows around the centre piece then an edging in colour A which is worked in the round, around the last row sts of each of the segments to join them into a circle. This process is repeated, so that the next round of 12 segments are worked in rows, into the edging stitches of the previous round, followed by an edging round.
The colour order of each round is B,C,D,E,F,G. Refer to the image for colour changes and pay attention to RS and WS rows as they do not always follow in logical order.
The next part of the post contains the UK version of the pattern so if you’d like the US version then just scroll down until you find the next picture of the throw like the one below.

UK Terminology
dc-double crochet, htr-half treble, tr-treble, dtr-double treble, ttr- triple treble, qtr- quadruple treble
UK Special Abbreviations
Picot – ch the specified number then ss in first ch
6ttr cluster – *Yrh 3 times, insert into st, yrh and pull through st, (yrh and pull through 2 loops) three times; rep from *into the same st 5 more times.
Qtr- Yrh 4 times, insert hook into st, yrh and pull through st, (yrh and pull through 2 loops) 5 times.
Dtr5(8)tog – *Yrh twice, insert hook in next st, yrh and pull through st, (yrh and pull through 2 loops) twice; rep from * 4(7) more times, yrh and pull through all loops on hook.
FPdtr – Yrh twice, insert hook around the post of specified st from front, to back, to front, yrh and pull up the loop, (yrh and pull through 2 loops) twice.
FPttr – Yrh 3 times, insert hook around post of specified st from the front, to back, to front, yrh and pull up the loop, (yrh and pull through 2 loops) three times
UK Pattern – Part Three of the Kaleidoscope Mandala Throw CAL
SIXTH SEGMENT –
With RS facing, join correct colour to BL of ch1 after any tr of Fifth Segment edging
Row 1(RS): ch1, htr in BL of 13, skip 2, htr in BL of 13 [26] TURN at end of each row now
Row 2: ch1, dc in 3, htr in 2, tr in 2, dtr in 2, ttr in 2, qdtr in 4, ttr in 2, dtr in 2, tr in 2, htr in 2, dc in 3
Row 3: ch1, ss in BL of 6, dc in BL of 6, FPtr in 2, dc in BL of 6, ss in BL of 6
Row 4: ch1, ss in FL of 6, htr in FL of 14, ss in FL of 6
Row 5: ch1, dc in BL of each
Fasten off.
Repeat Sixth Segment in colour sequence around.
EDGING –
With RS facing, join A to first st of Row 5 of any Sixth Segment
Round 1 (RS): * ss in BL of 12, FPdtr in FPtr of Row 3 of Sixth Segment, ch2, FPdtr in next FPtr of Row 3 of Sixth Segment, ss in BL of 12, 5dtr in ch2-sp of Fifth Segment edging, rep from * around, ss in first to join.
Fasten off.
SEVENTH SEGMENT –
With RS facing, join correct colour to BL of second FPdtr of Sixth Segment edging
Row 1: ch1, dc in BL of 31 [31] TURN at end of each row now
Row 2: ch1, ss in FL of each across
Row 3: ch5 (counts as st and ch) ch1, skip 1, *dtr in BL of next, ch1, skip 1, rep from * to last, dtr in BL of last
Row 4: ch3, tr in same, *skip 1, 2tr in next, rep from * across [32]
Row 5: ch1, htr in 4, tr in 4, dtr in 4, ttr in 3, qdtr, ch5-picot, qdtr, ttr in 3, dtr in 4, tr in 4, htr in 4
Row 6: ch1, htr in 8, dc in 8, 7tr in ch-5 picot, dc in 8, htr in 8 [39]
Row 7: ch1, dc2tog, dc in 14, ss in 7, dc in 14, dc2tog [37]
Row 8: ch1, dc2tog, tr in 8, htr in 5, dc in FL of 3, 3tr in FL of next, dc in FL of 3, htr in 5, tr in 8, dc2tog [37]
Fasten off.
Repeat Seventh Segment in colour sequence around.
EDGING –
With WS facing, join A to FL of any st of Seventh Segment
Round 1(WS): ss in FL of each, ss in first to join [37 x12 = 444]
Fasten off.

US Terminology
sc – single crochet, hdc-half double crochet, dc – double crochet, tr – treble crochet, dtr – double treble crochet, ttr – triple treble crochet
US Special Stitches
Picot – ch the specified number then ss in first ch
6dtr cluster – *Yrh 3 times, insert into st, yrh and pull through st, (yrh and pull through 2 loops) three times; rep from *into the same st 5 more times.
Ttr- Yrh 4 times, insert hook into st, yrh and pull through st, (yrh and pull through 2 loops) 5 times.
Tr5(8)tog – *Yrh twice, insert hook in next st, yrh and pull through st, (yrh and pull through 2 loops) twice; rep from * 4(7) more times, yrh and pull through all loops on hook.
FPtr – Yrh twice, insert hook around the post of specified st from front, to back, to front, yrh and pull up the loop, (yrh and pull through 2 loops) twice.
FPdtr – Yrh 3 times, insert hook around post of specified st from the front, to back, to front, yrh and pull up the loop, (yrh and pull through 2 loops) three times.
US Pattern – Part Three of the Kaleidoscope Mandala Throw CAL
SIXTH SEGMENT –
With RS facing, join correct colour to BL of ch1 after any dc of Fifth Segment edging
Row 1(RS): ch1, hdc in BL of 13, skip 2, hdc in BL of 13 [26] TURN at end of each row now
Row 2: ch1, sc in 3, hdc in 2, dc in 2, tr in 2, dtr in 2, ttr in 4, dtr in 2, tr in 2, dc in 2, hdc in 2, sc in 3
Row 3: ch1, ss in BL of 6, sc in BL of 6, FPdc in 2, sc in BL of 6, ss in BL of 6
Row 4: ch1, ss in FL of 6, hdc in FL of 14, ss in FL of 6
Row 5: ch1, sc in BL of each
Fasten off.
Repeat Sixth Segment in colour sequence around.
EDGING –
With RS facing, join A to first st of Row 5 of any Sixth Segment
Round 1 (RS): * ss in BL of 12, FPtr in FPdc of Row 3 of Sixth Segment, ch2, FPtr in next FPdc of Row 3 of Sixth Segment, ss in BL of 12, 5tr in ch2-sp of Fifth Segment edging, rep from * around, ss in first to join.
Fasten off.
SEVENTH SEGMENT –
With RS facing, join correct colour to BL of second FPtr of Sixth Segment edging
Row 1: ch1, sc in BL of 31 [31] TURN at end of each row now
Row 2: ch1, ss in FL of each across
Row 3: ch5 (counts as st and ch) ch1, skip 1, *tr in BL of next, ch1, skip 1, rep from * to last, tr in BL of last
Row 4: ch3, dc in same, *skip 1, 2dc in next, rep from * across [32]
Row 5: ch1, hdc in 4, dc in 4, tr in 4, dtr in 3, ttr, ch5-picot, ttr, dtr in 3, tr in 4, dc in 4, hdc in 4
Row 6: ch1, hdc in 8, sc in 8, 7dc in ch-5 picot, sc in 8, hdc in 8 [39]
Row 7: ch1, sc2tog, sc in 14, ss in 7, sc in 14, sc2tog [37]
Row 8: ch1, sc2tog, dc in 8, hdc in 5, sc in FL of 3, 3dc in FL of next, sc in FL of 3, hdc in 5, dc in 8, sc2tog [37]
Fasten off.
Repeat Seventh Segment in colour sequence around.
EDGING –
With WS facing, join A to FL of any st of Seventh Segment
Round 1(WS): ss in FL of each, ss in first to join [37 x12 = 444]
Fasten off.
